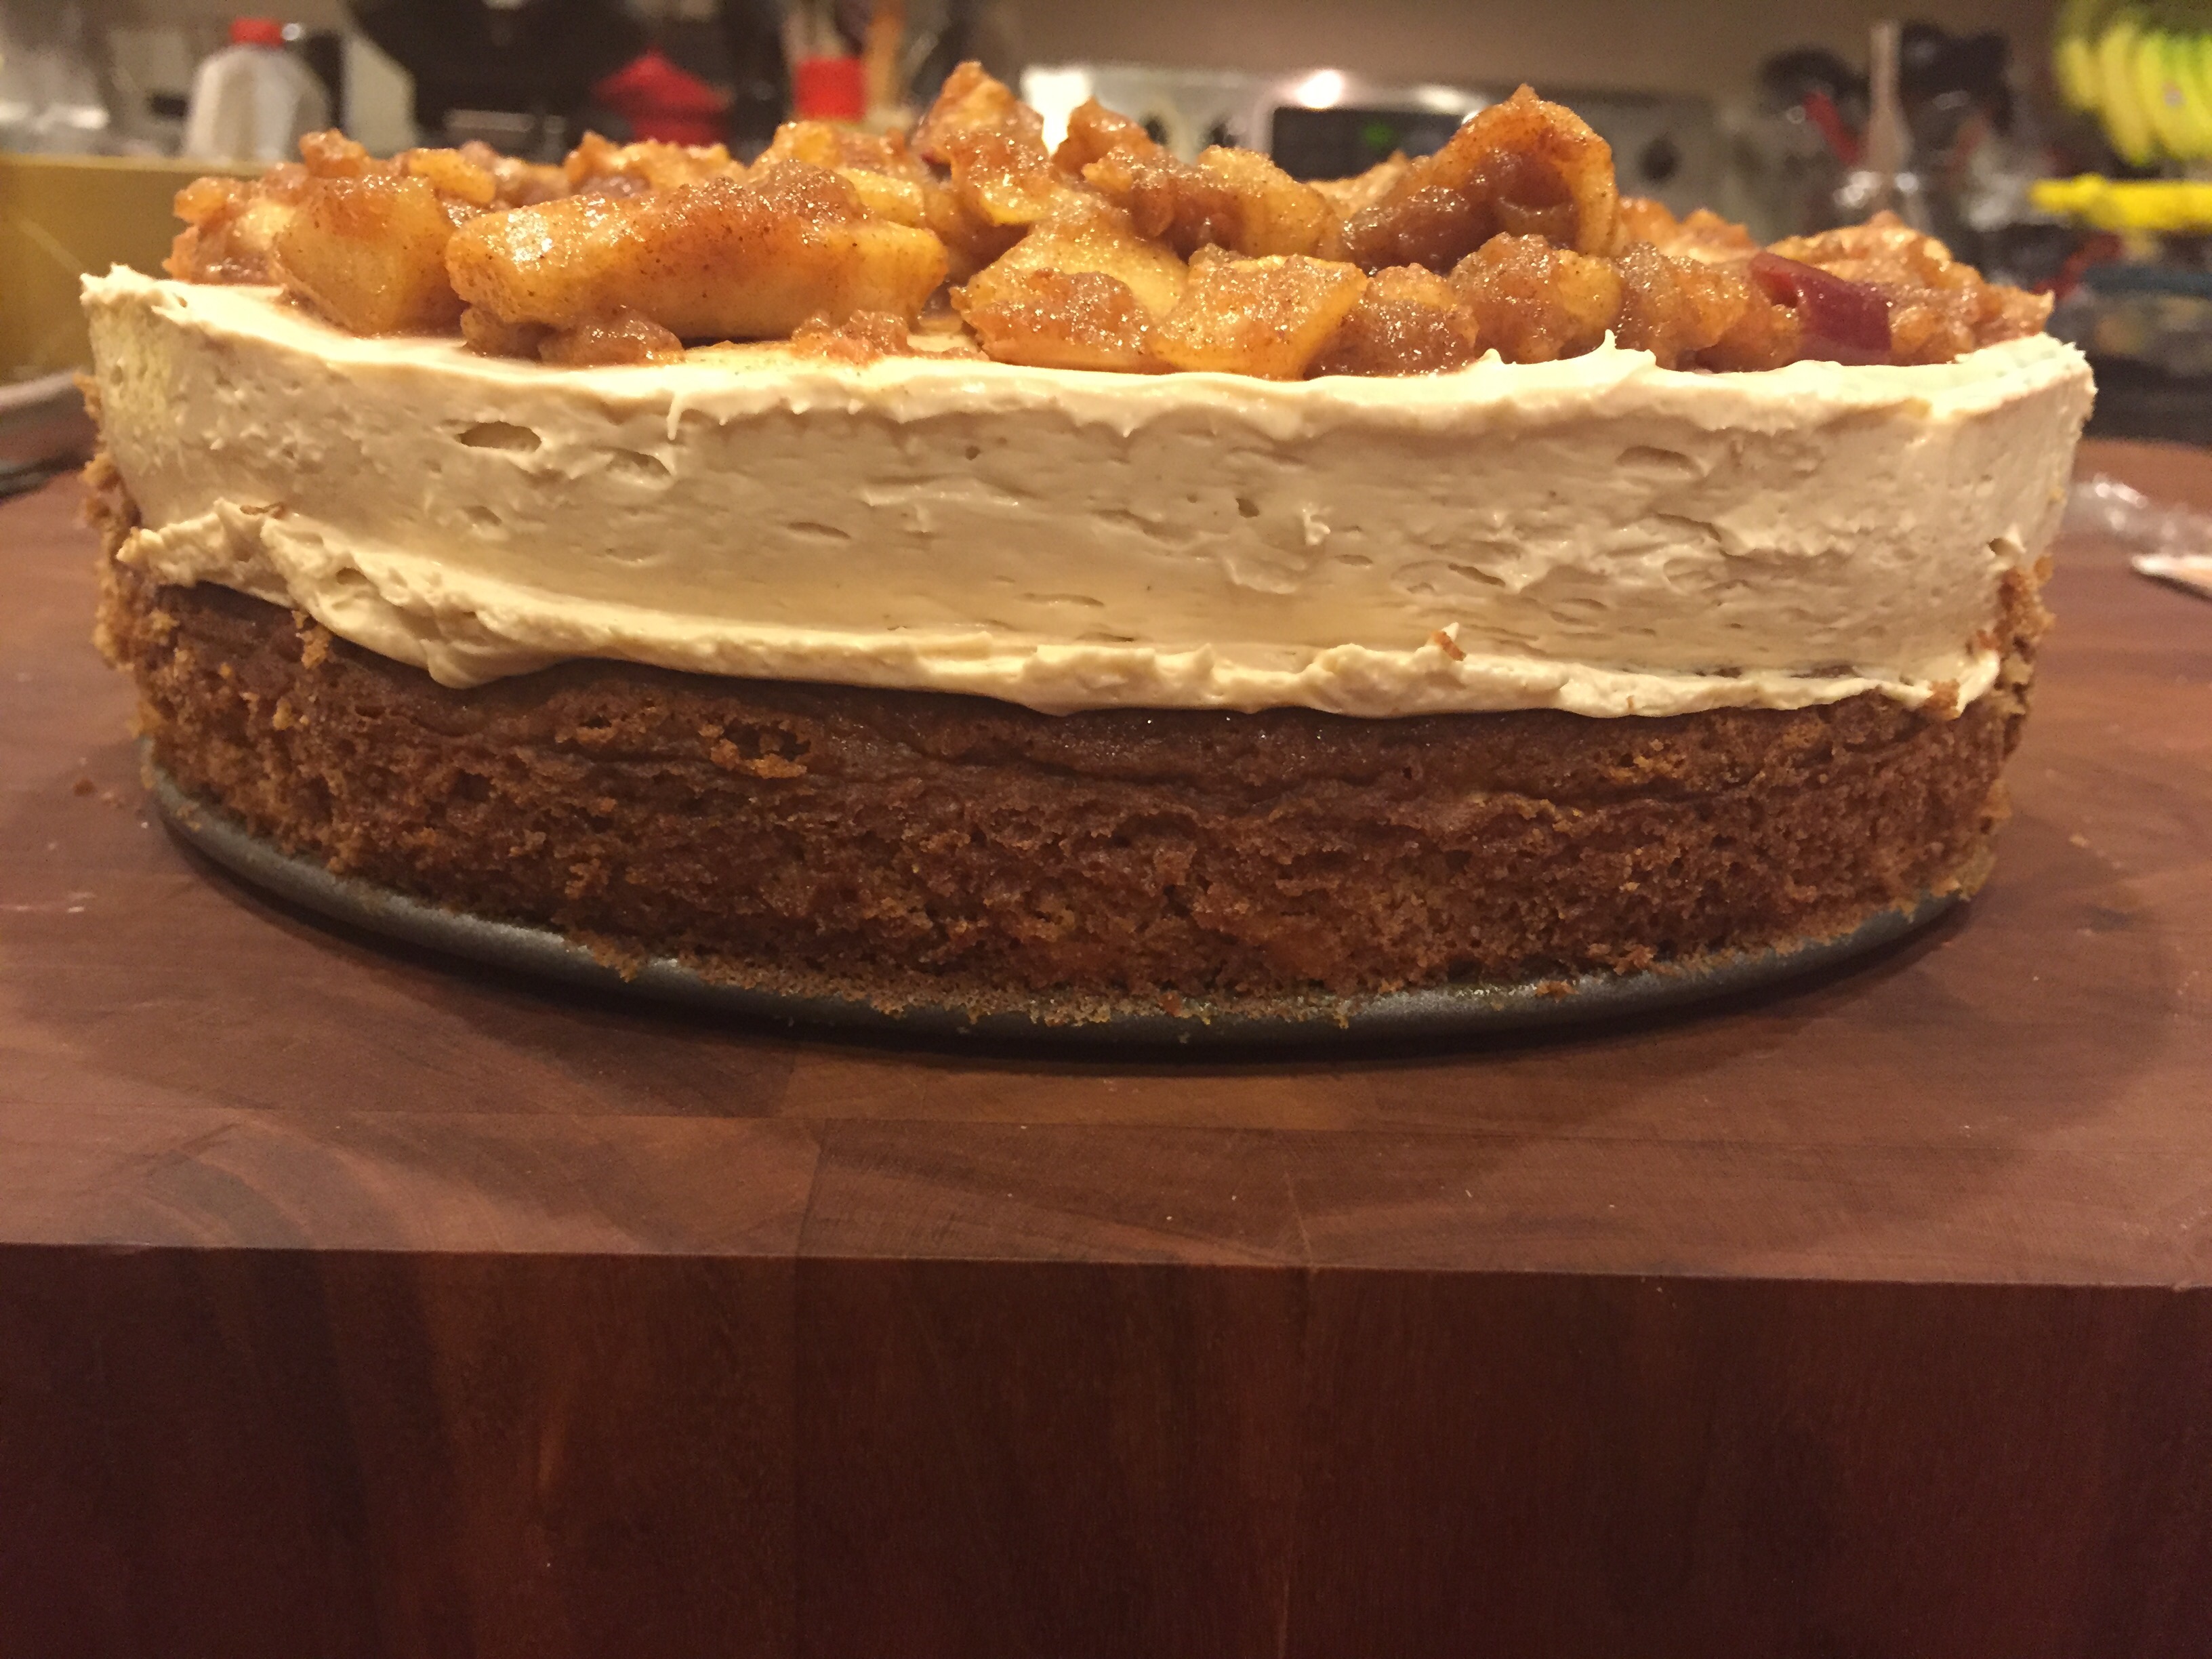
This year I was in charge of the pies and rolls for Easter. My mom hosted Easter dinner and allowed me to help with these few items to help her in the kitchen. I love baking so I was anxious to try a few new recipes.
I love using my grandma’s pie dish so I was pleased to make the pies. It makes me feel like she was with us this year sharing the meal and memories.
Ingredients:
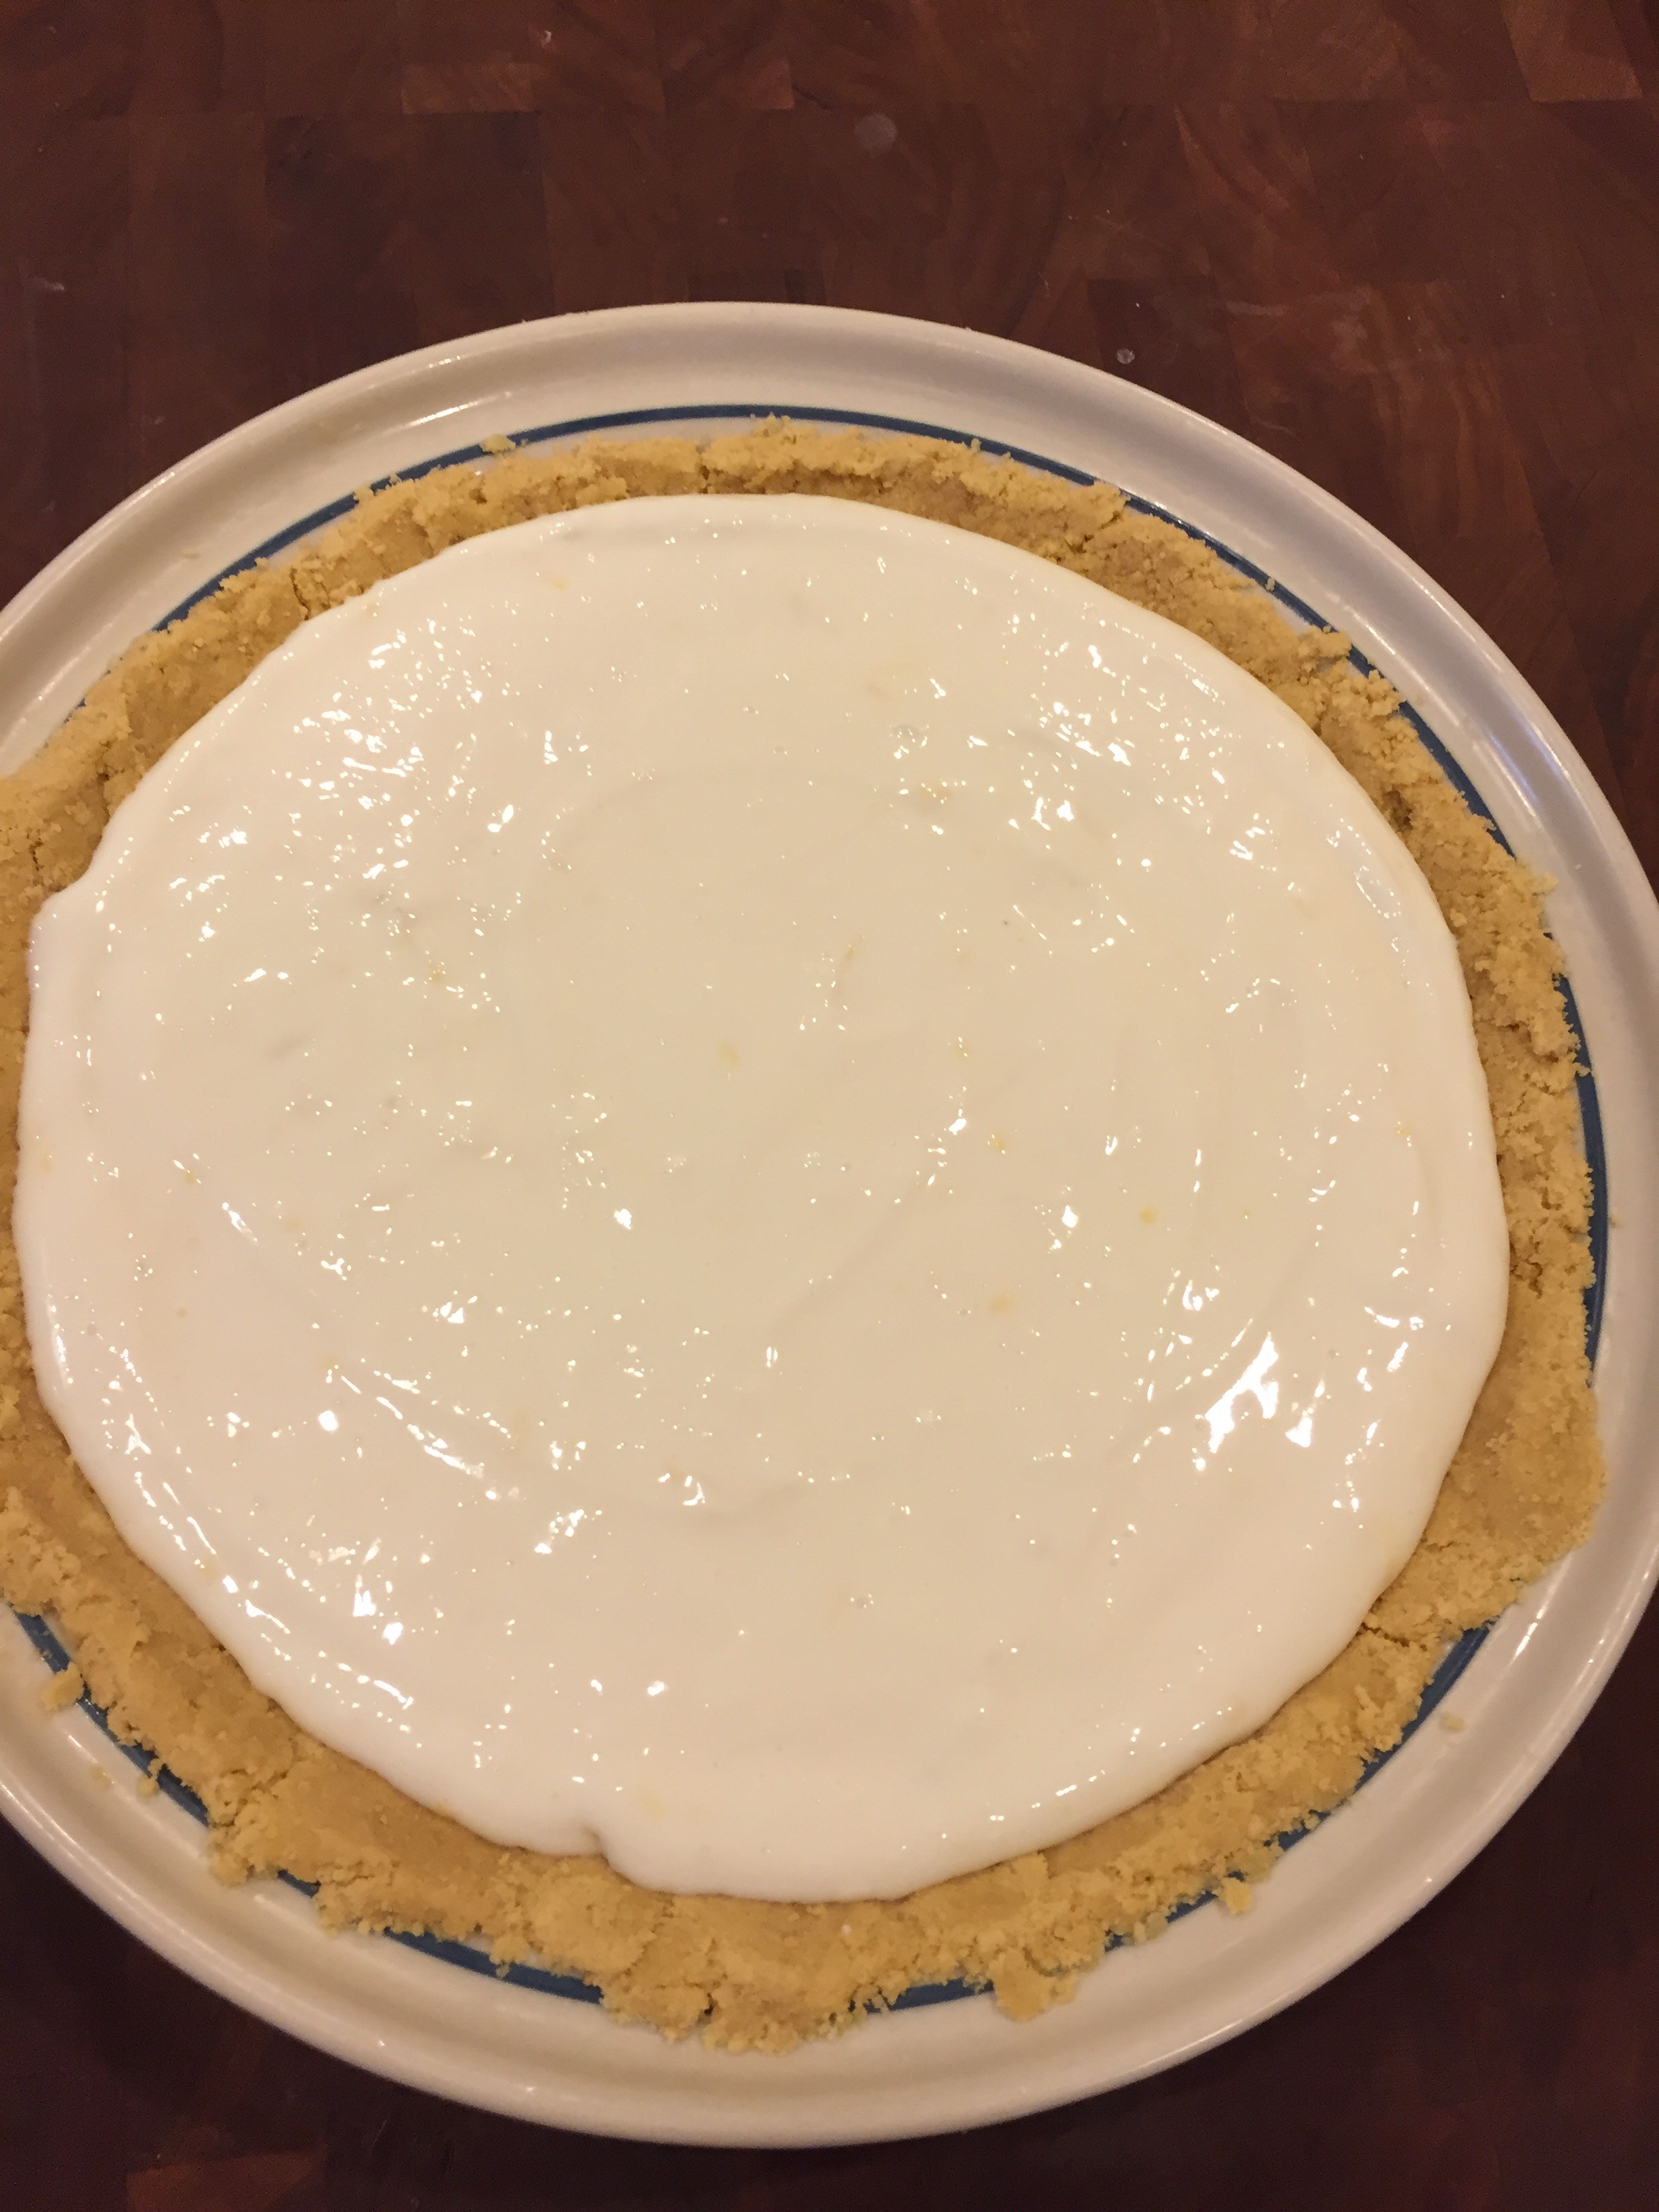
Crust:
16 Lemon Flavored Oreos
3 TB unsalted butter, melted
Filling:
1 (8 ounce) packet of 1/3 reduced fat cream cheese, room temperature
1 can (14 oz) of sweetened skim condensed milk
1/4 cup of egg white substitute
1/2 cup fresh lemon juice, plus 3 TB boiled (this will take about 3 lemons)
1 tsp lemon zest
2 tsp gelatin
Directions:
1. Place the Oreos in the food processor and pulse. Slowly add the butter and incorporate.
2. Place the mixture into a standard pie dish and press into dish. Place the dish into the refrigerator and allow to chill for at least 30 minutes.
3. In the meantime prepare the filling. In stand mixer beat with paddle attachment the cream cheese, egg substitute and sweetened condensed milk.
4. Mix 3 TB of the hot lemon juice and dissolve the gelatin in the hot juice. Mix the gelatin until it dissolved. Set aside.
5. Add in the lemon juice and zest to the cream cheese mixture, then fold in the gelatin mixture.
6. Pour the filling into the pie dish, cover with saran wrap and allow to chill in the refrigerator overnight.
Keep chilled prior to serving