Monthly Archives: December 2016

Freekeh 

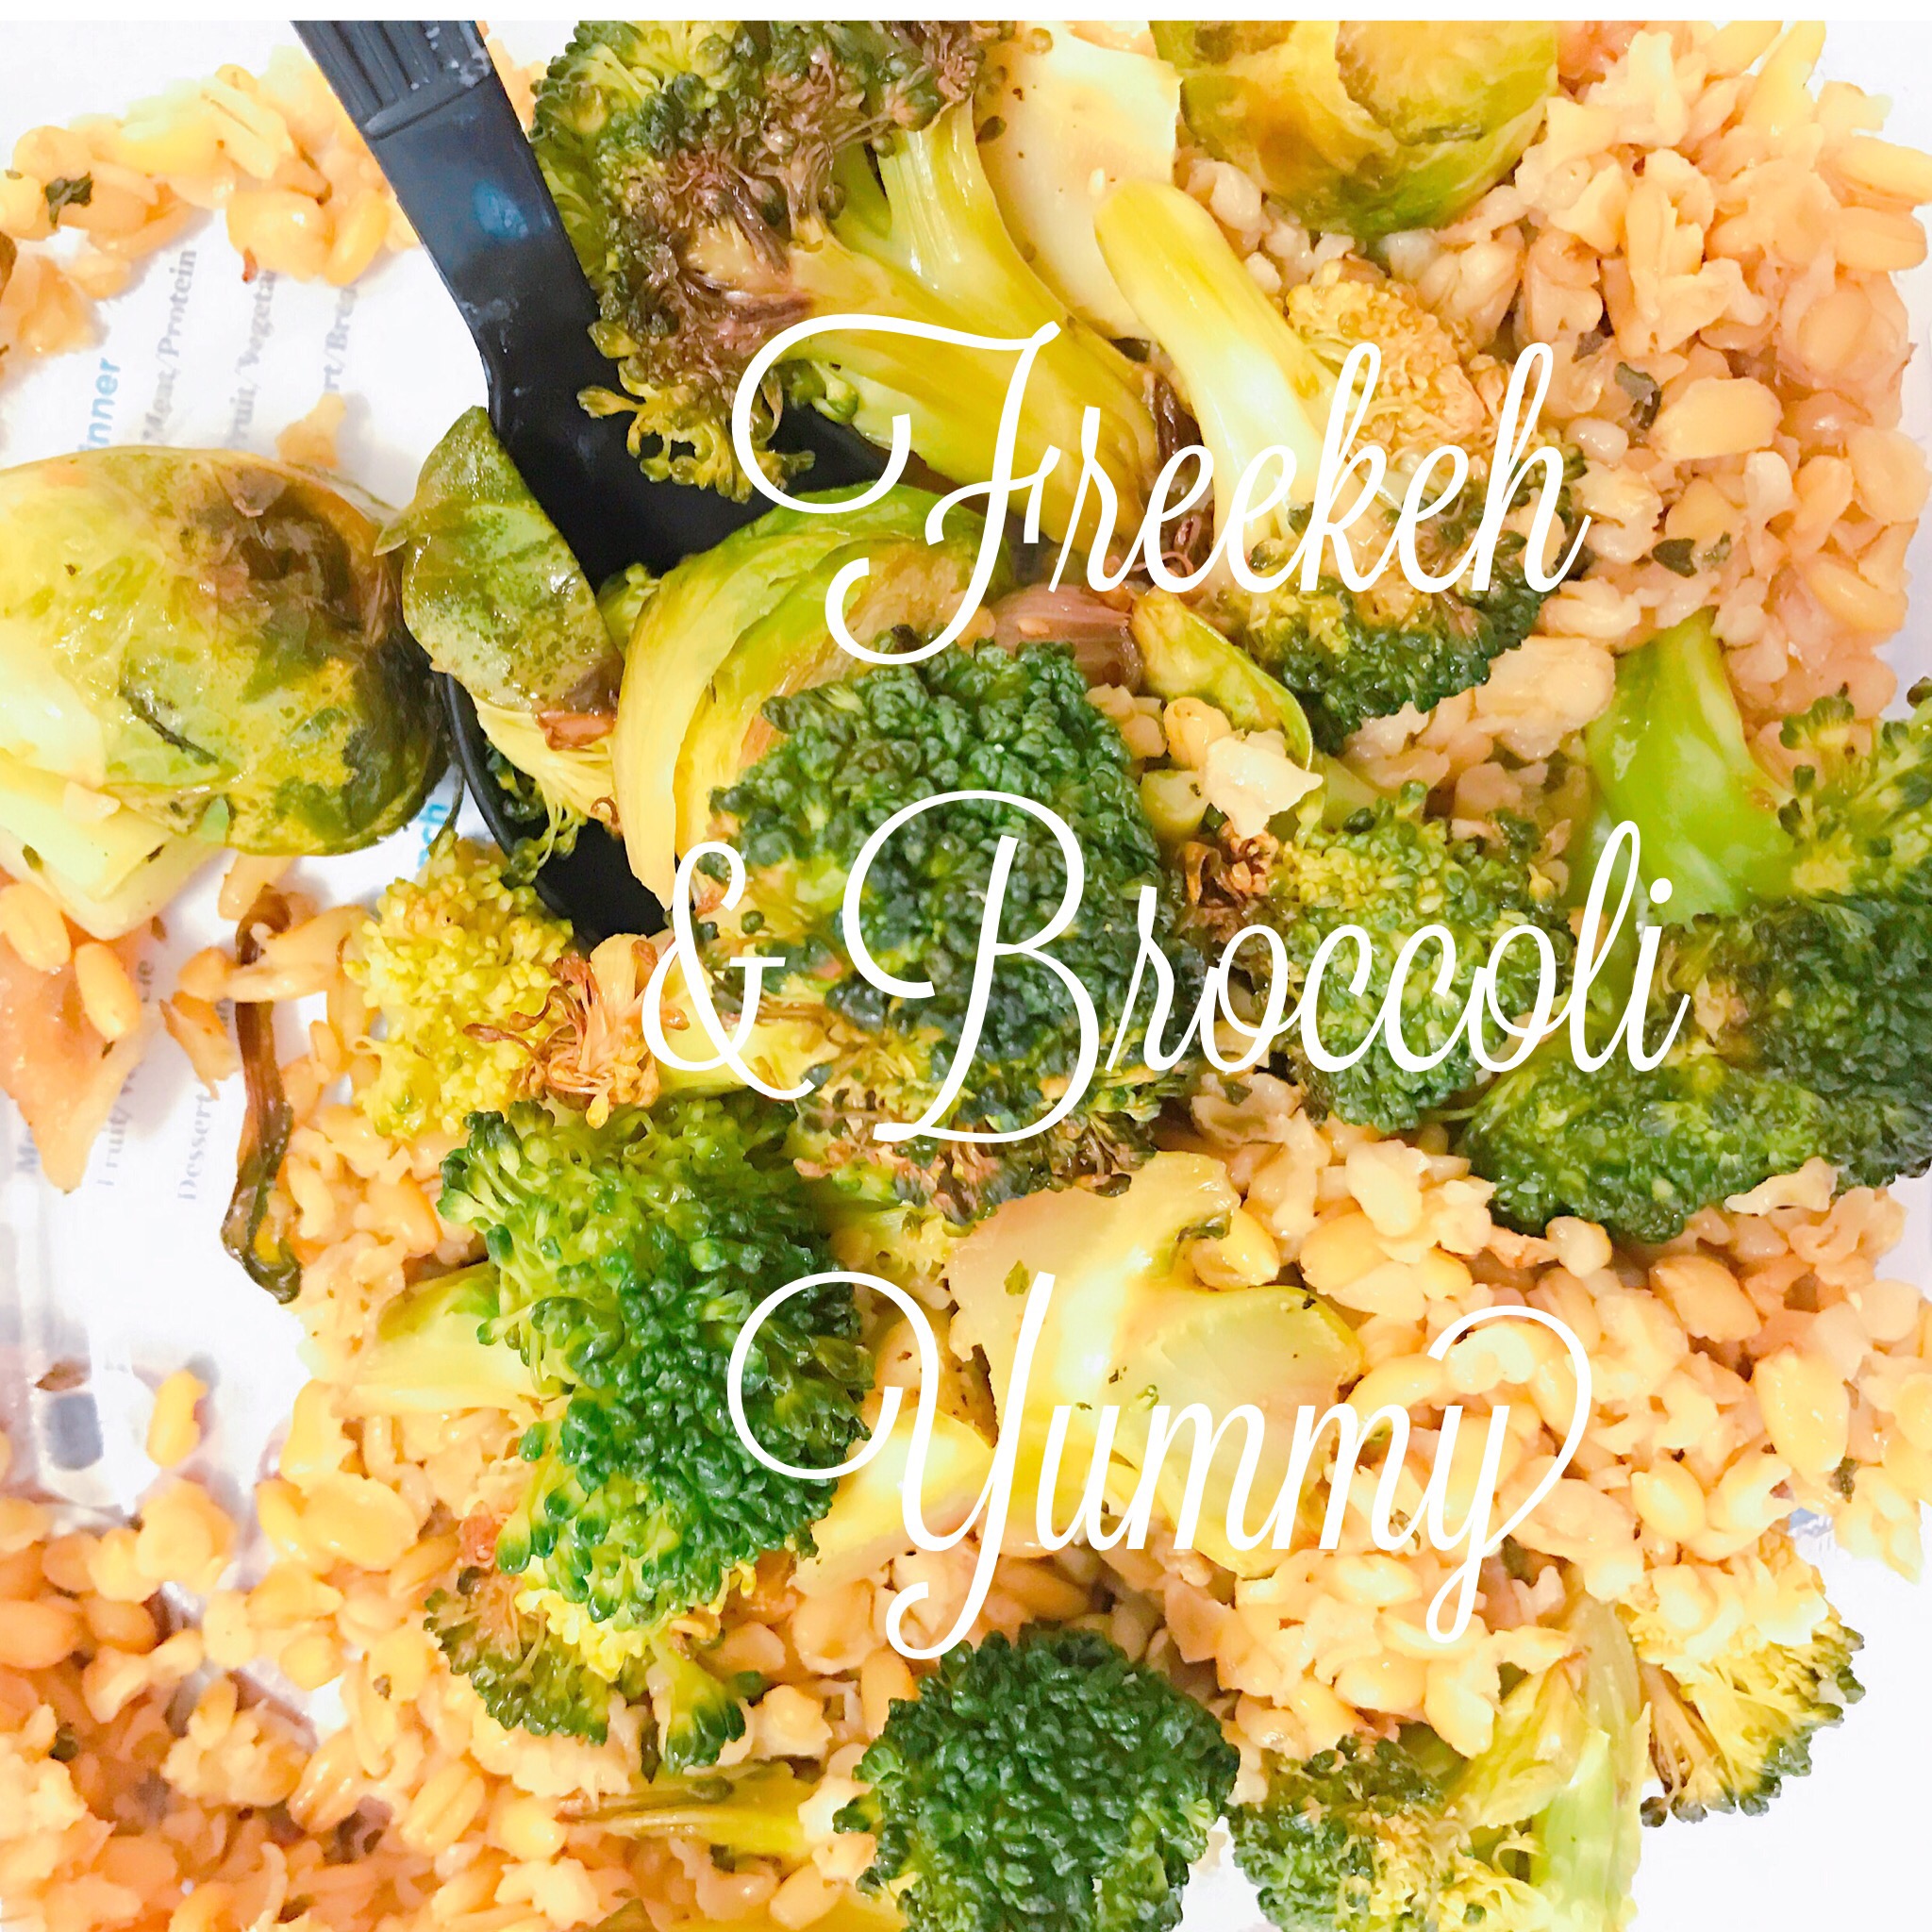
Are you looking to branch out and try a hearty ancient grain?  Freekeh, might be the way to go. The first time I had freekeh was when we had a HelloFresh order.  I thoroughly enjoyed the nutty texture, the mouthfeel is similar to barley or farro. This versatile grain can be used in place of quinoa, rice, pasta, & couscous. 

Freekeh (pronounced “free-ka”), is a world grain which is produced from the young green wheat during the harvest. Since freekeh is harvested so early on in the process, it is filled with many rich nutrients &, fiber. Freekeh is also roasted which attributes to the nutty taste. 

Keep in mind, unlike rice, and quinoa, this grain is not gluten free, since it does stem from the wheat grass. 

I was every excited when I was grocery shopping the other day, and came across a discounted package of Freekeh in the bargin bin at Harris Tetter 🤗. 

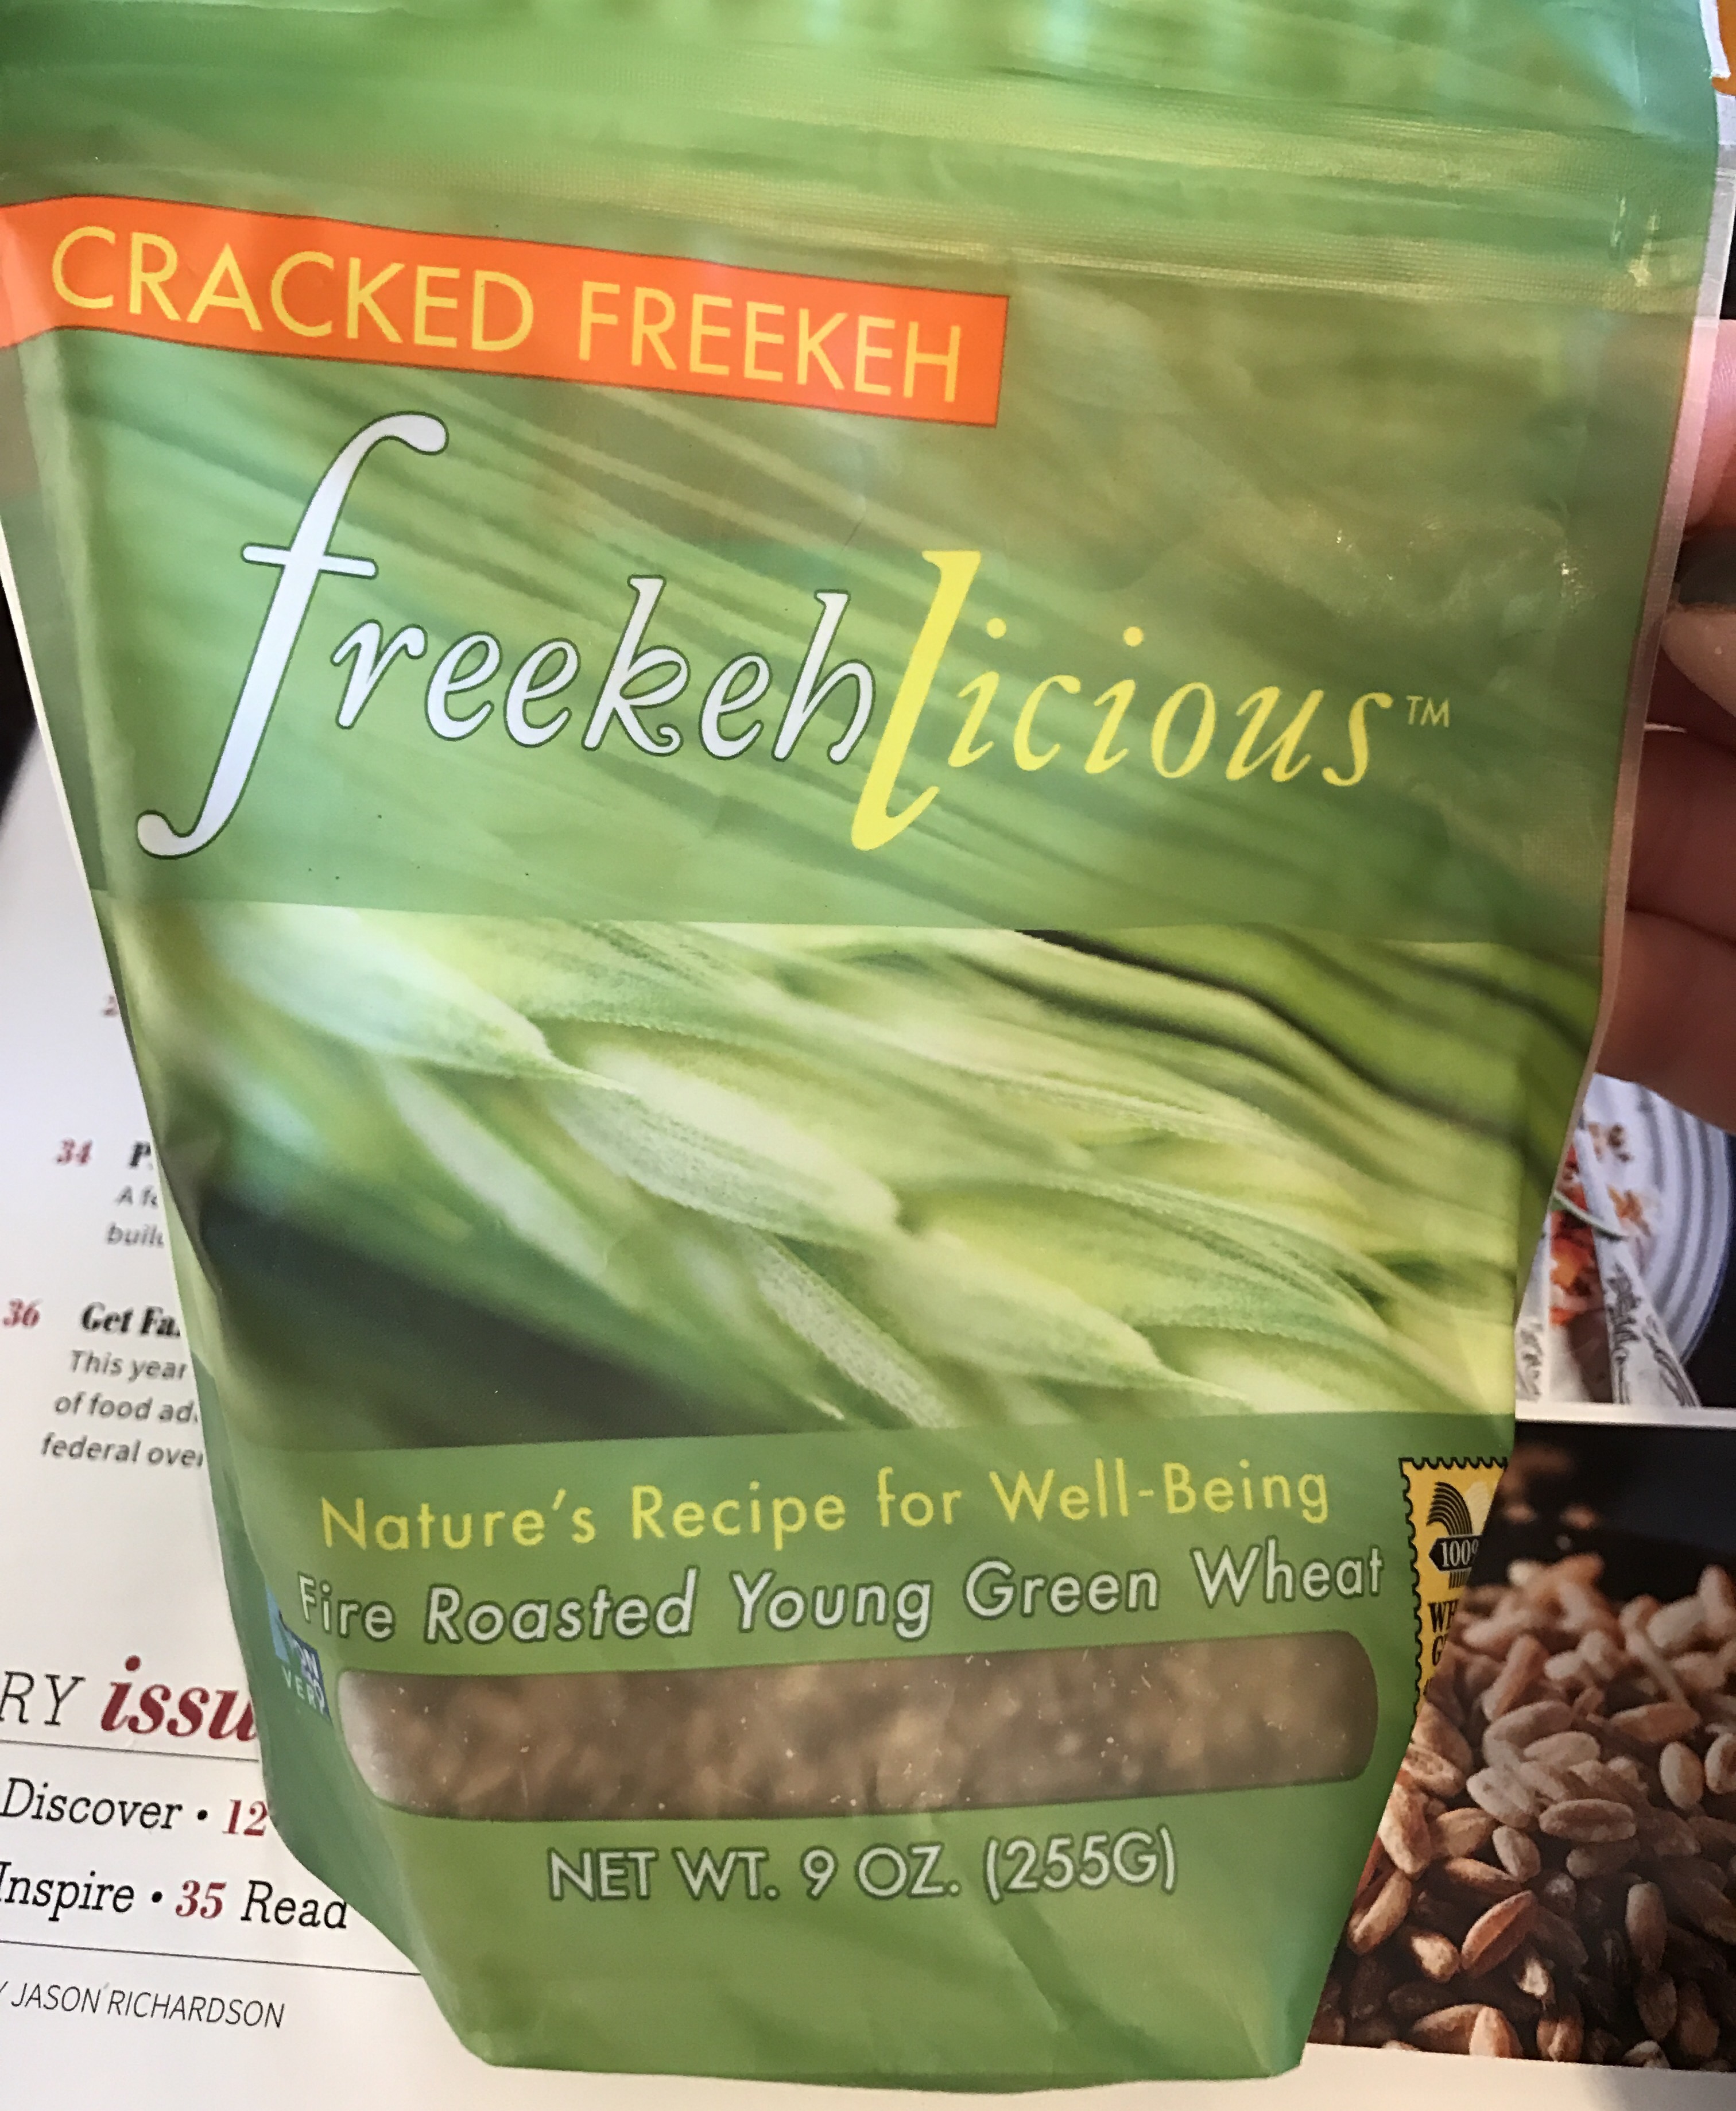
I’ll take that! Please advise; Never be afraid to rummage through the clearance section at the grocery store! While I purchased this gem, I also came across a full pound of already cut butternut squash for $1.00! 

Yields: 3 cups

Ingredients

1 cup dry freekeh

3 cups vegetable broth, low sodium

1 tablespoon pasta sprinkle 

Directions:

1. Place vegetable broth, freekeh, and pasta sprinkle in a 2 quart sauce pan. On high-medium heat, bring the mixture to a boil. 

2. Once the freekeh starts to boil,reduce the heat, stir, then cover with a lid for 20 minutes to allow the freekeh to simmer. 

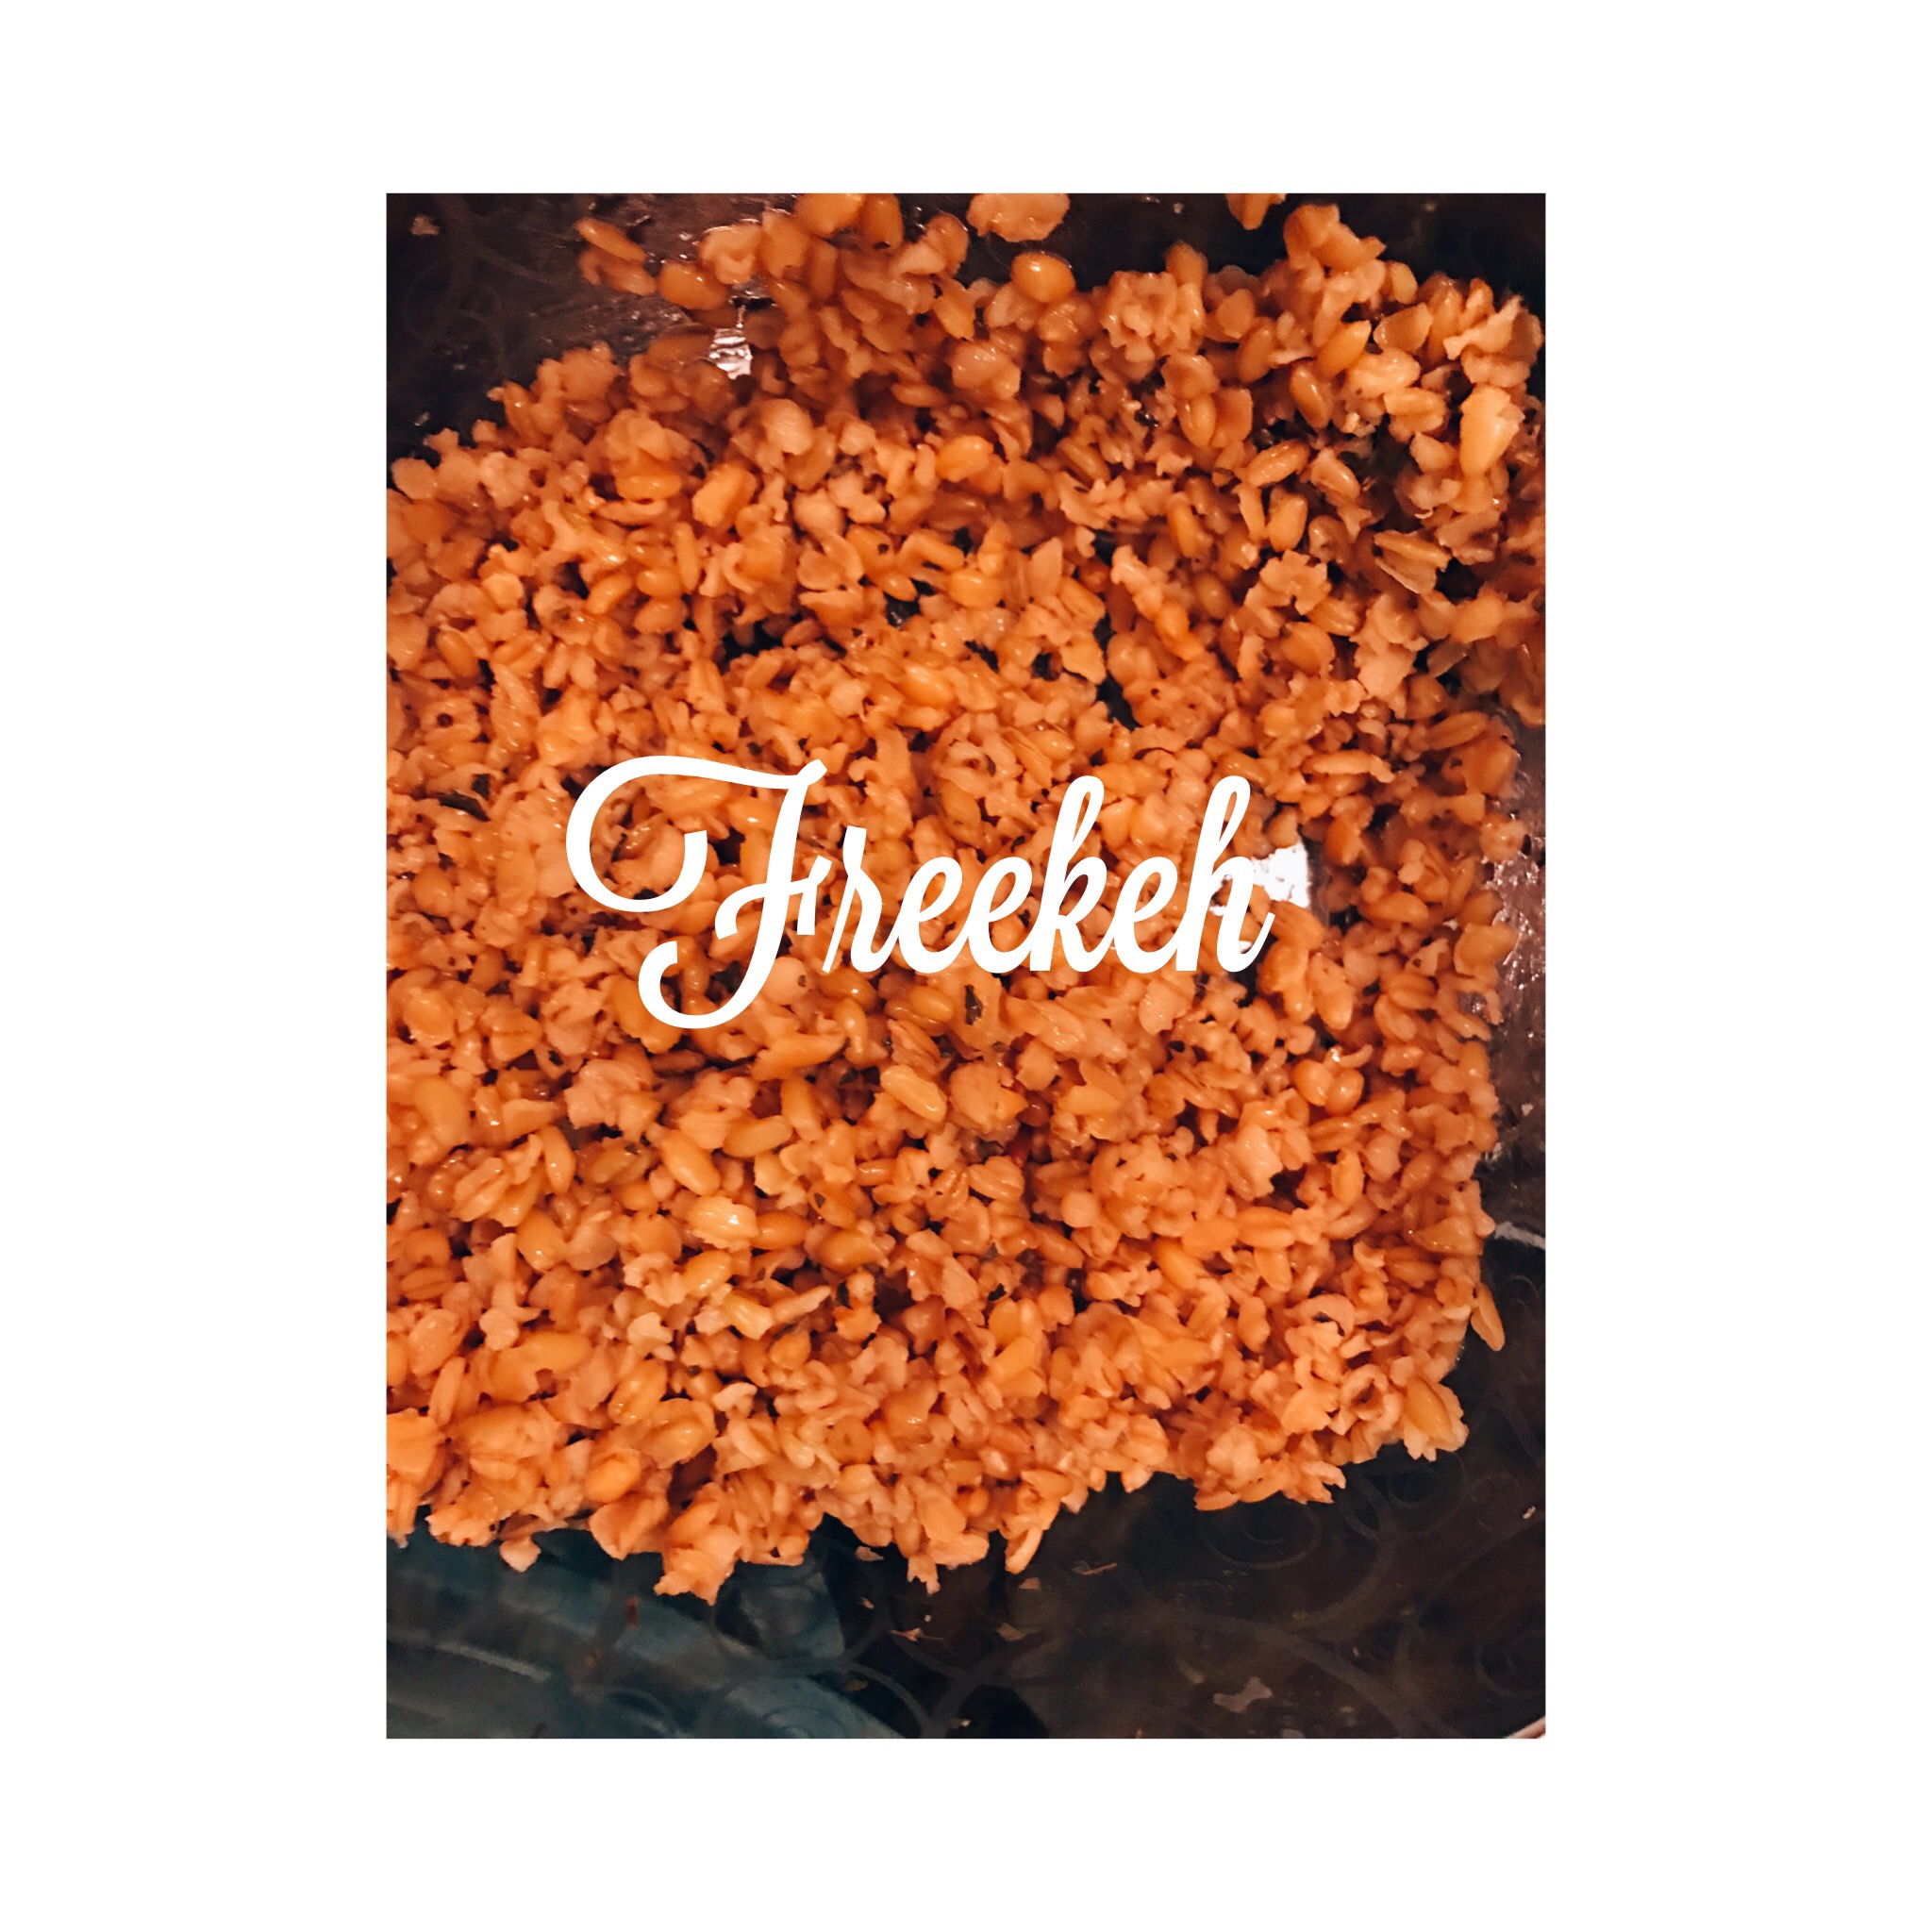
3. After the 20 minutes have elapsed, turn the heat off, and allow the freekeh to rest for 5 additional minutes in the sauce pan.  If there is any additional liquid remaining after the 5 minute window, strain the freekeh in a pasta strainer. 

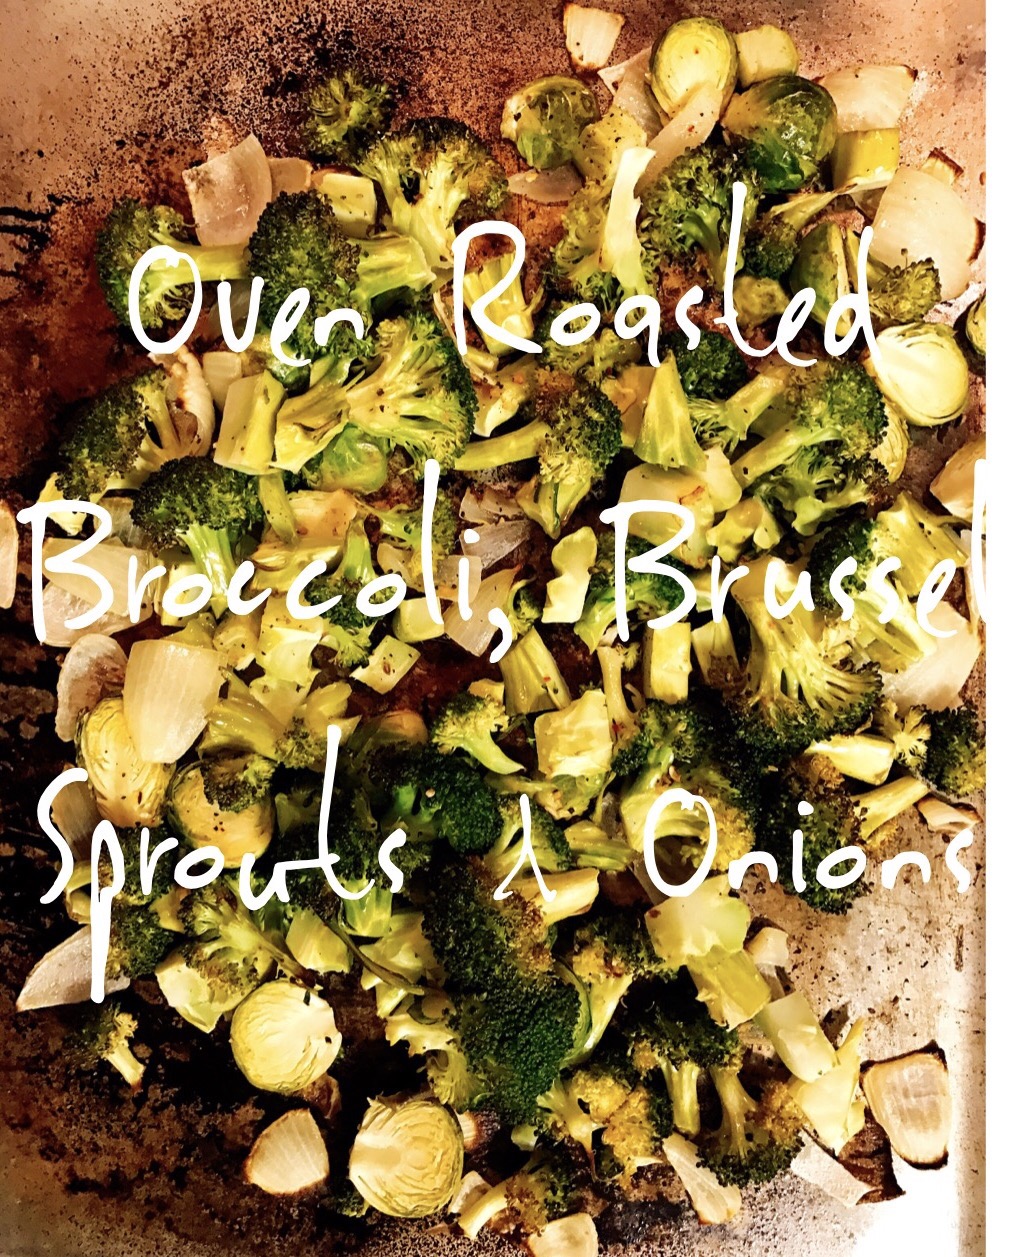
Enjoy with some roasted vegetables, as pictured below. Or try the grain in a stuffed pepper, soup, salad, or stir fry. 


Oven Roasted Broccoli, Brussel Sprouts & Onions


During the winter months, I love roasting vegetables in the oven to perfection. I enjoy when the vegetables have a slight char to them but are still firm for good texture and are not overly done. 

This recipe is an easy side dish which pairs well with almost any entree. I suggest trying the dish with roasted chicken or sautéed tofu steaks with a hearty grain like quinoa or freekeh for the starch companion.

Ingredients :

Canola oil cooking spray

Two smallfresh heads of Broccoli or one large, roughly chopped (stems and all)

One medium yellow onion, quartered

1 cup of fresh Brussel sprouts, halved  

1 Teaspoon of every day seasoning from Trader Joe’s (a blend of sea salt, mustard seeds, peppercorns, coriander,onions, garlic, paprika, and chili pepper)

Directions :

1. Preheat oven to 350 degrees. 

2. Thoroughly rinse all the vegetables with water & prepare according to indication above.

3. Coat with cooking spray a half sheet baking pan. Set aside. 

4. Evenly distribute the vegetables on the prepared baking sheet. Generously spray the vegetables with cooking spray and sprinkle with the seasoning. With a spatula toss the vegetables to coat the seasoning uniformly. 

5. Place the pan in a preheated oven with temperature set to 350 degrees. Bake for 20 to 25 minutes. Make sure to toss the vegetables halfway using silicone spatula. 

6. Afterwards remove from oven and place the mixed vegetables in sealable bowl.  Properly store the leftovers in the refrigerator (if there are any leftovers).

Homemade Vanilla Extract


My husband and I love making homemade gifts for every occasion. We really enjoy tasty treats for presents for our friends and family. 

This year we couldn’t wait to try making homemade vanilla extract after visiting the Hawaii. 

We heard from locals that Hawaii has it’s own vanilla company? What?? I was so excited!  I told our national volcano tour guide! I have a food blog and I practically put high quality vanilla in everything! I mean everything! 

When we looked up the Hawaiian Vanilla Company, we saw that they offer tours! So luckily there were a few spots left on a tour the day before we were heading home. We signed up for the general tour but not the lunch tour. The general tour does come with delicious vanilla tea, coffee and ice cream! 


Warning if you love vanilla like me or even just like using higher quality ingredients for cooking and baking this tour is a must! Don’t pass this family run business and tour up. 
I love d the gift shop; it was filled with everything vanilla from beans to salt to body spray! So many good gift ideas for souvenirs or for yourself. 

The owner is very easy going and extremely knowledgable of the vanilla harvesting process. He loves sharing his passion for vanilla which really engages the audience. Also the whole family is invested in the business; 5 kids. 
One of my favorite parts of the tour was seeing the vanilla orchids and learning how delicate they are and all the work behind them. I have a better understanding why I pay so much for high quality vanilla. 


My favorite part was I brought some vanilla beans home to make my own vanilla extract for gifts. 

Ingredients

3 vanilla beans split

12 ounces of vodka 

12 ounce glass sealable container 

patience (9-12 months worth)

Directions:

1. Split the vanilla beans lengthwise with a sharp knife down the center of the bean. 

2. Place the split beans in the glass jar, fill the jars with vodka. 

3. Close the jar, & date the jar with a sharpy on the bottom so you know when to open it for use. 

4. Keep the vanilla extract while it rests in a cool, dry, dark area for 9-12 months before using in your cookies or cakes. 

Enjoy !