Category Archives: Cake

Rhubarb Almond Spiced Coffeecake


IMG_8366
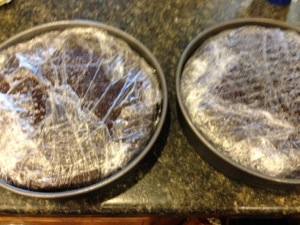
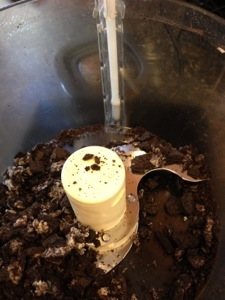
We harvested our rhubarb last weekend and my grandpa also recently gave me several pounds as well. I love spring time when my rhubarb comes in ready to harvest with little effort and minimal upkeep.  My husband & I  spent yesterday morning cutting up the rhubarb in the food processor and storing the vibrant vegetable in ziplock bags either in 1-2 cup batches or 5 cup batches for pie and cakes. Rhubarb freezers so well,  I find such pleasure in being able to enjoy the rhubarb all year long.  

IMG_8264

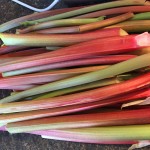
We now have 5 rhubarb plants, and my grandfather has about 50-60 plants. He has so many he sells them to the local farmers market. I hope to one day do the same. He has such a green thumb! I am so proud of him, he is going to be recognized in the next few weeks for his garden in my home town’s Tribune Paper.

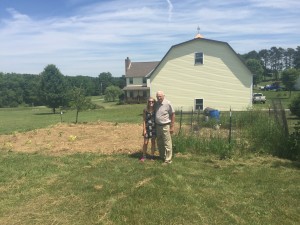
This picture below is my grandpa and I,  in front of my husband & I’s garden this year. Every fruit and vegetable in our garden is from my grandpa’s greenhouse he received for Christmas.

IMG_8340


Cake Ingredients:

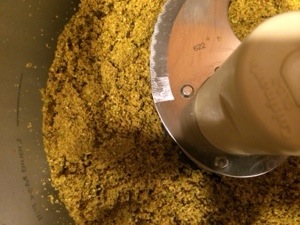
3 cups of whole wheat pastry flour

1 tsp high quality vanilla extract

1 tsp ground mace

1 tsp ground Vietnamese cinnamon

1 tsp ground Chinese 5 spice

1/3 cup slivered almonds

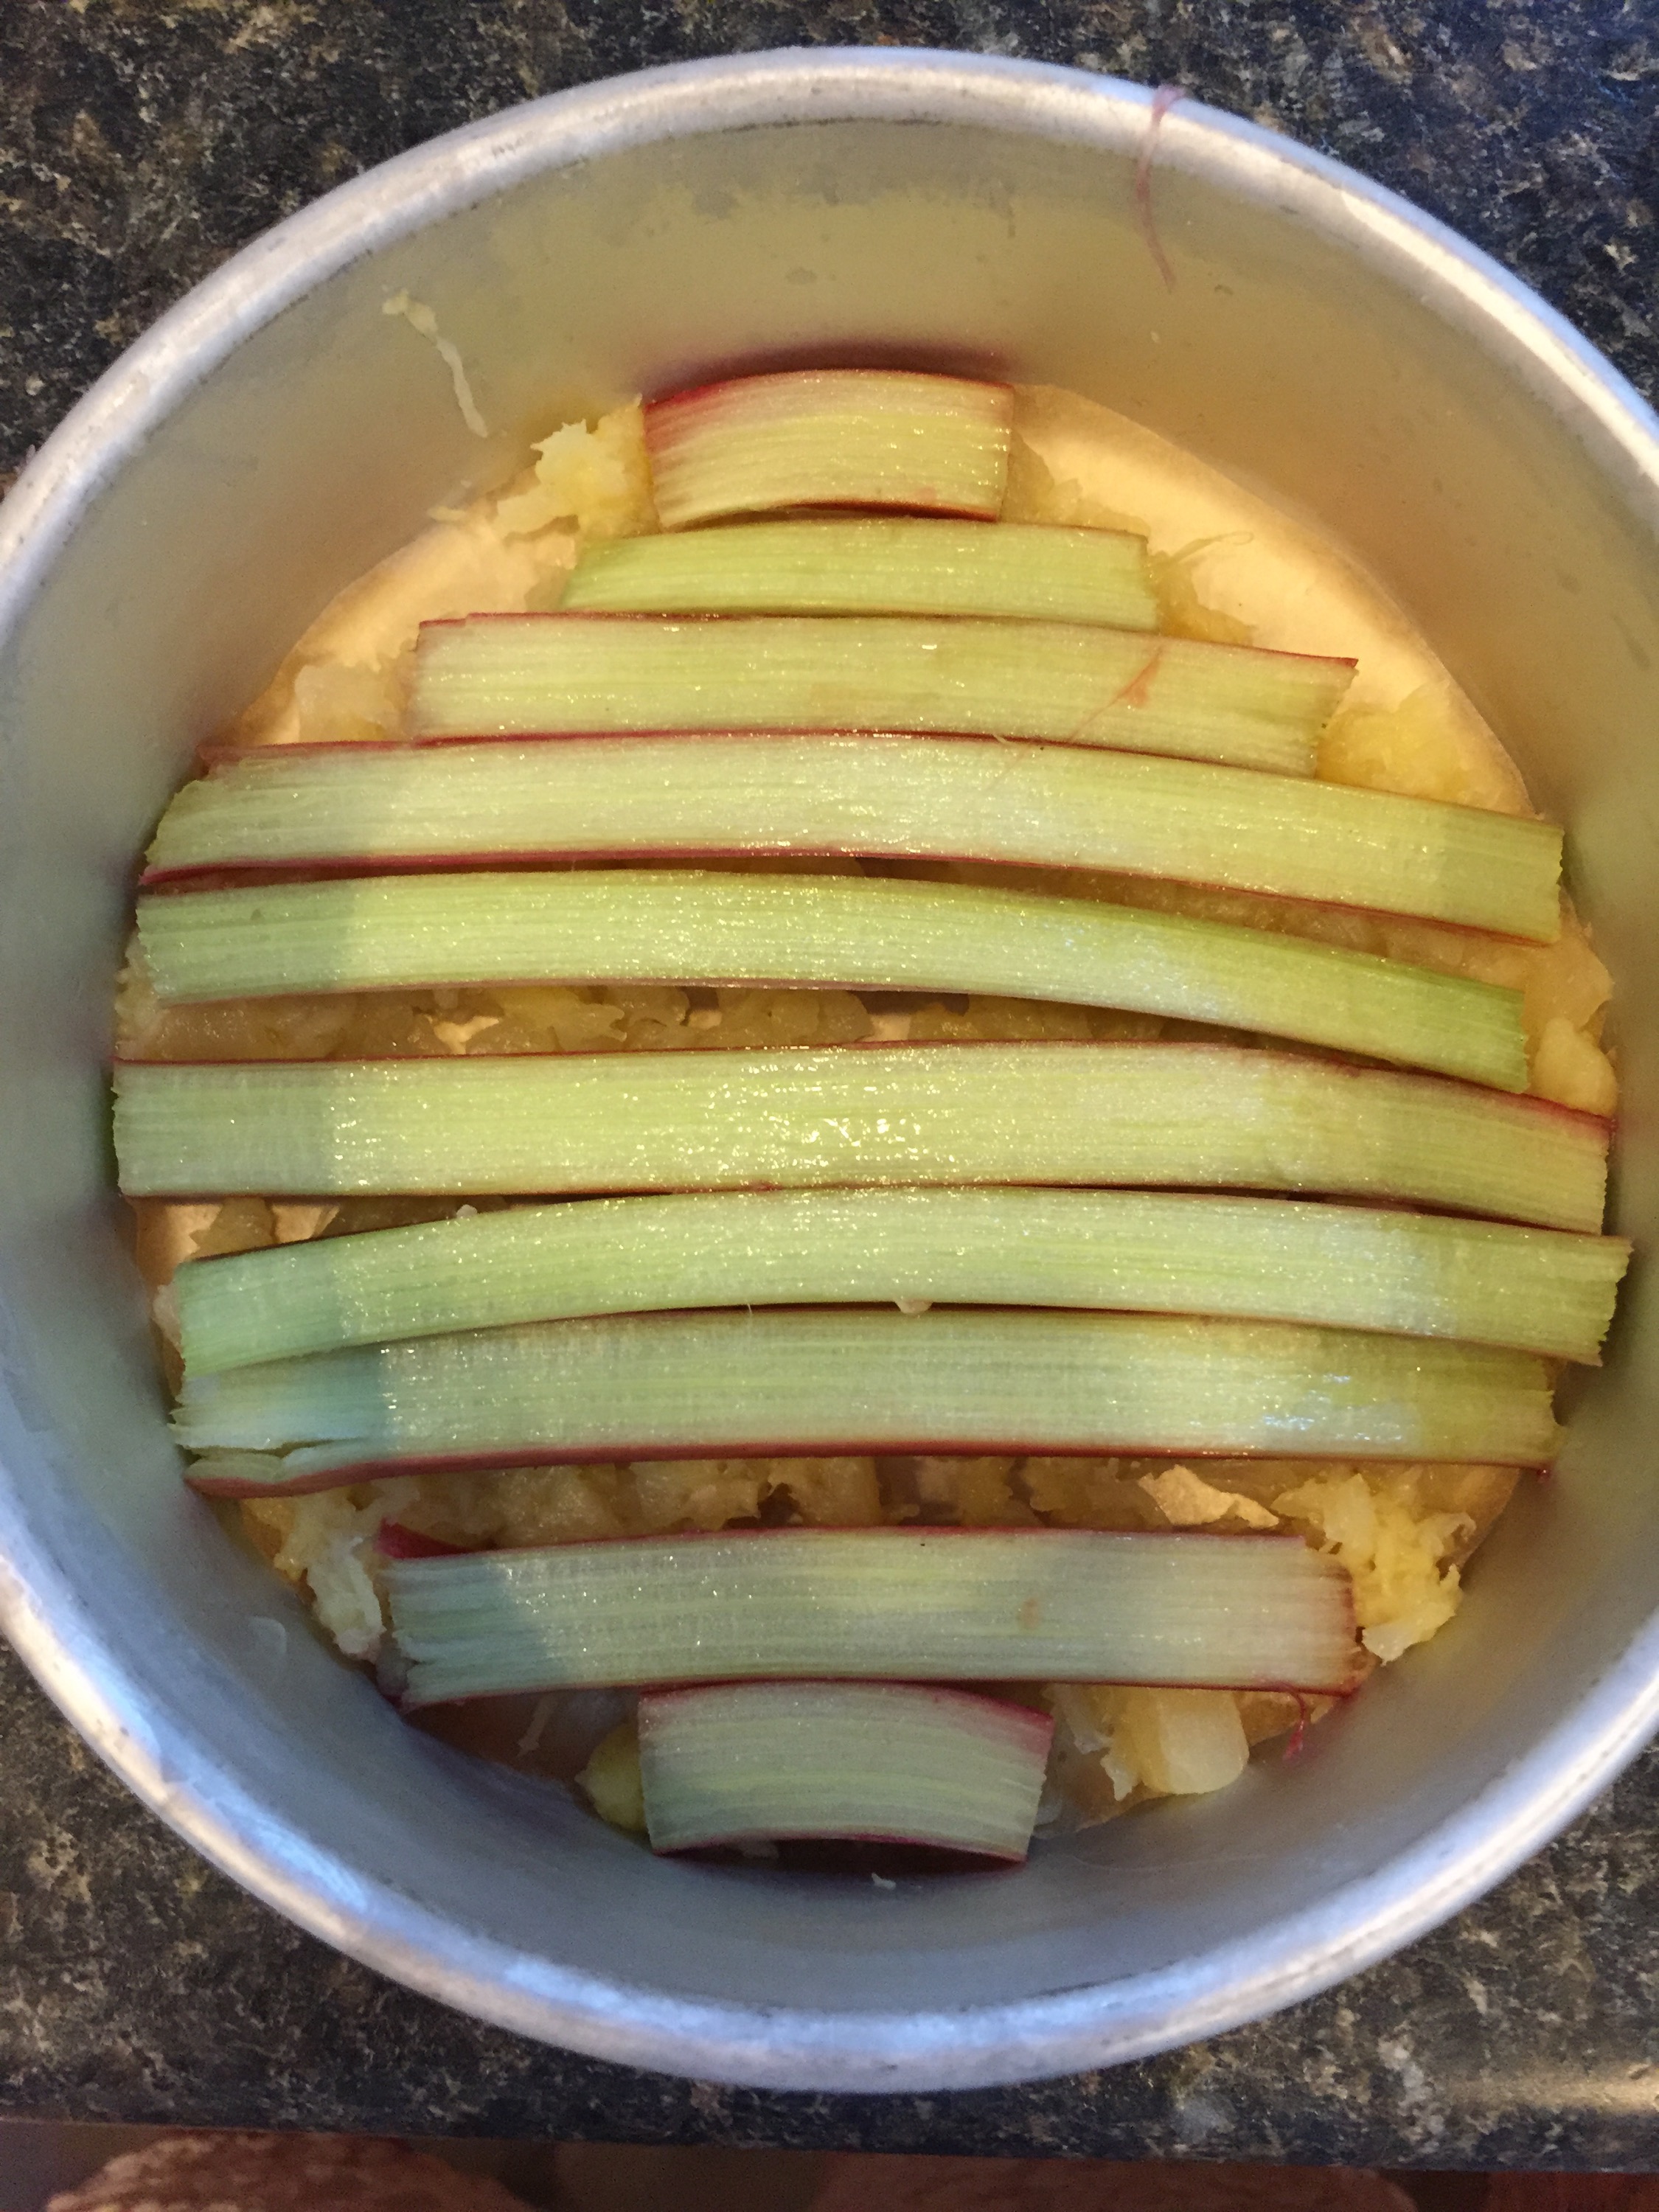
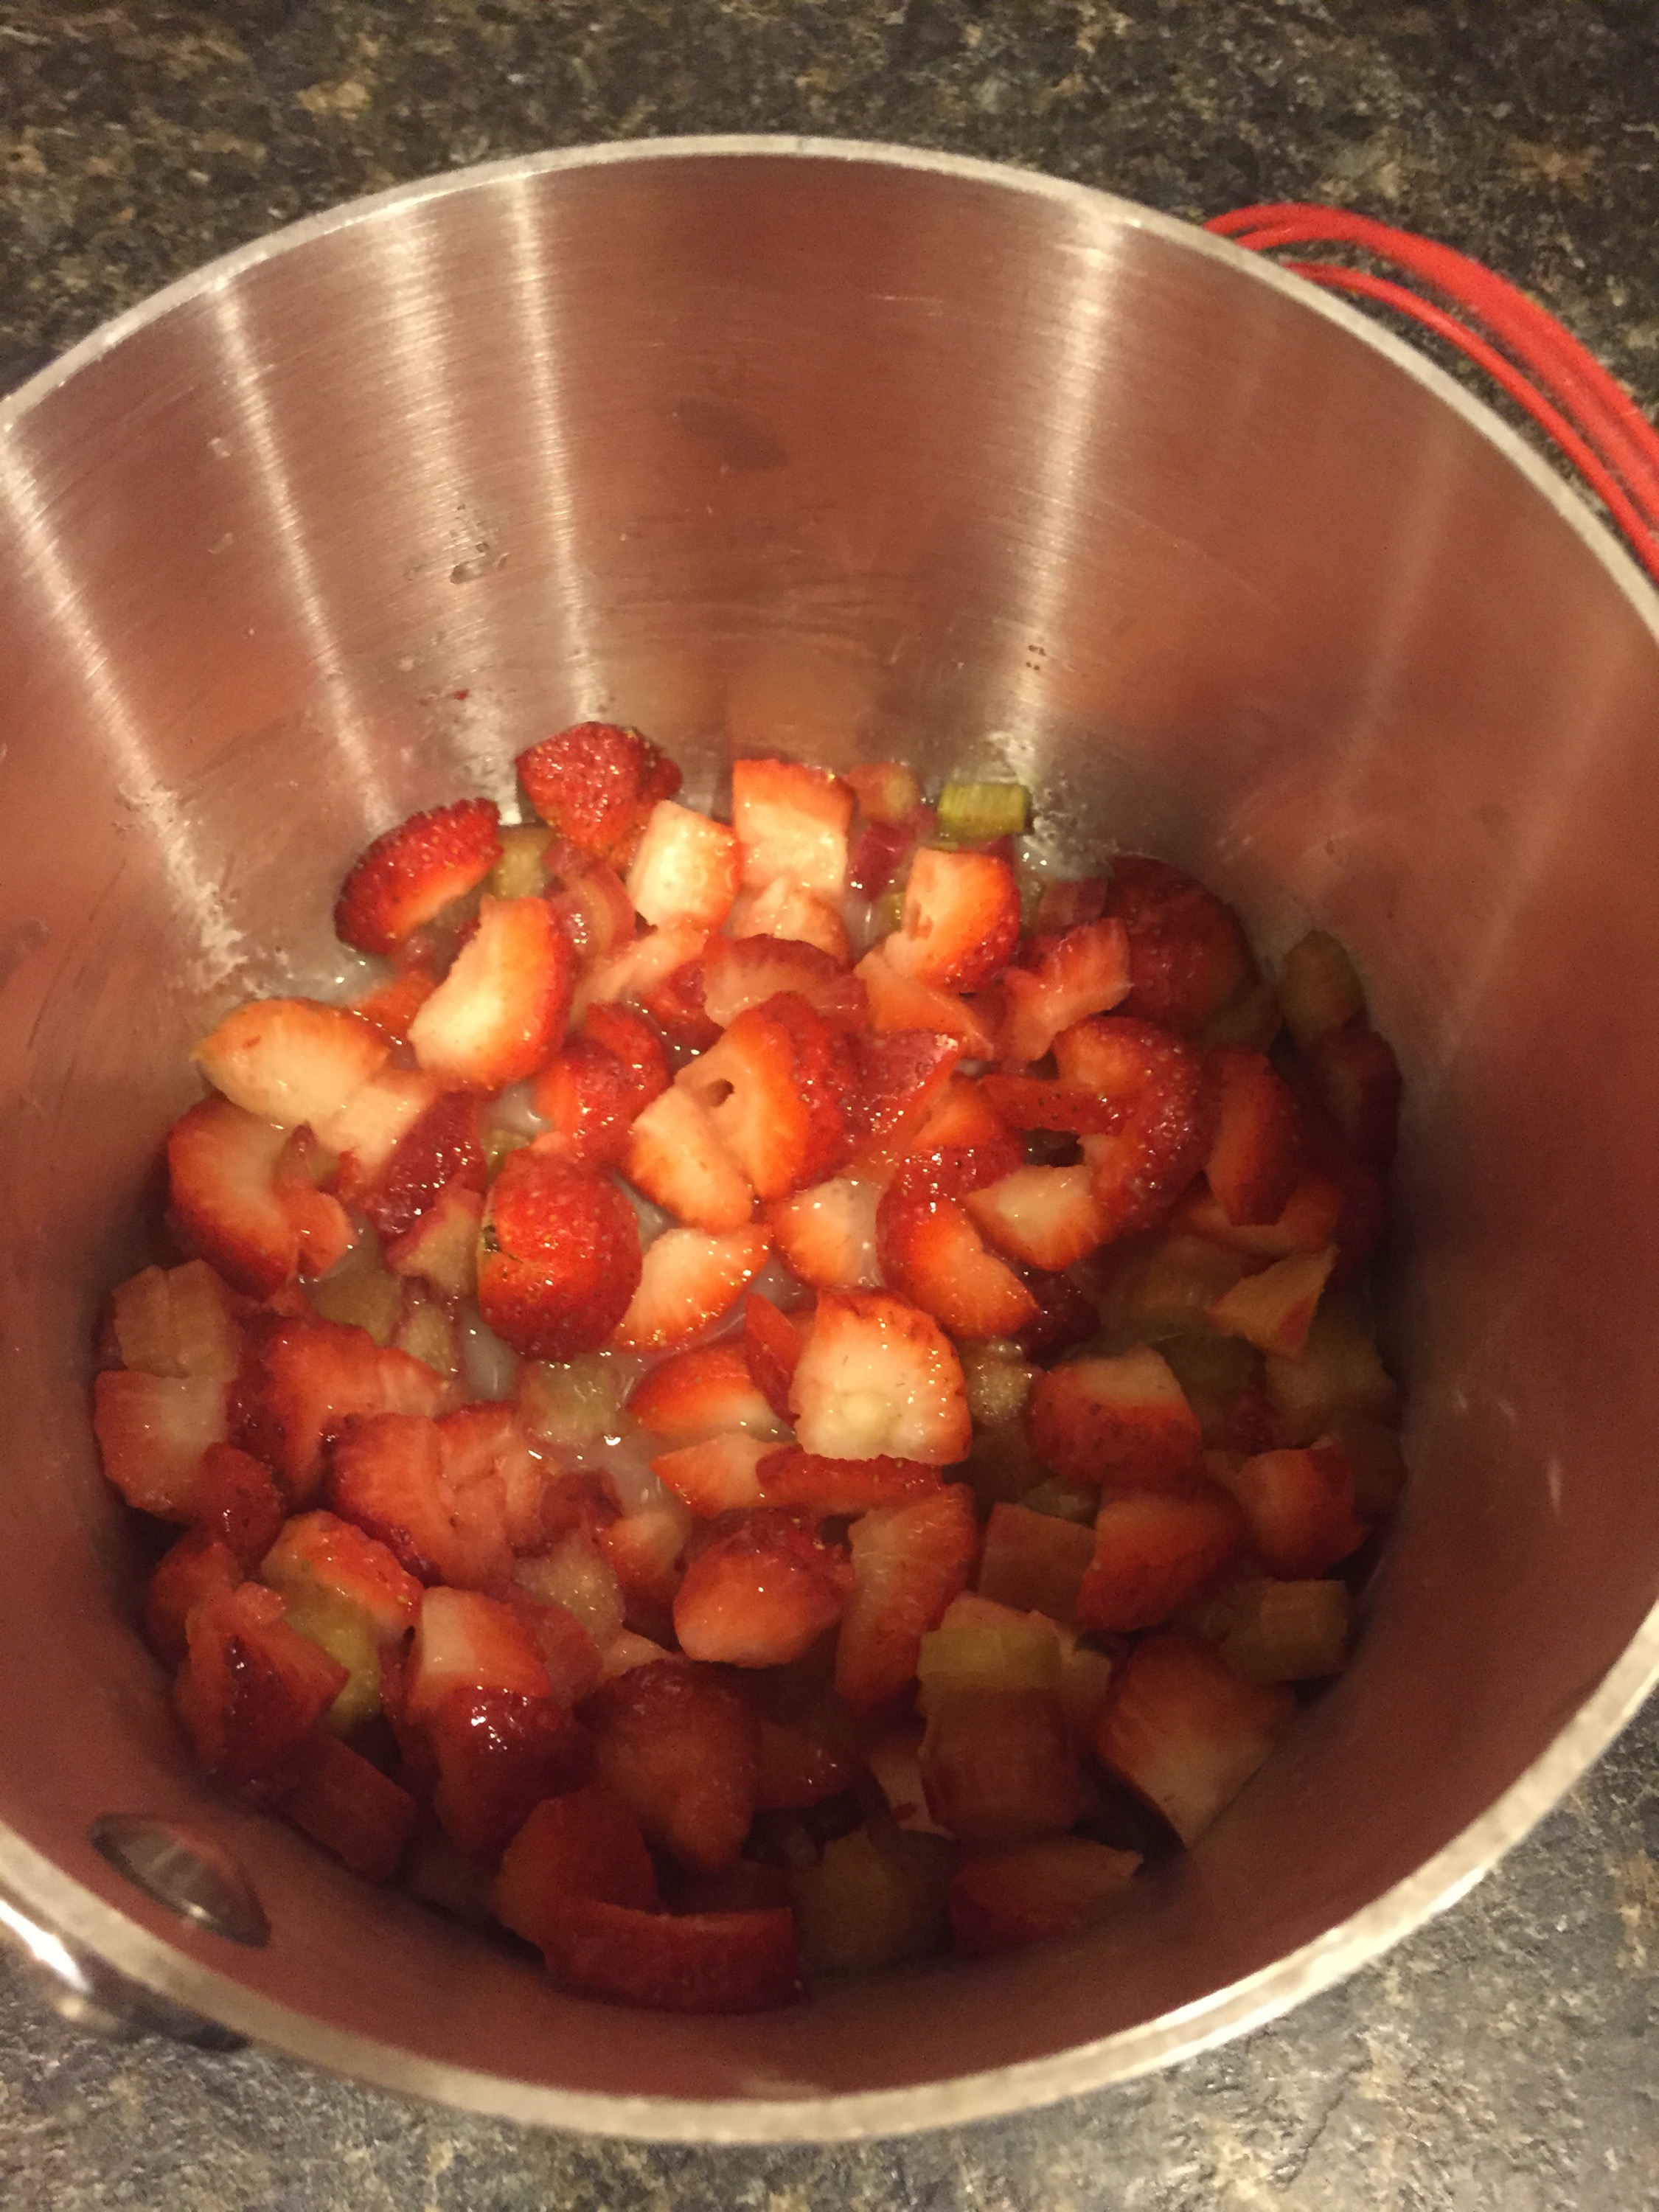
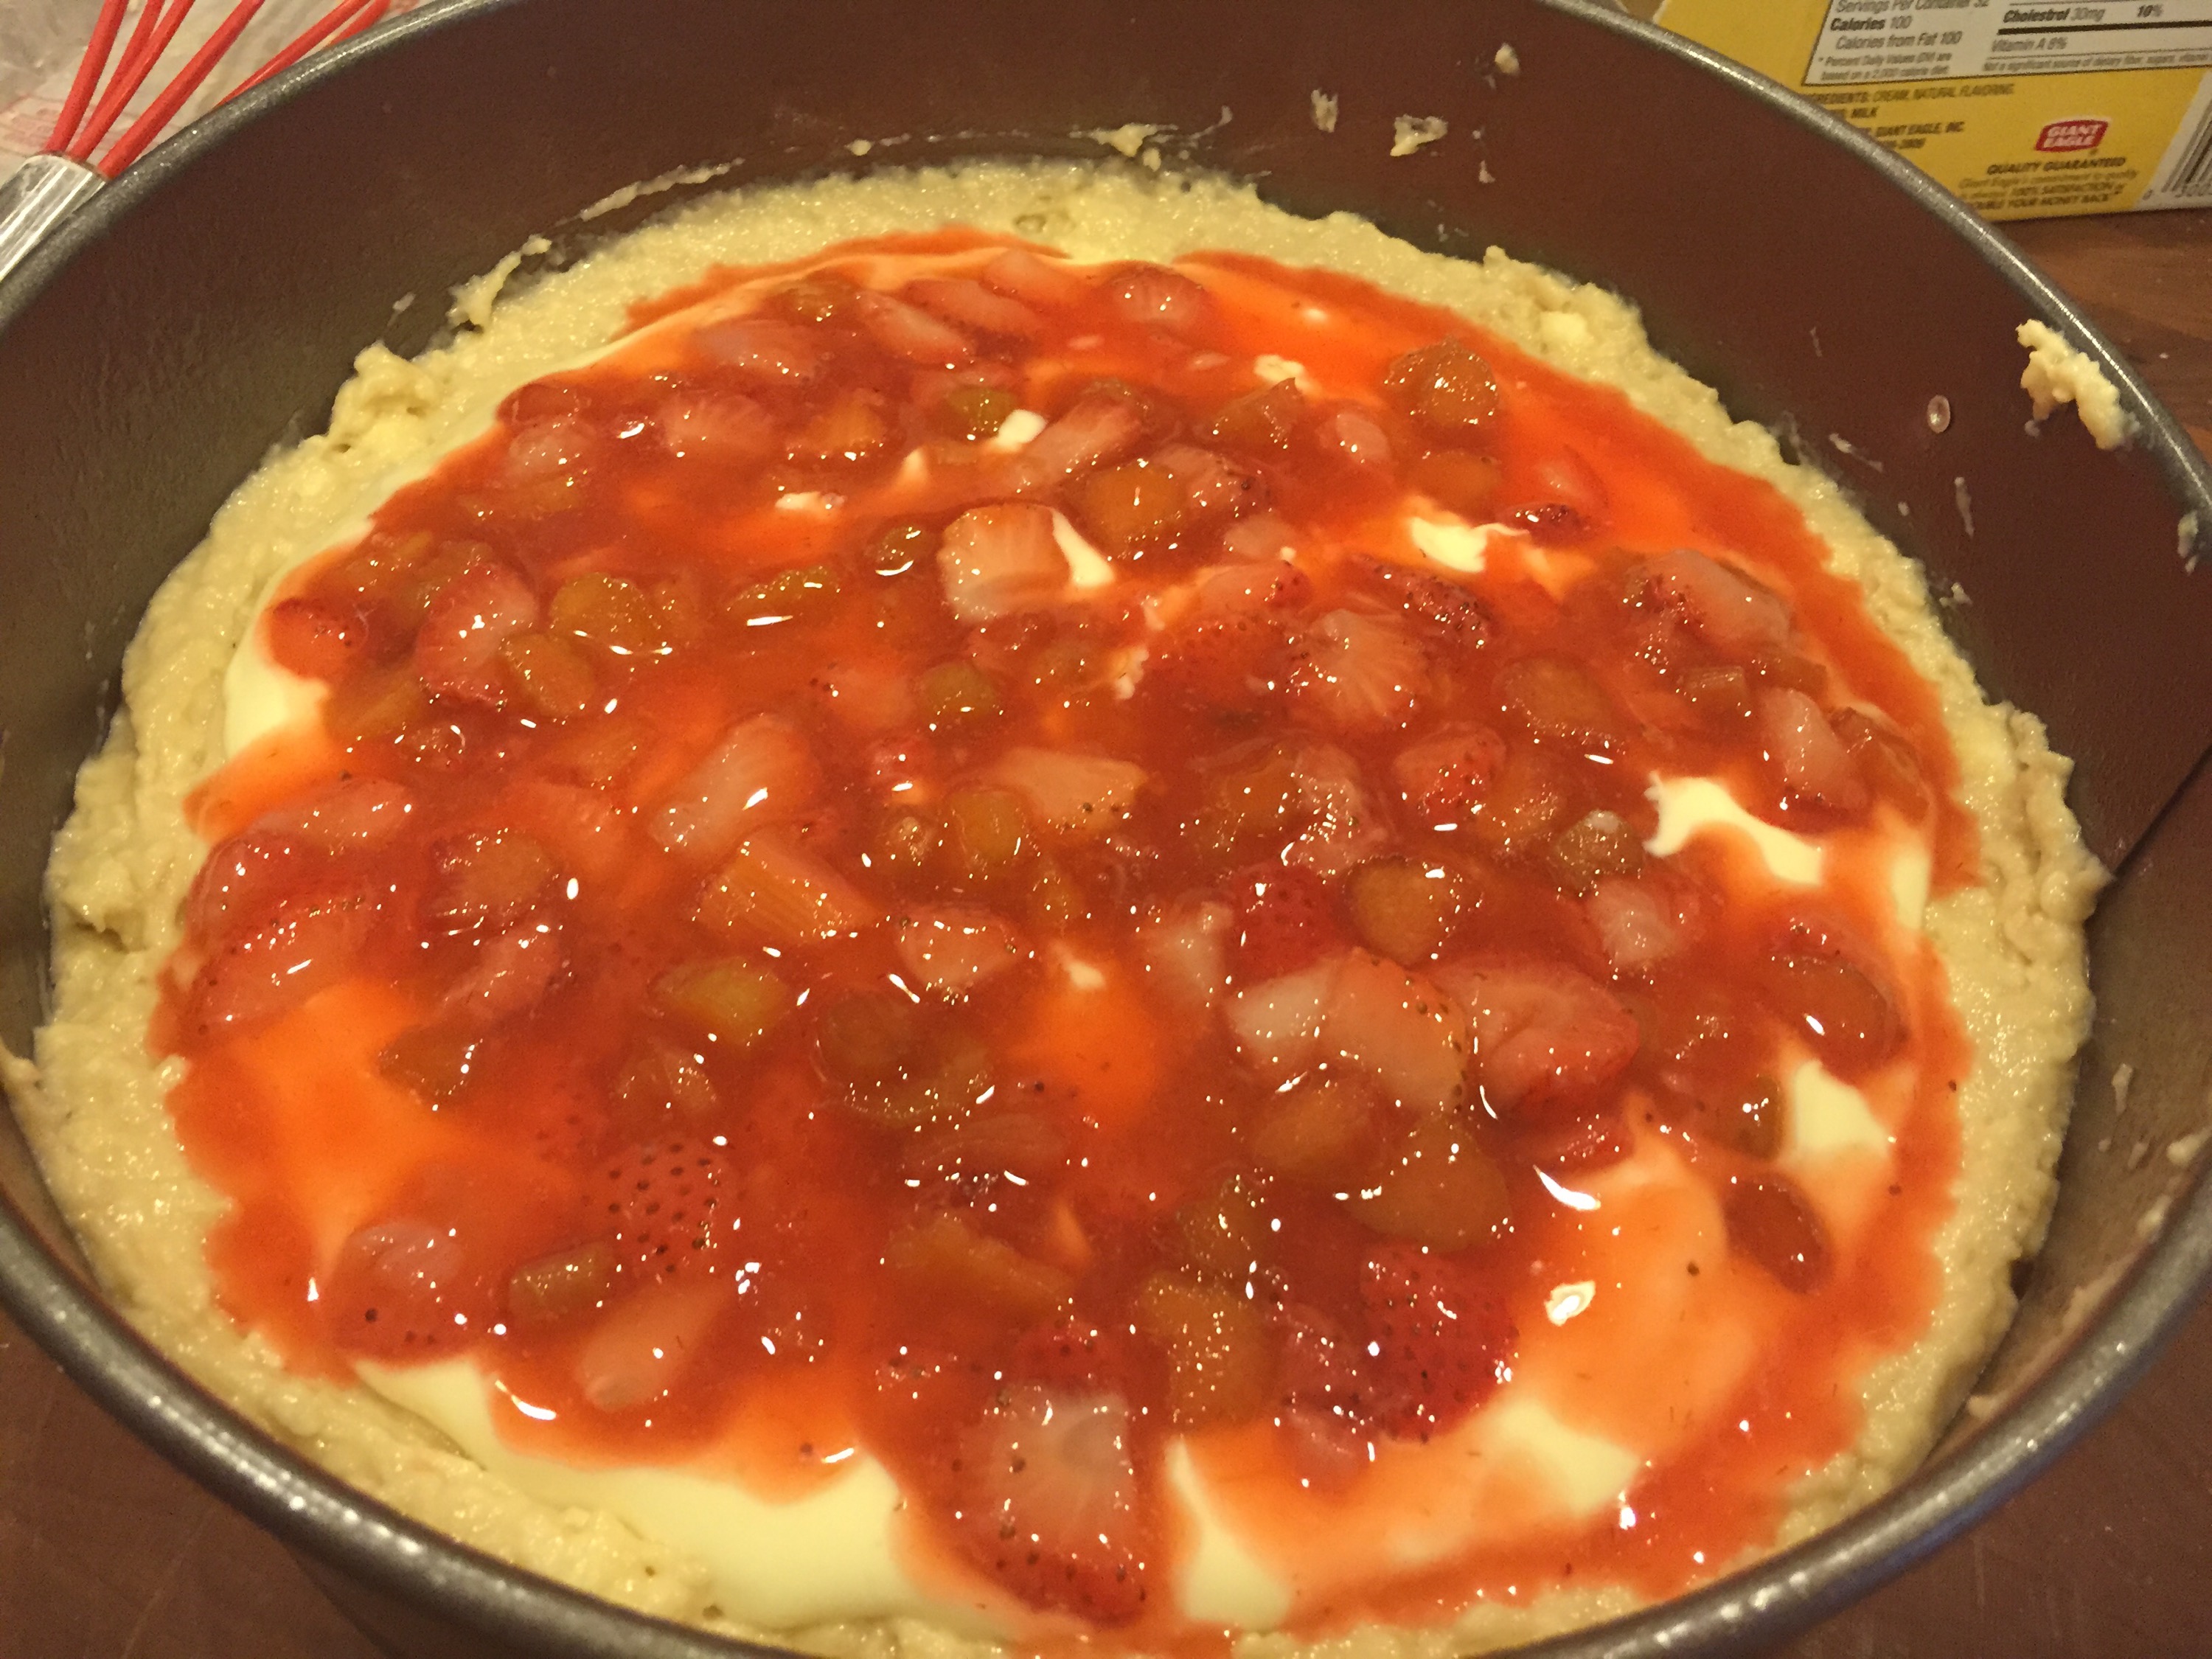
5 cups of rhubarb chopped

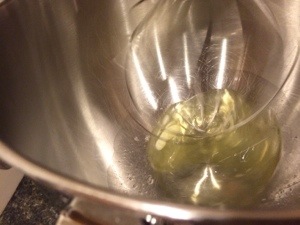
1 cup liquid egg substitute (or 8 egg whites)

3/4 cup canola oil

1 tsp kosher salt

1 tsp baking soda

2 tsp baking powder

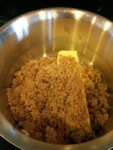
1 1/3 cup granulated sugar
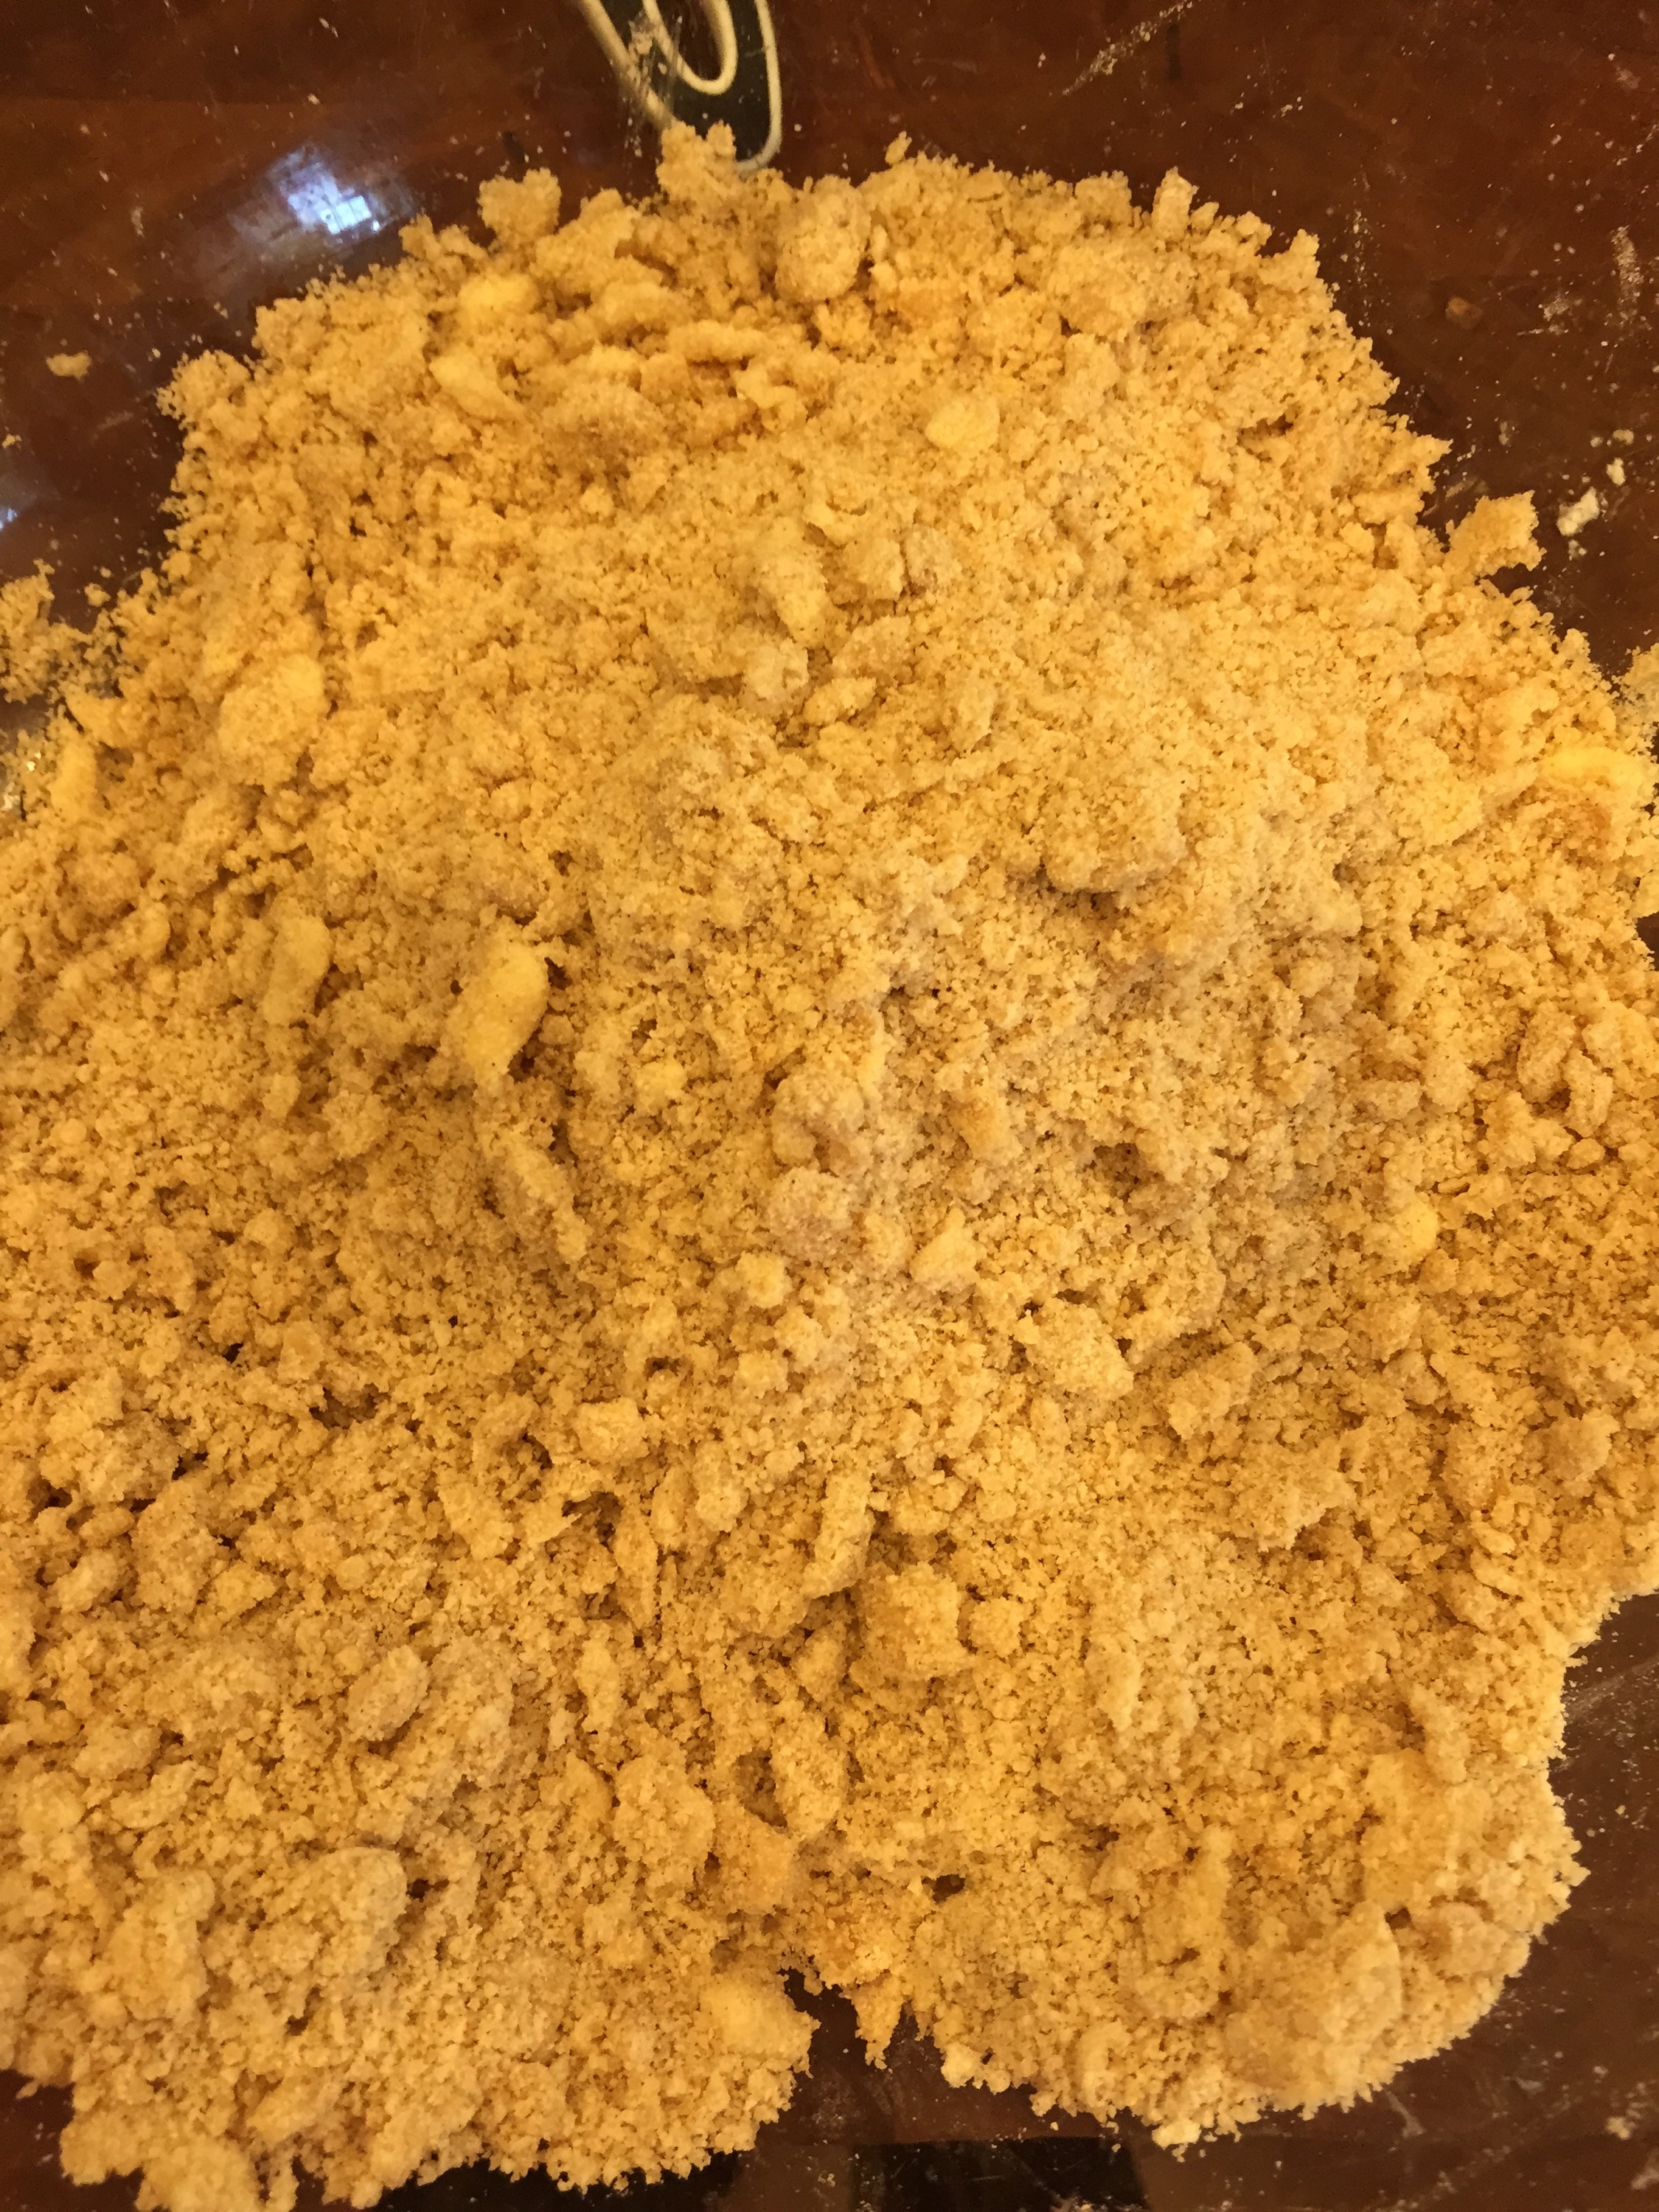
Cinnamon Swirl 

2 TB cinnamon sugar

Directions: 

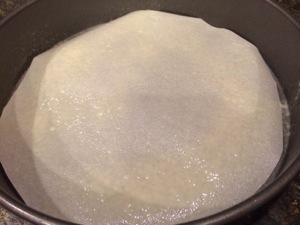
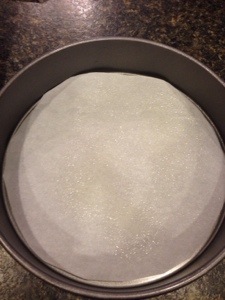
  1. Preheat oven to 350 degrees. Heavily cooking spray a bunt pan. Set aside
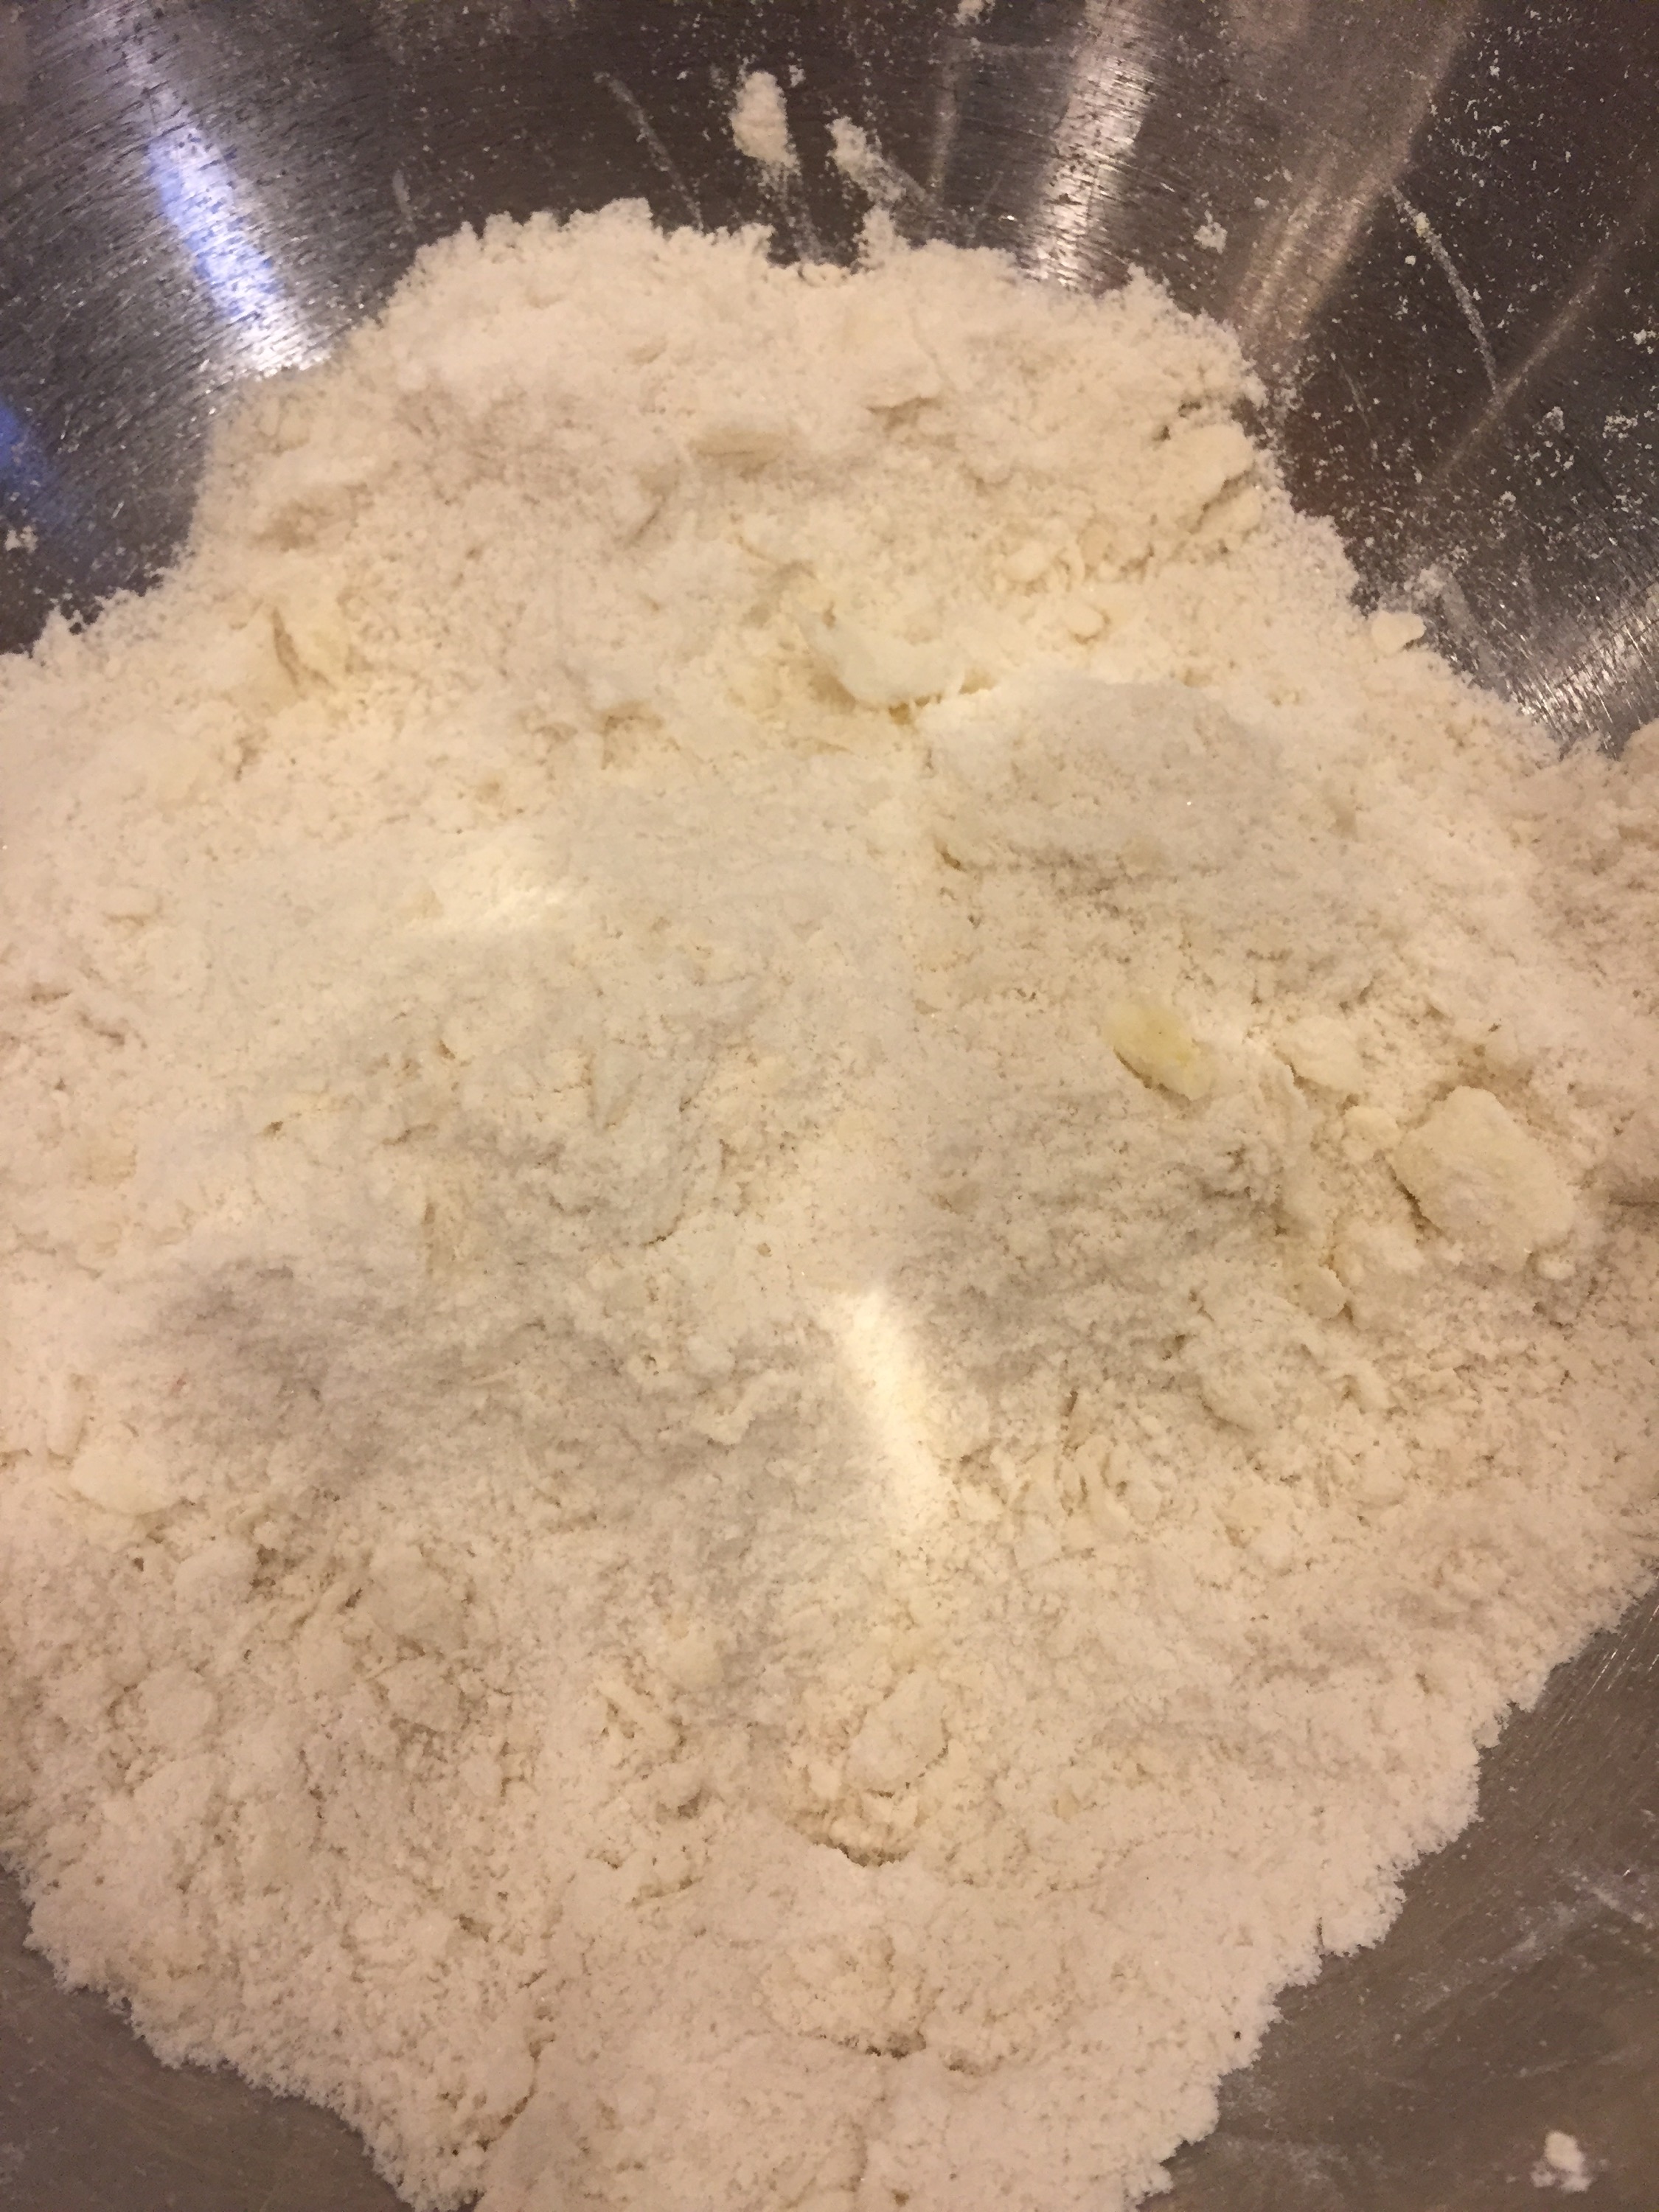
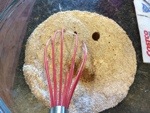
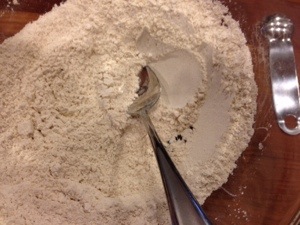
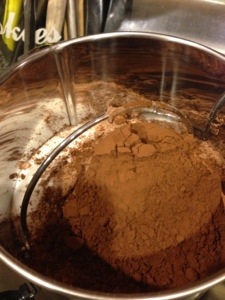
  2. In a medium bowl mix together thoroughly the flour, baking soda, baking powder, salt, & spices. Set aside.
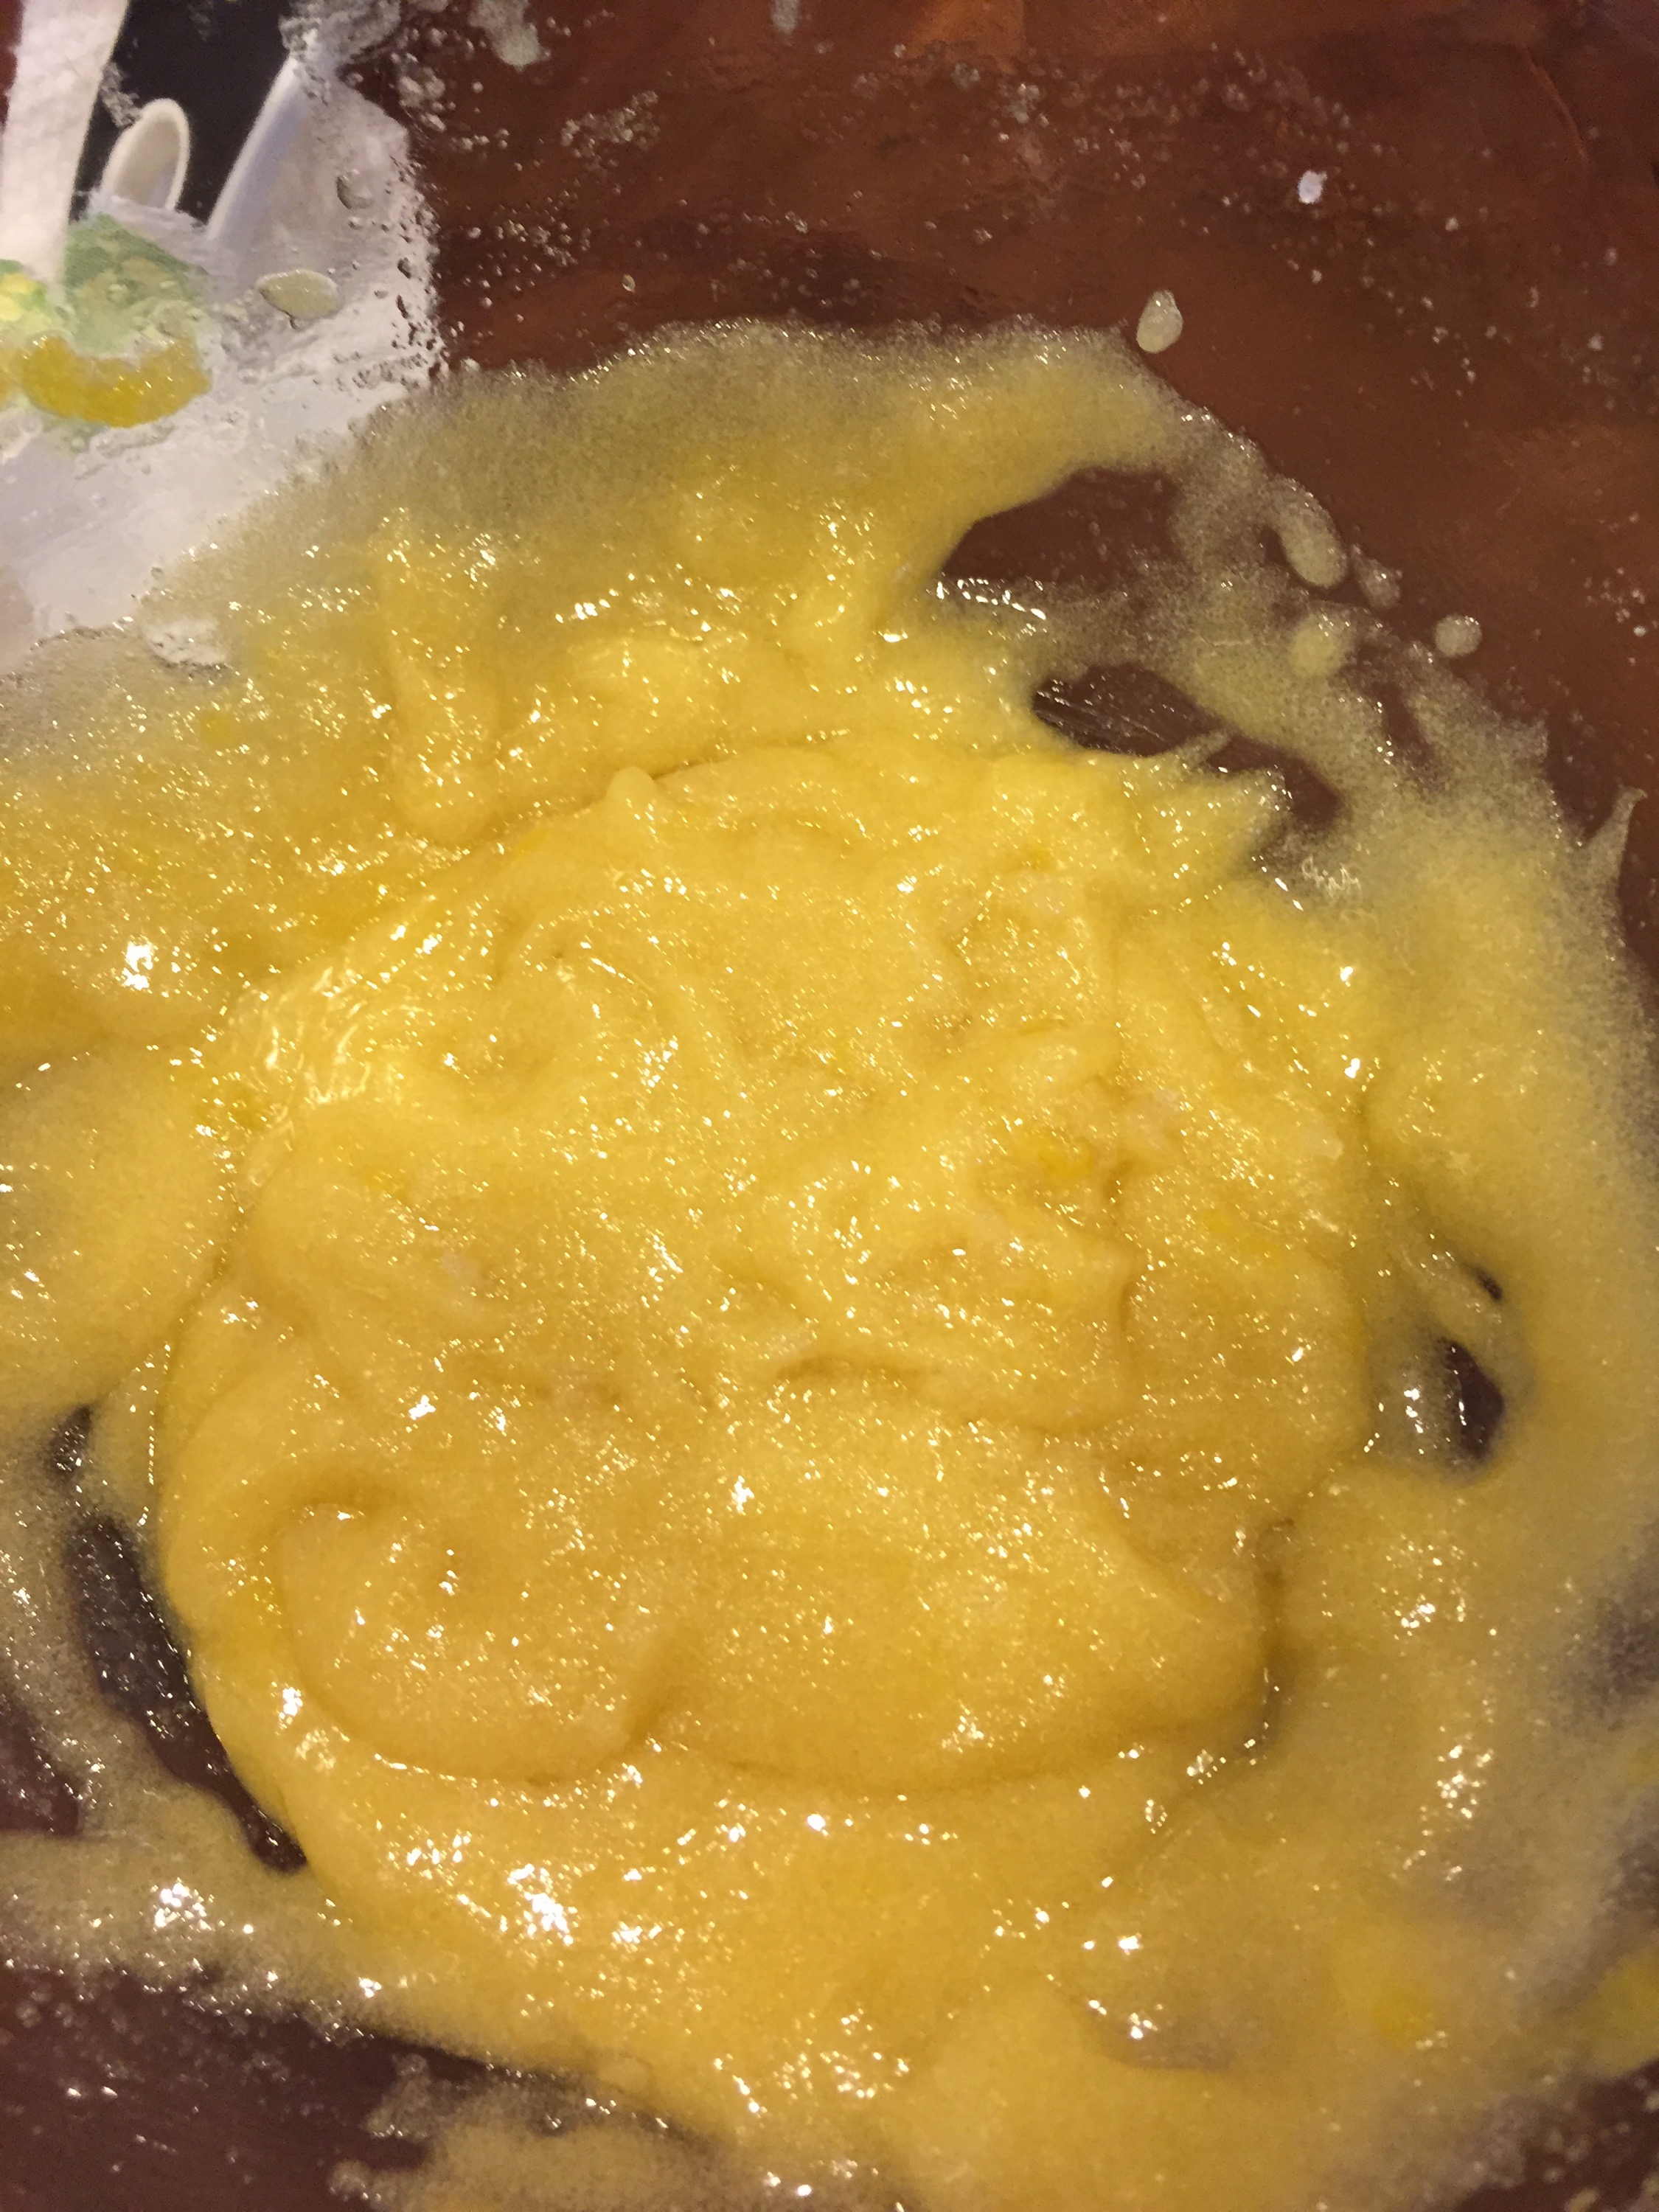
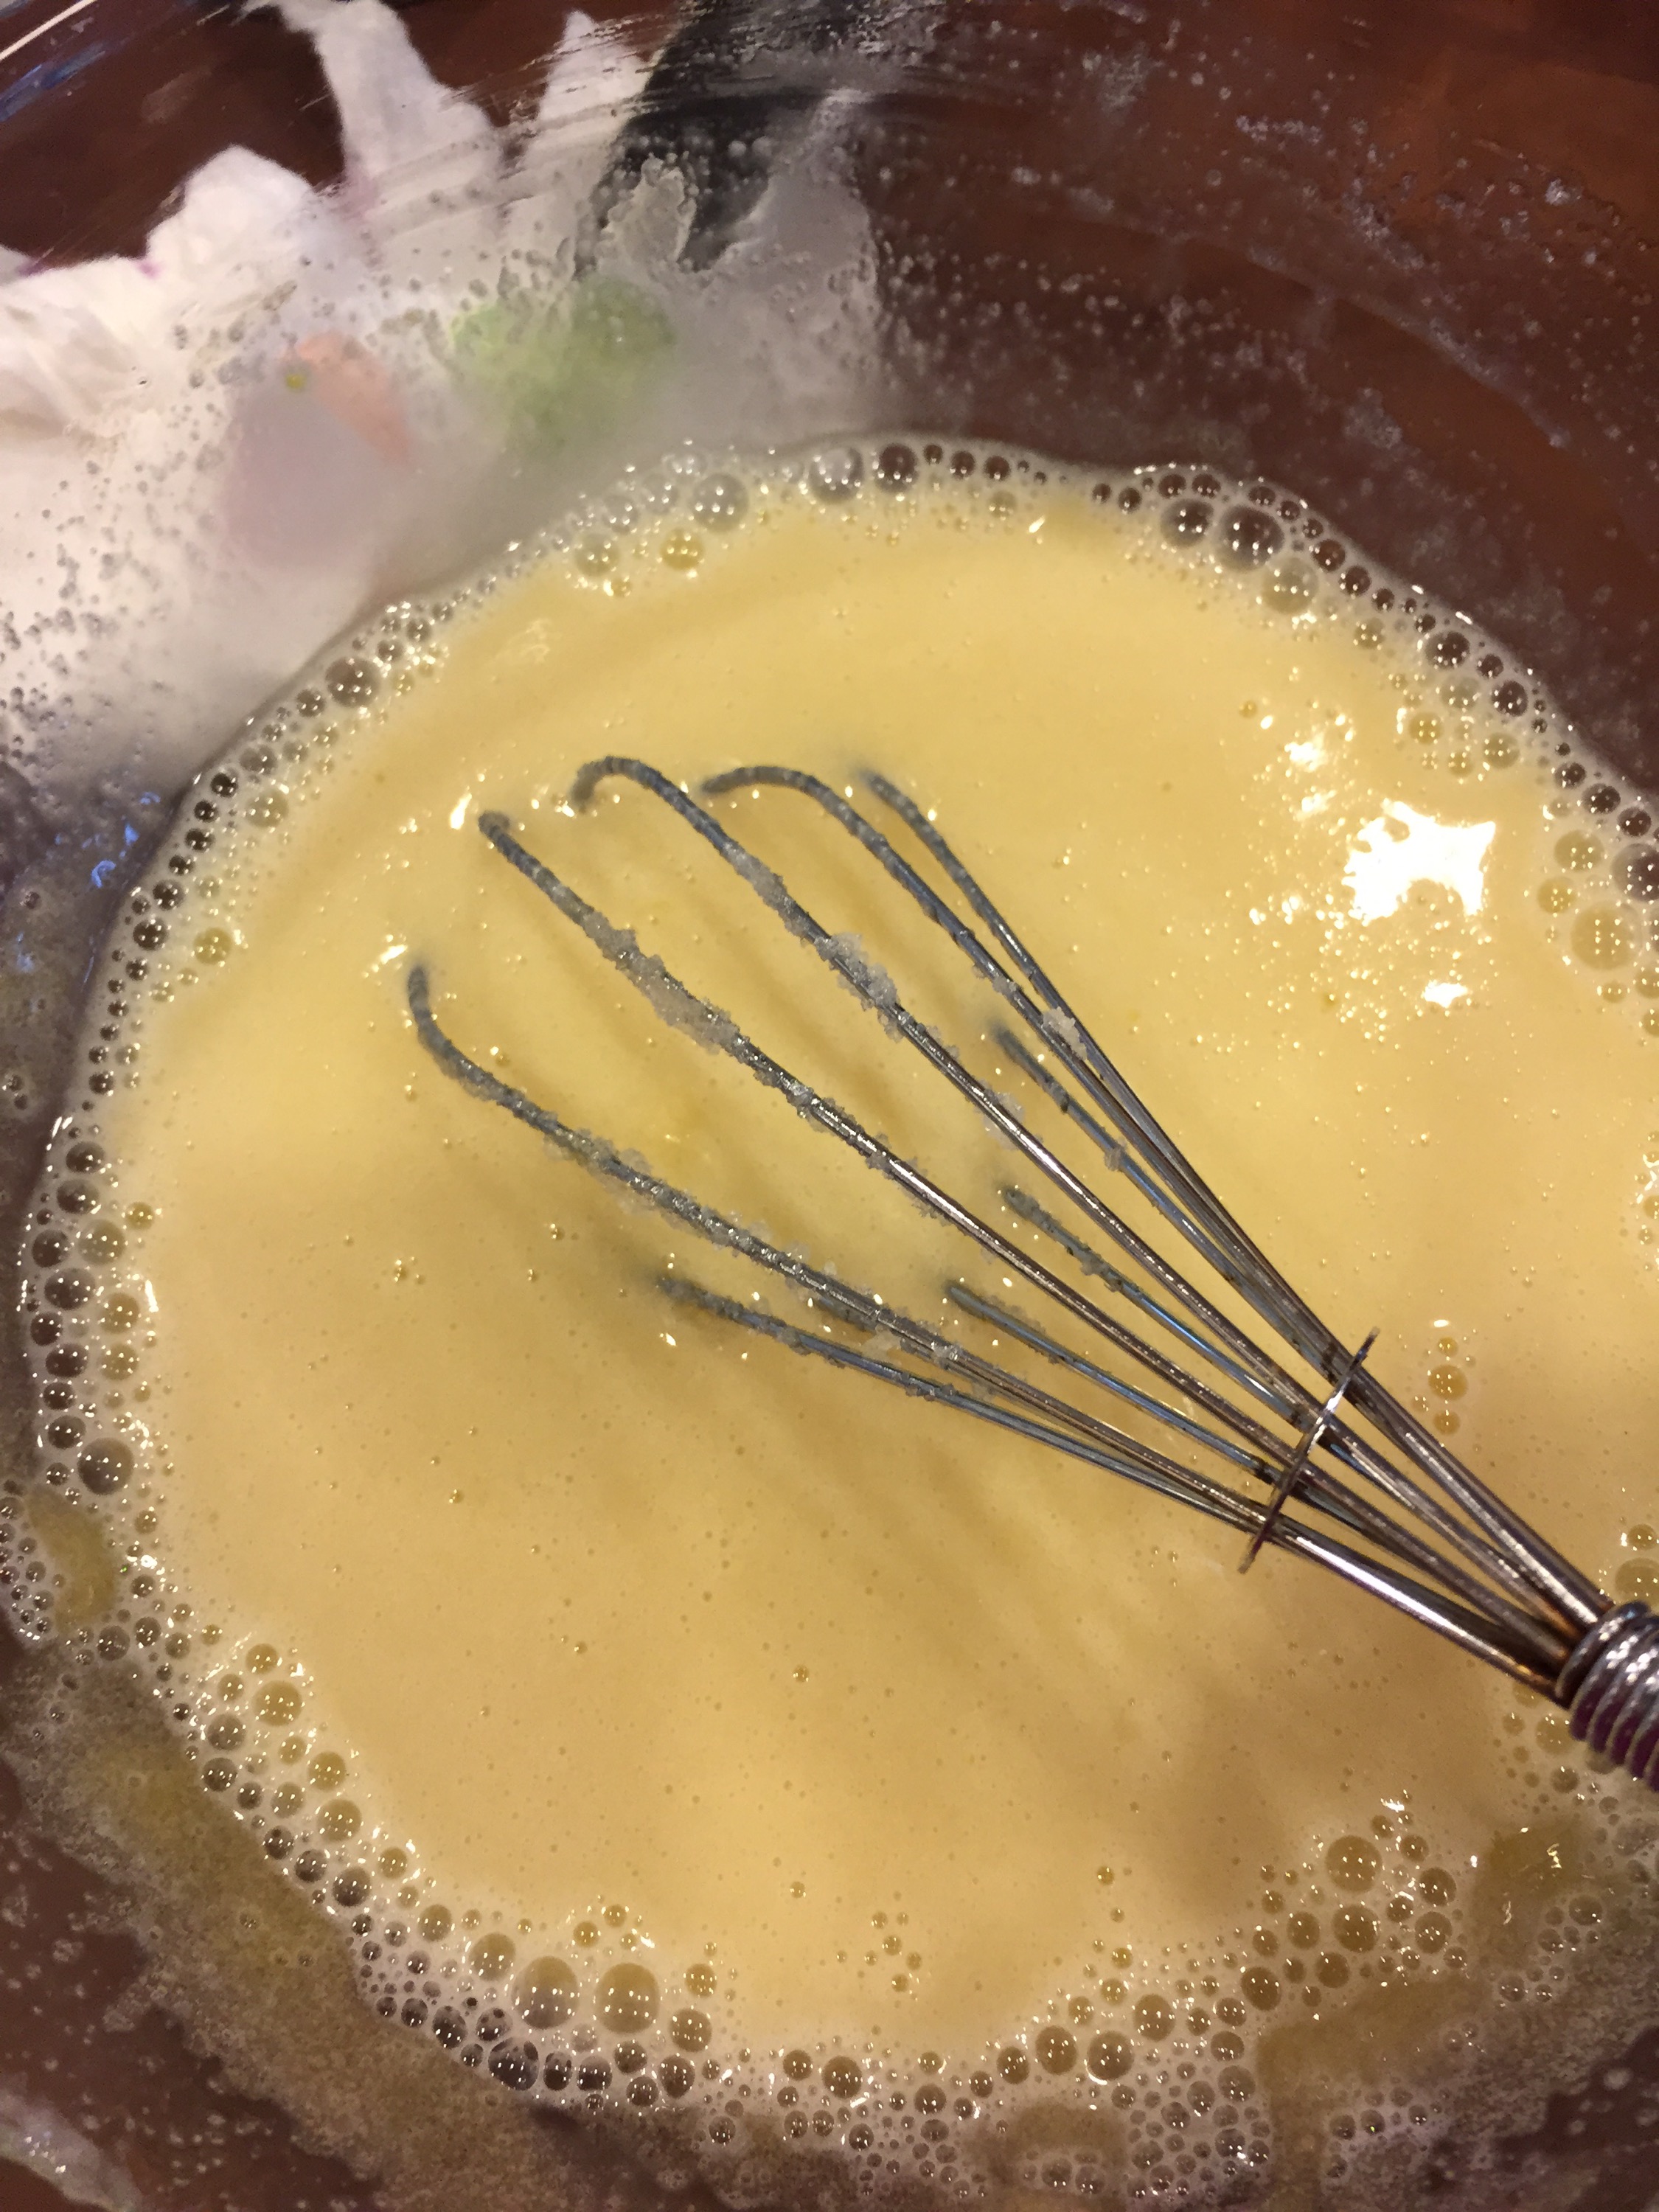
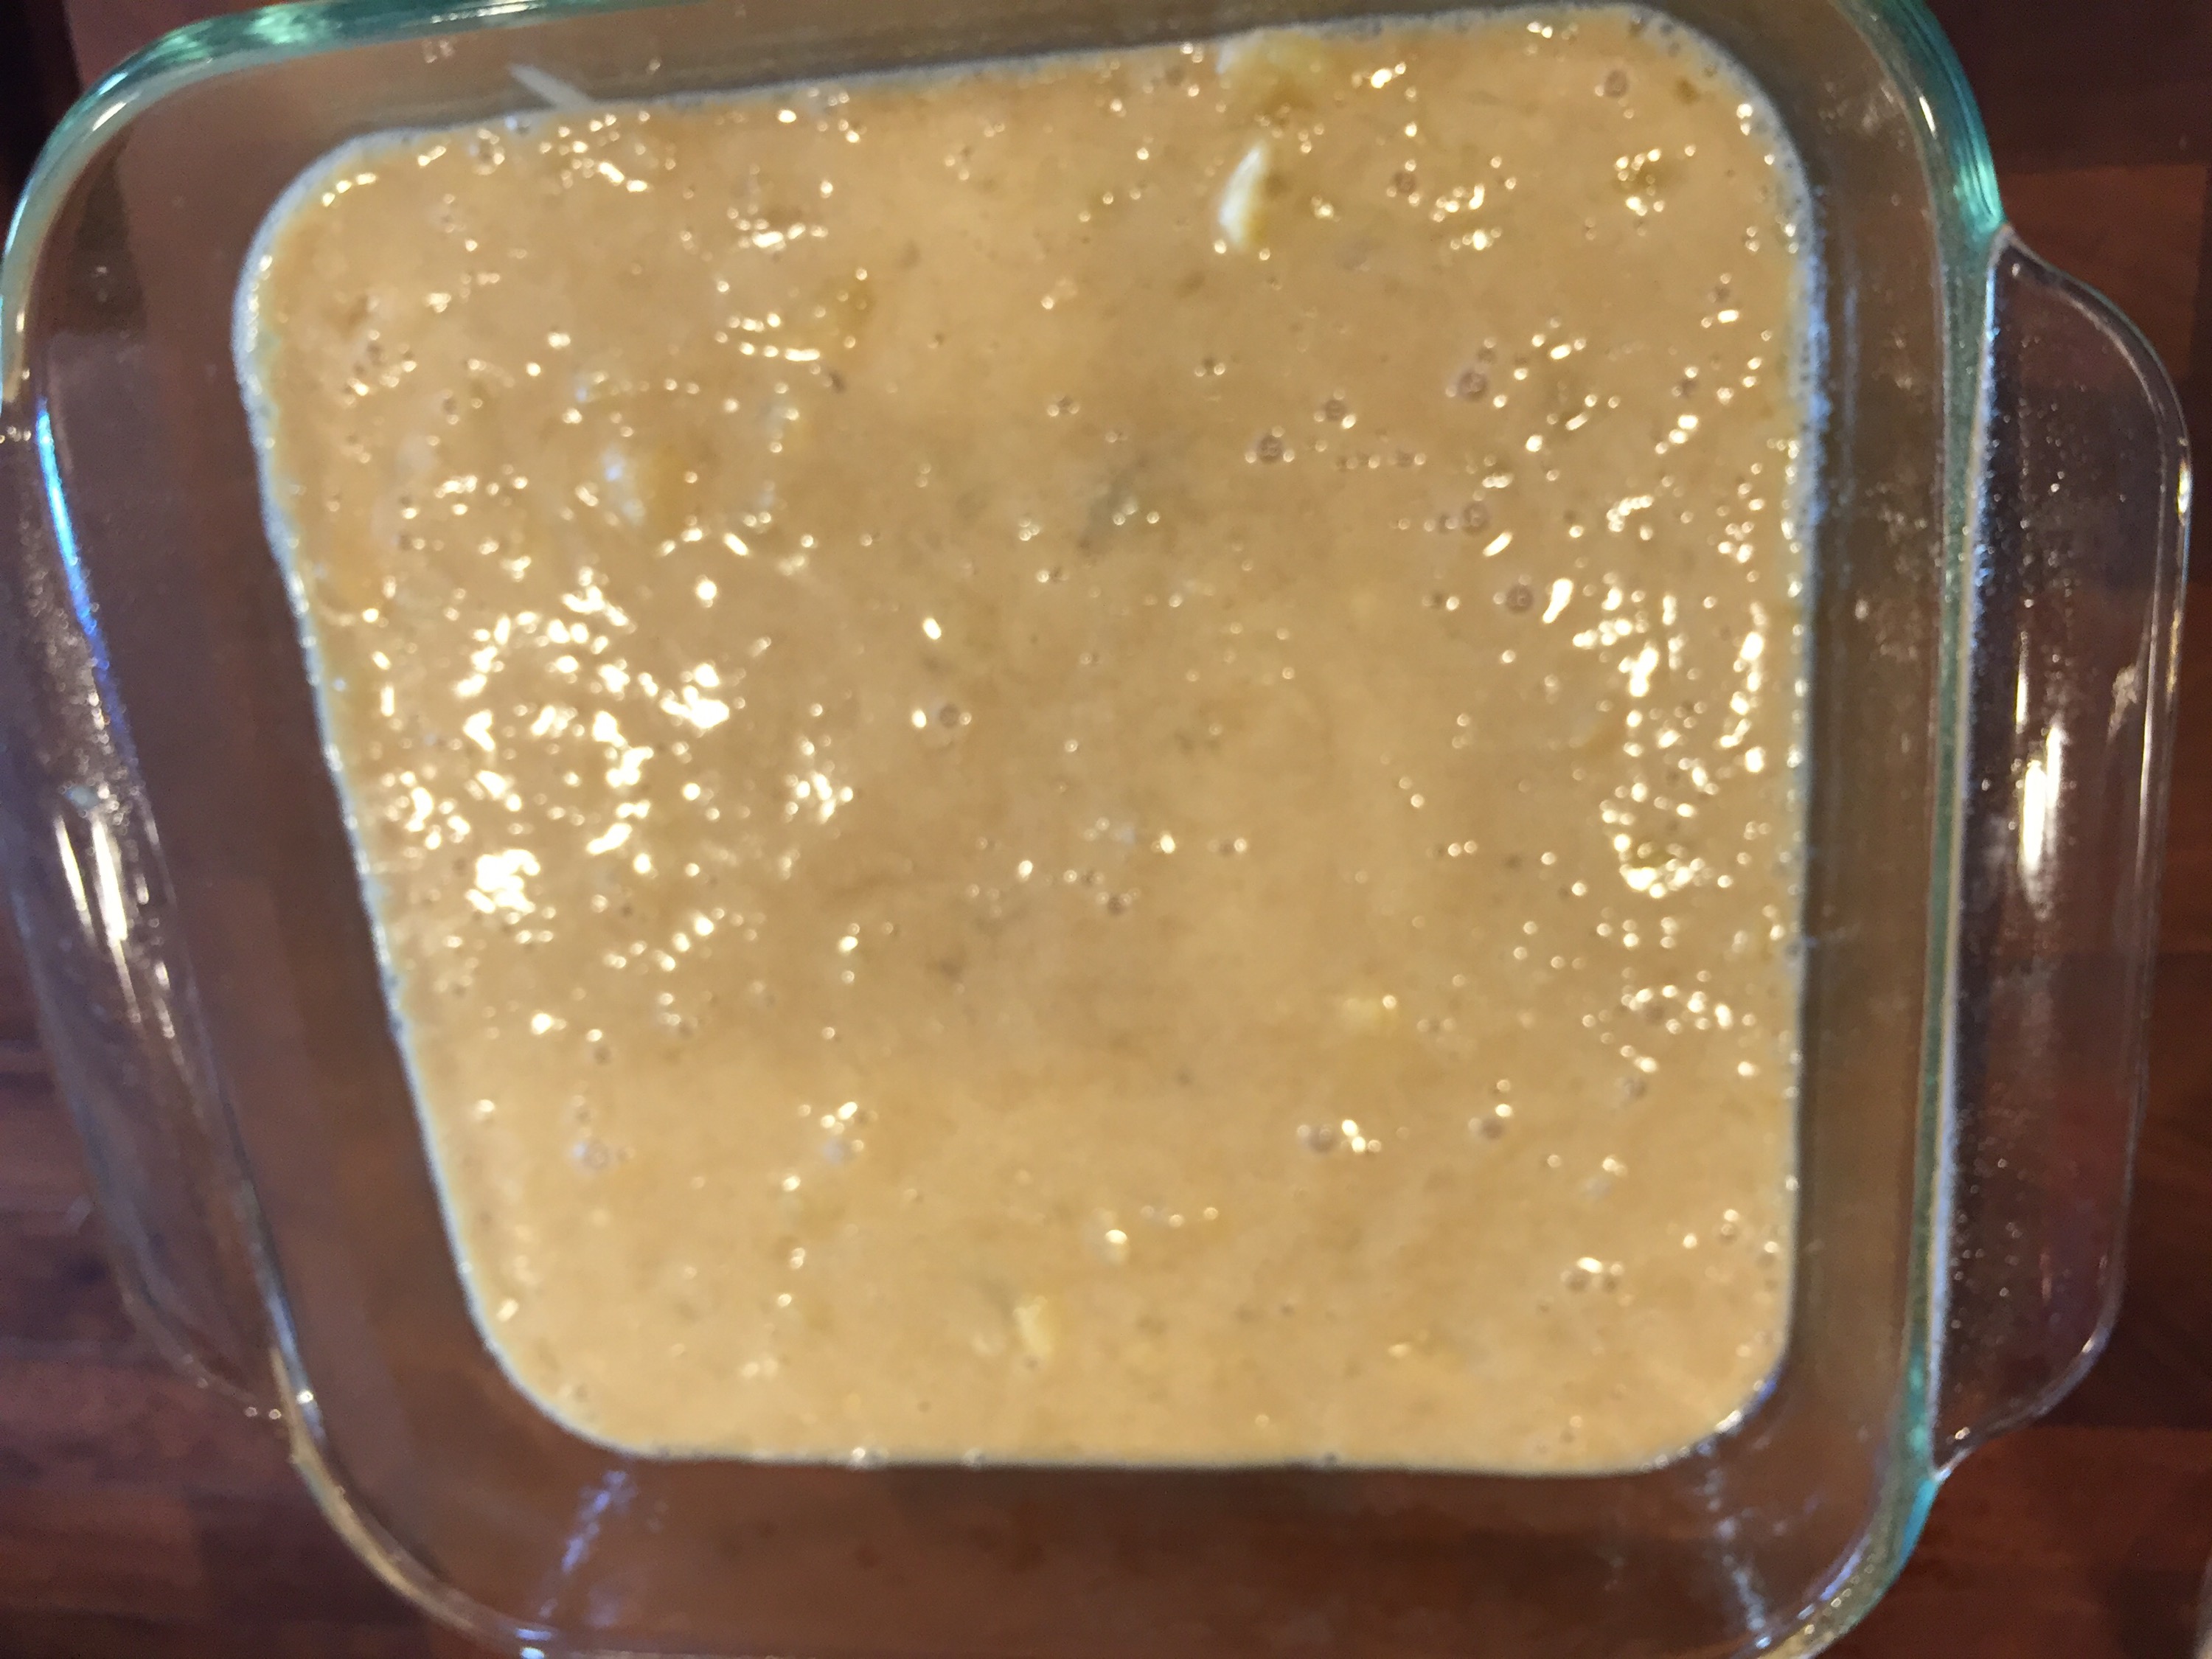
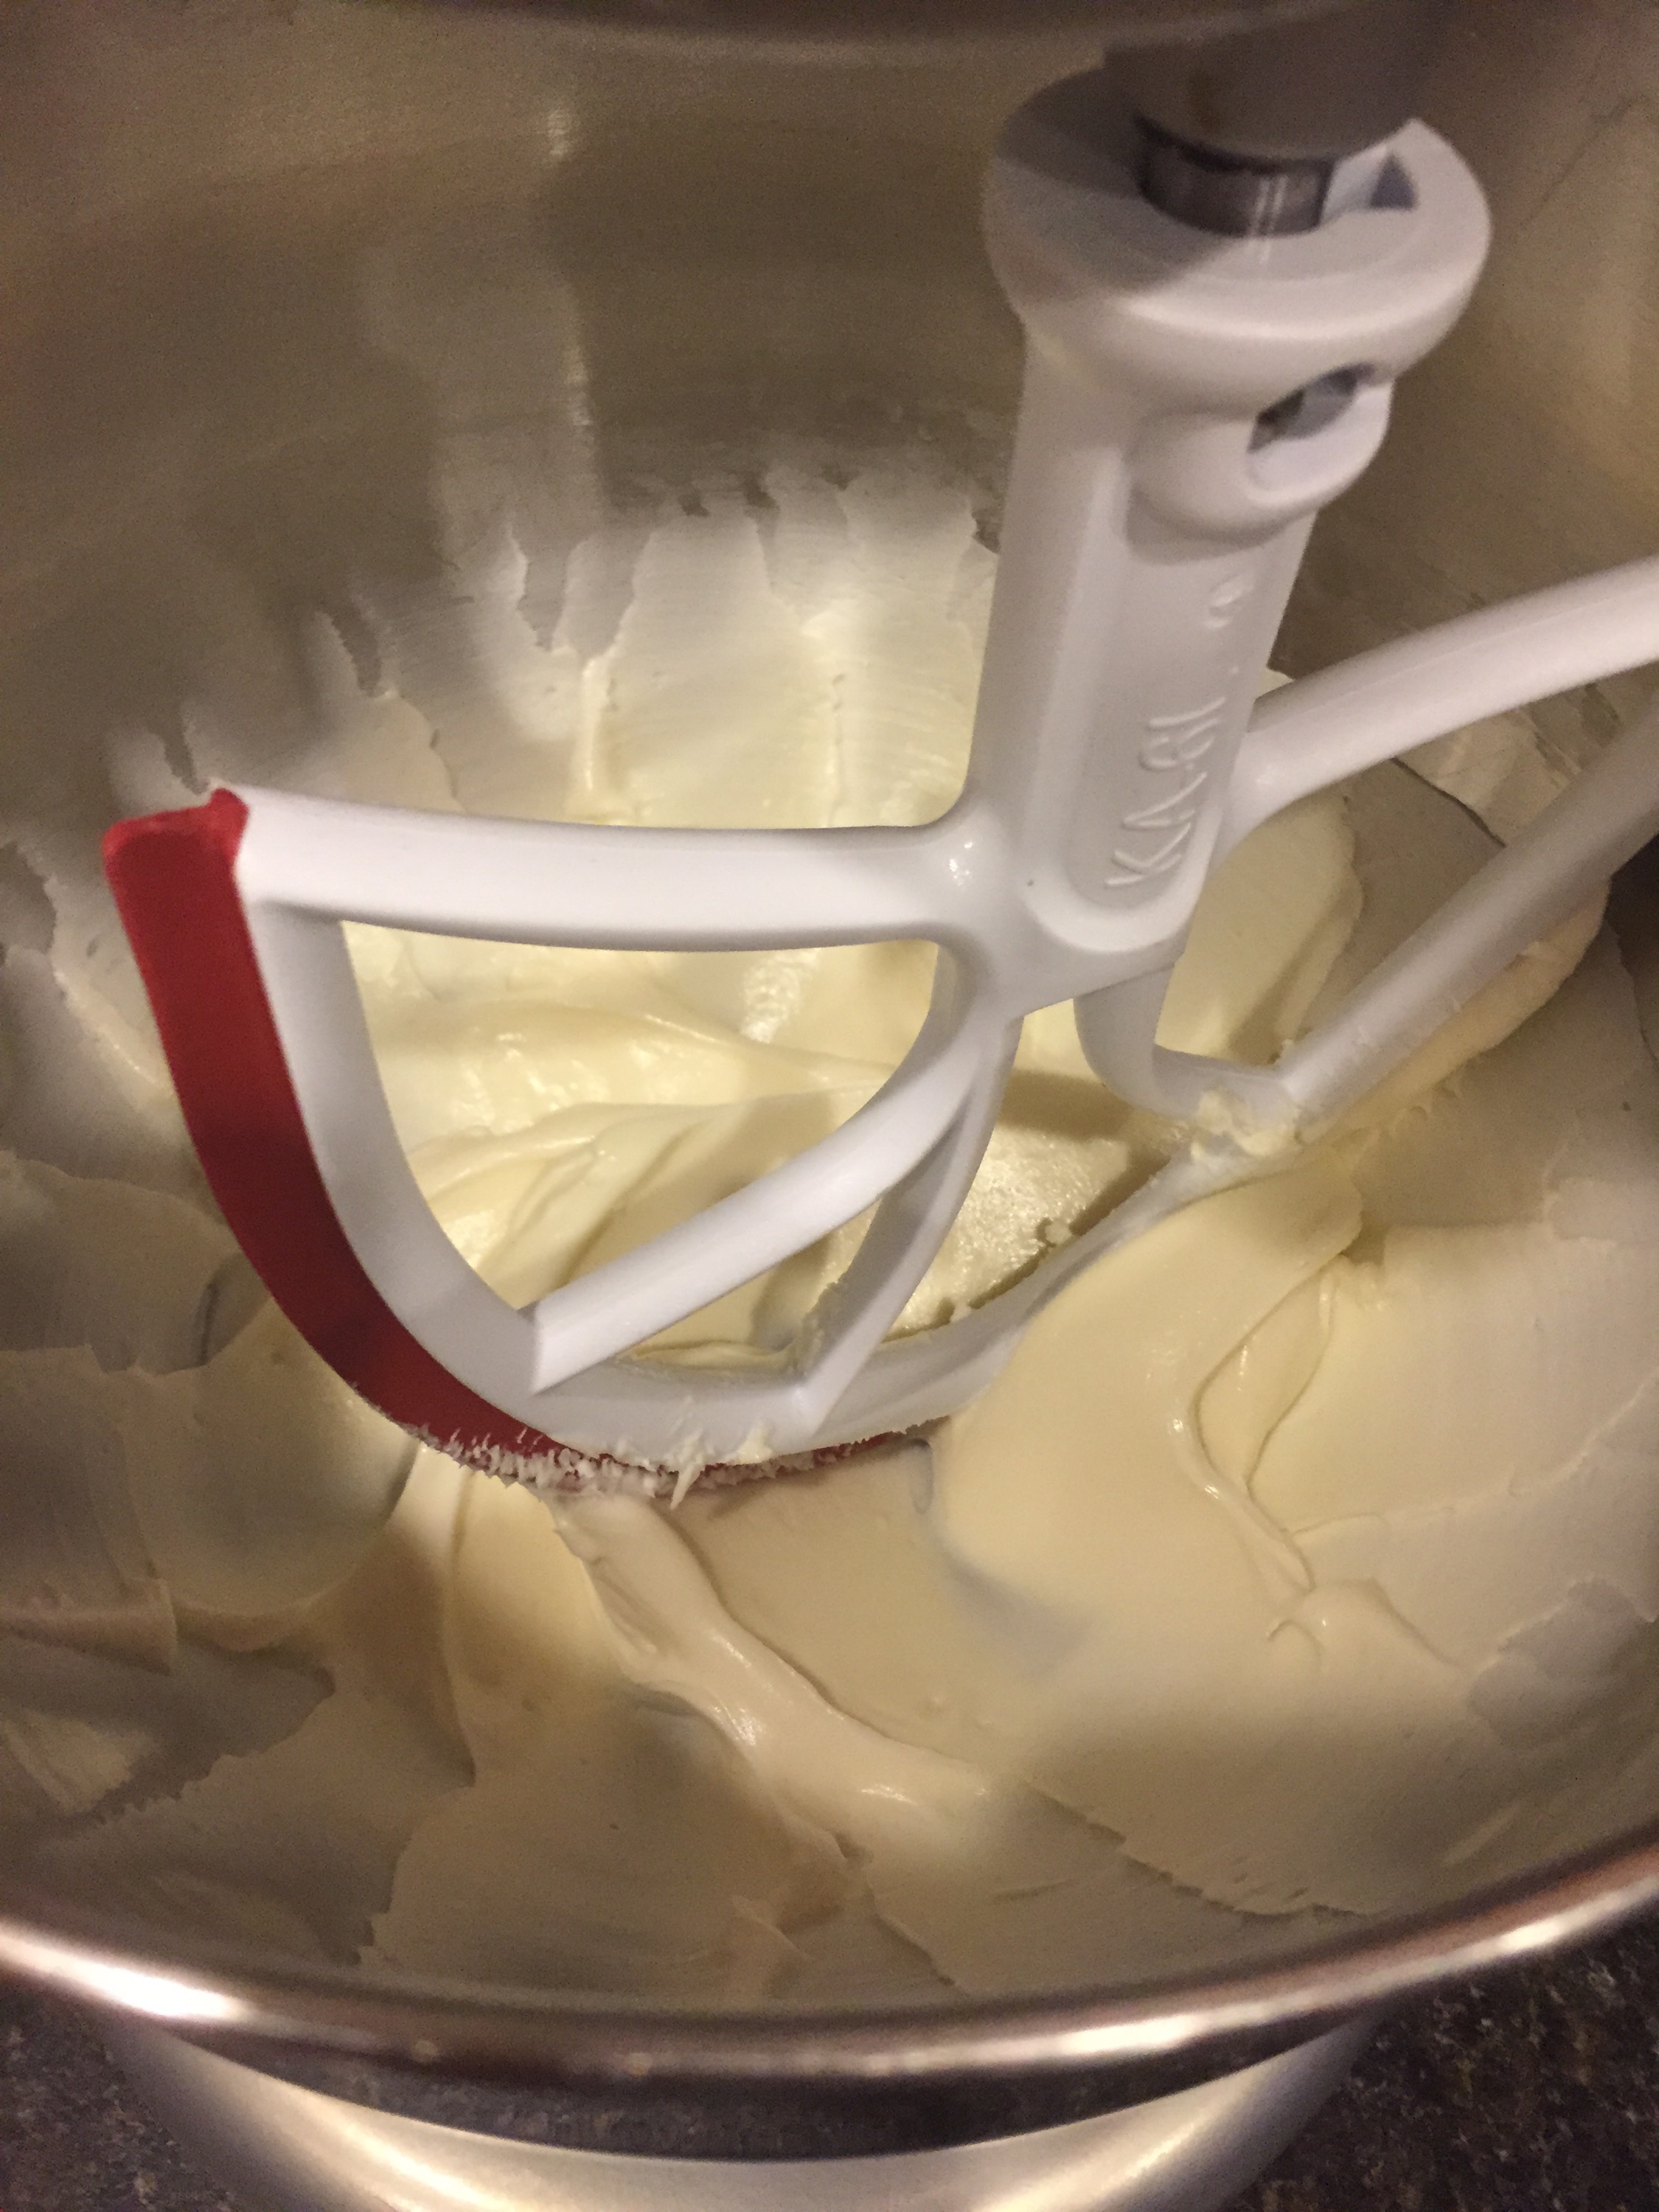
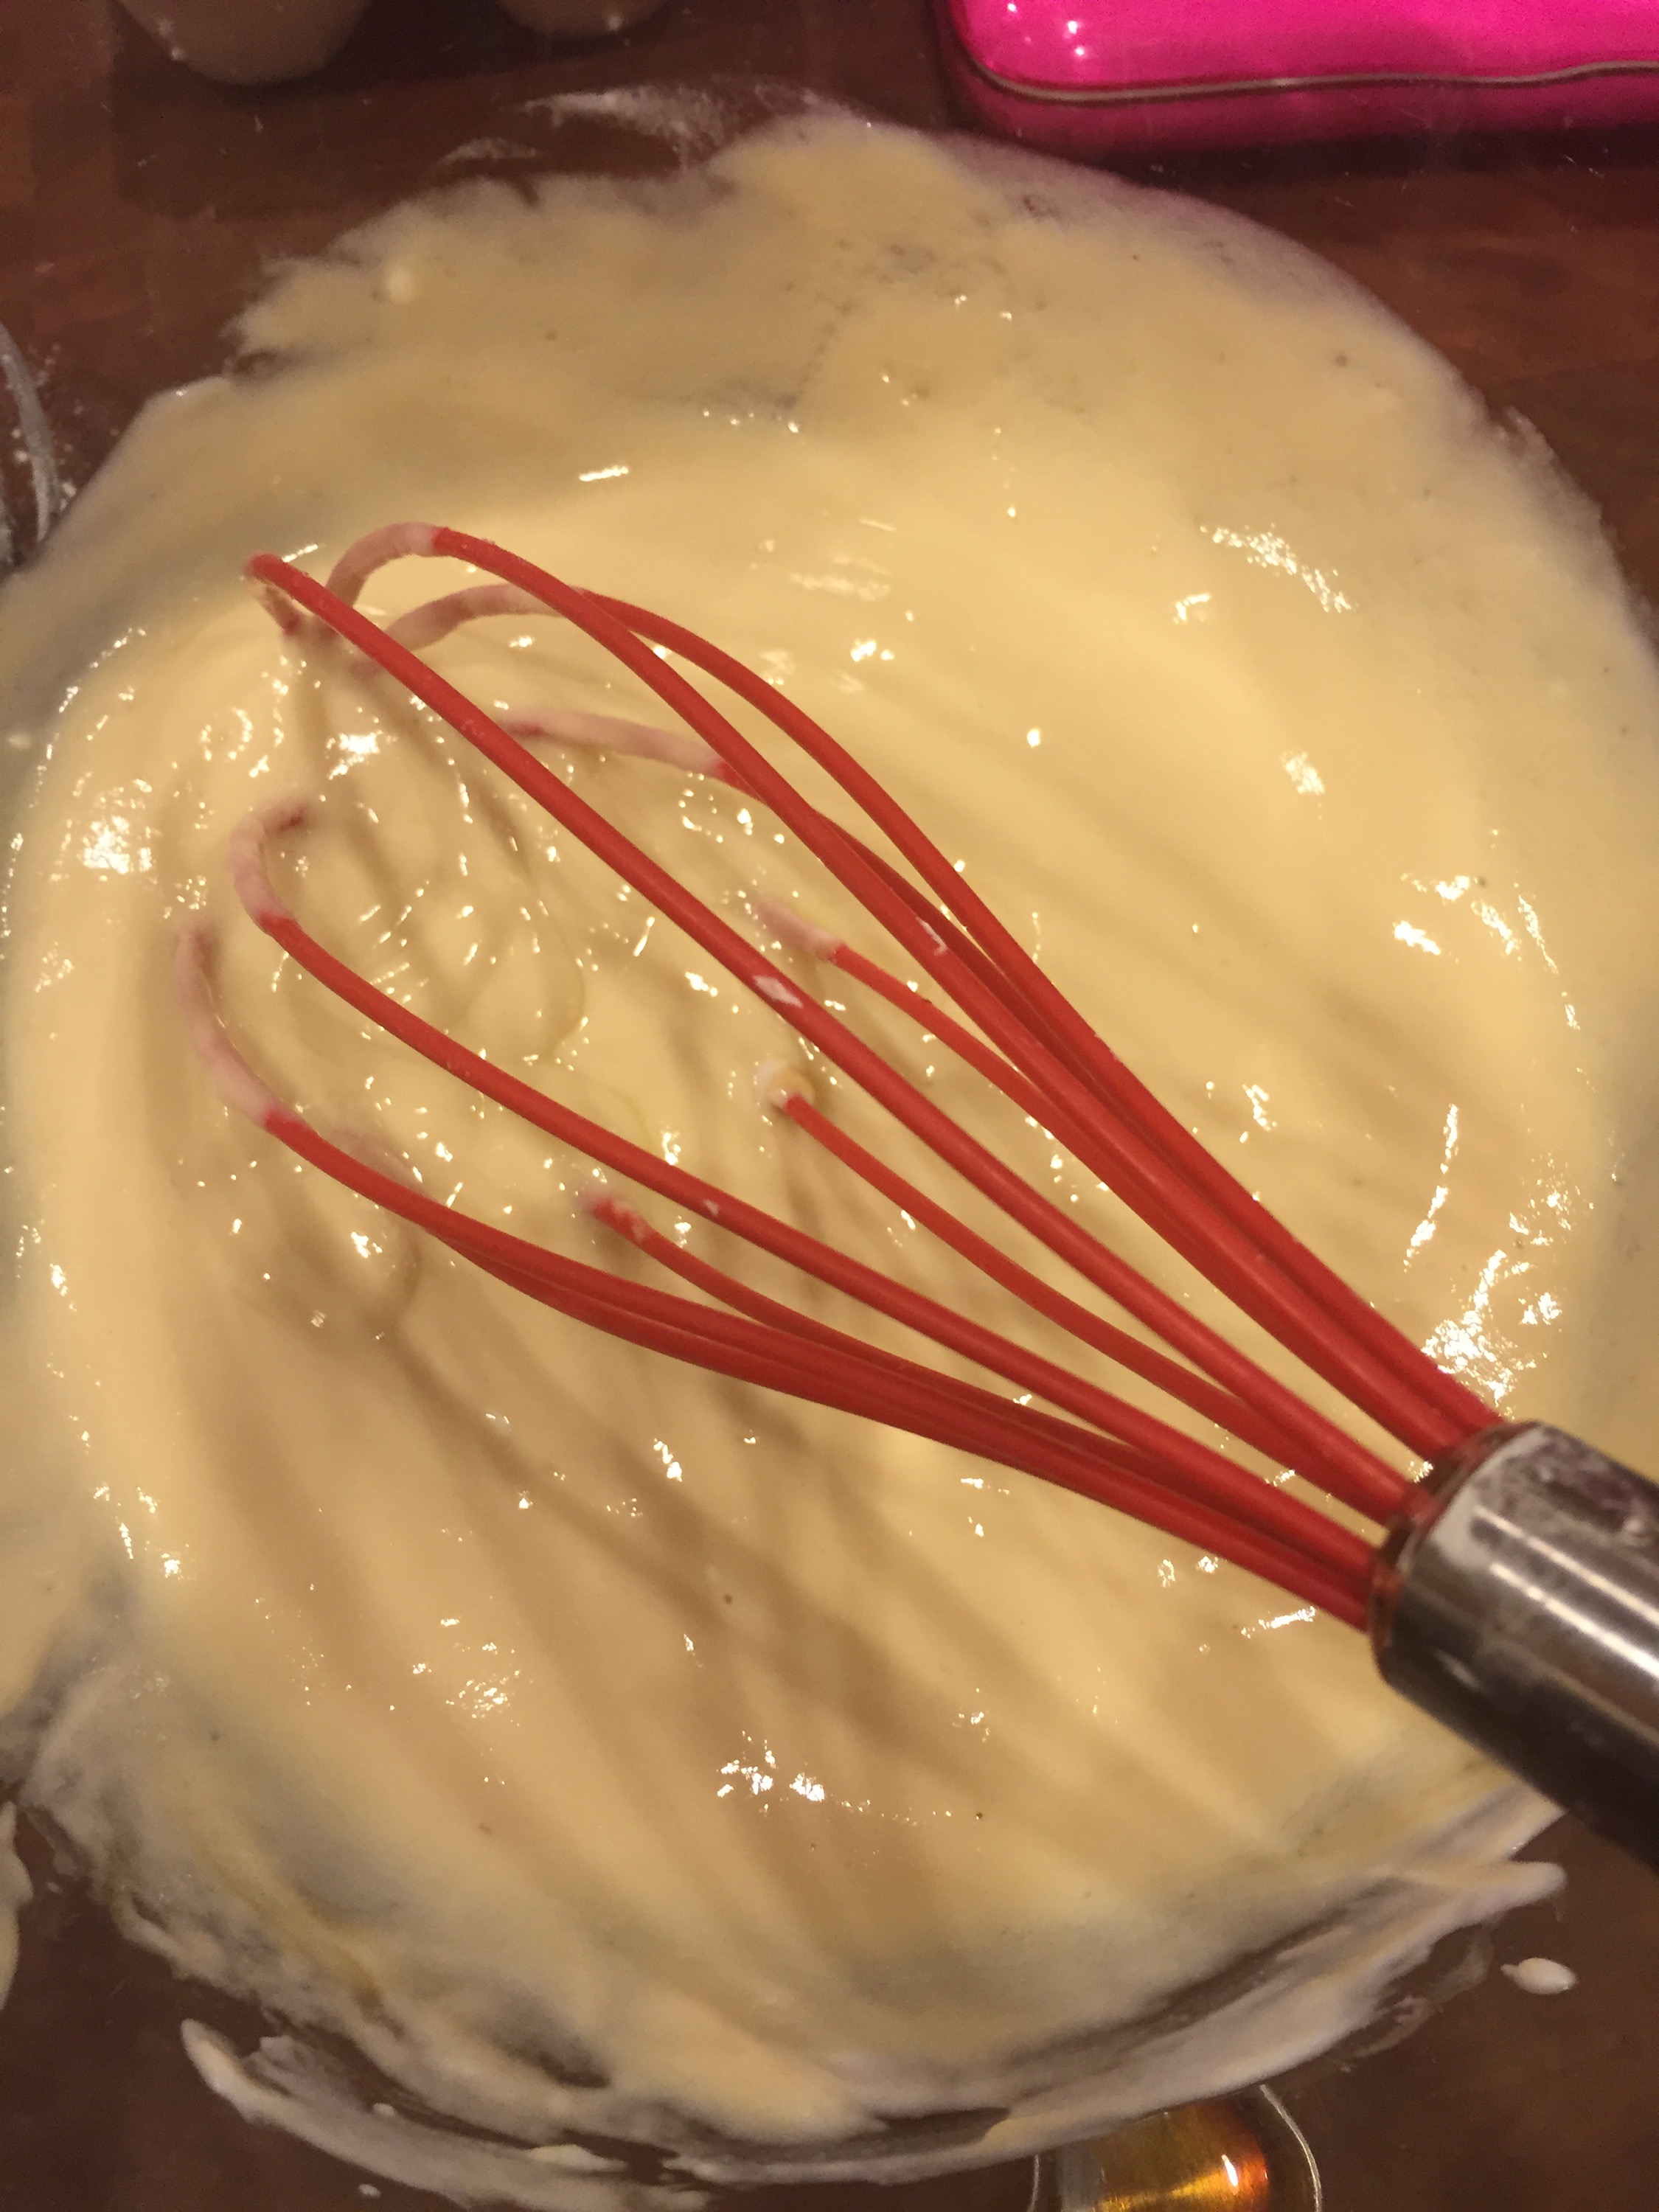
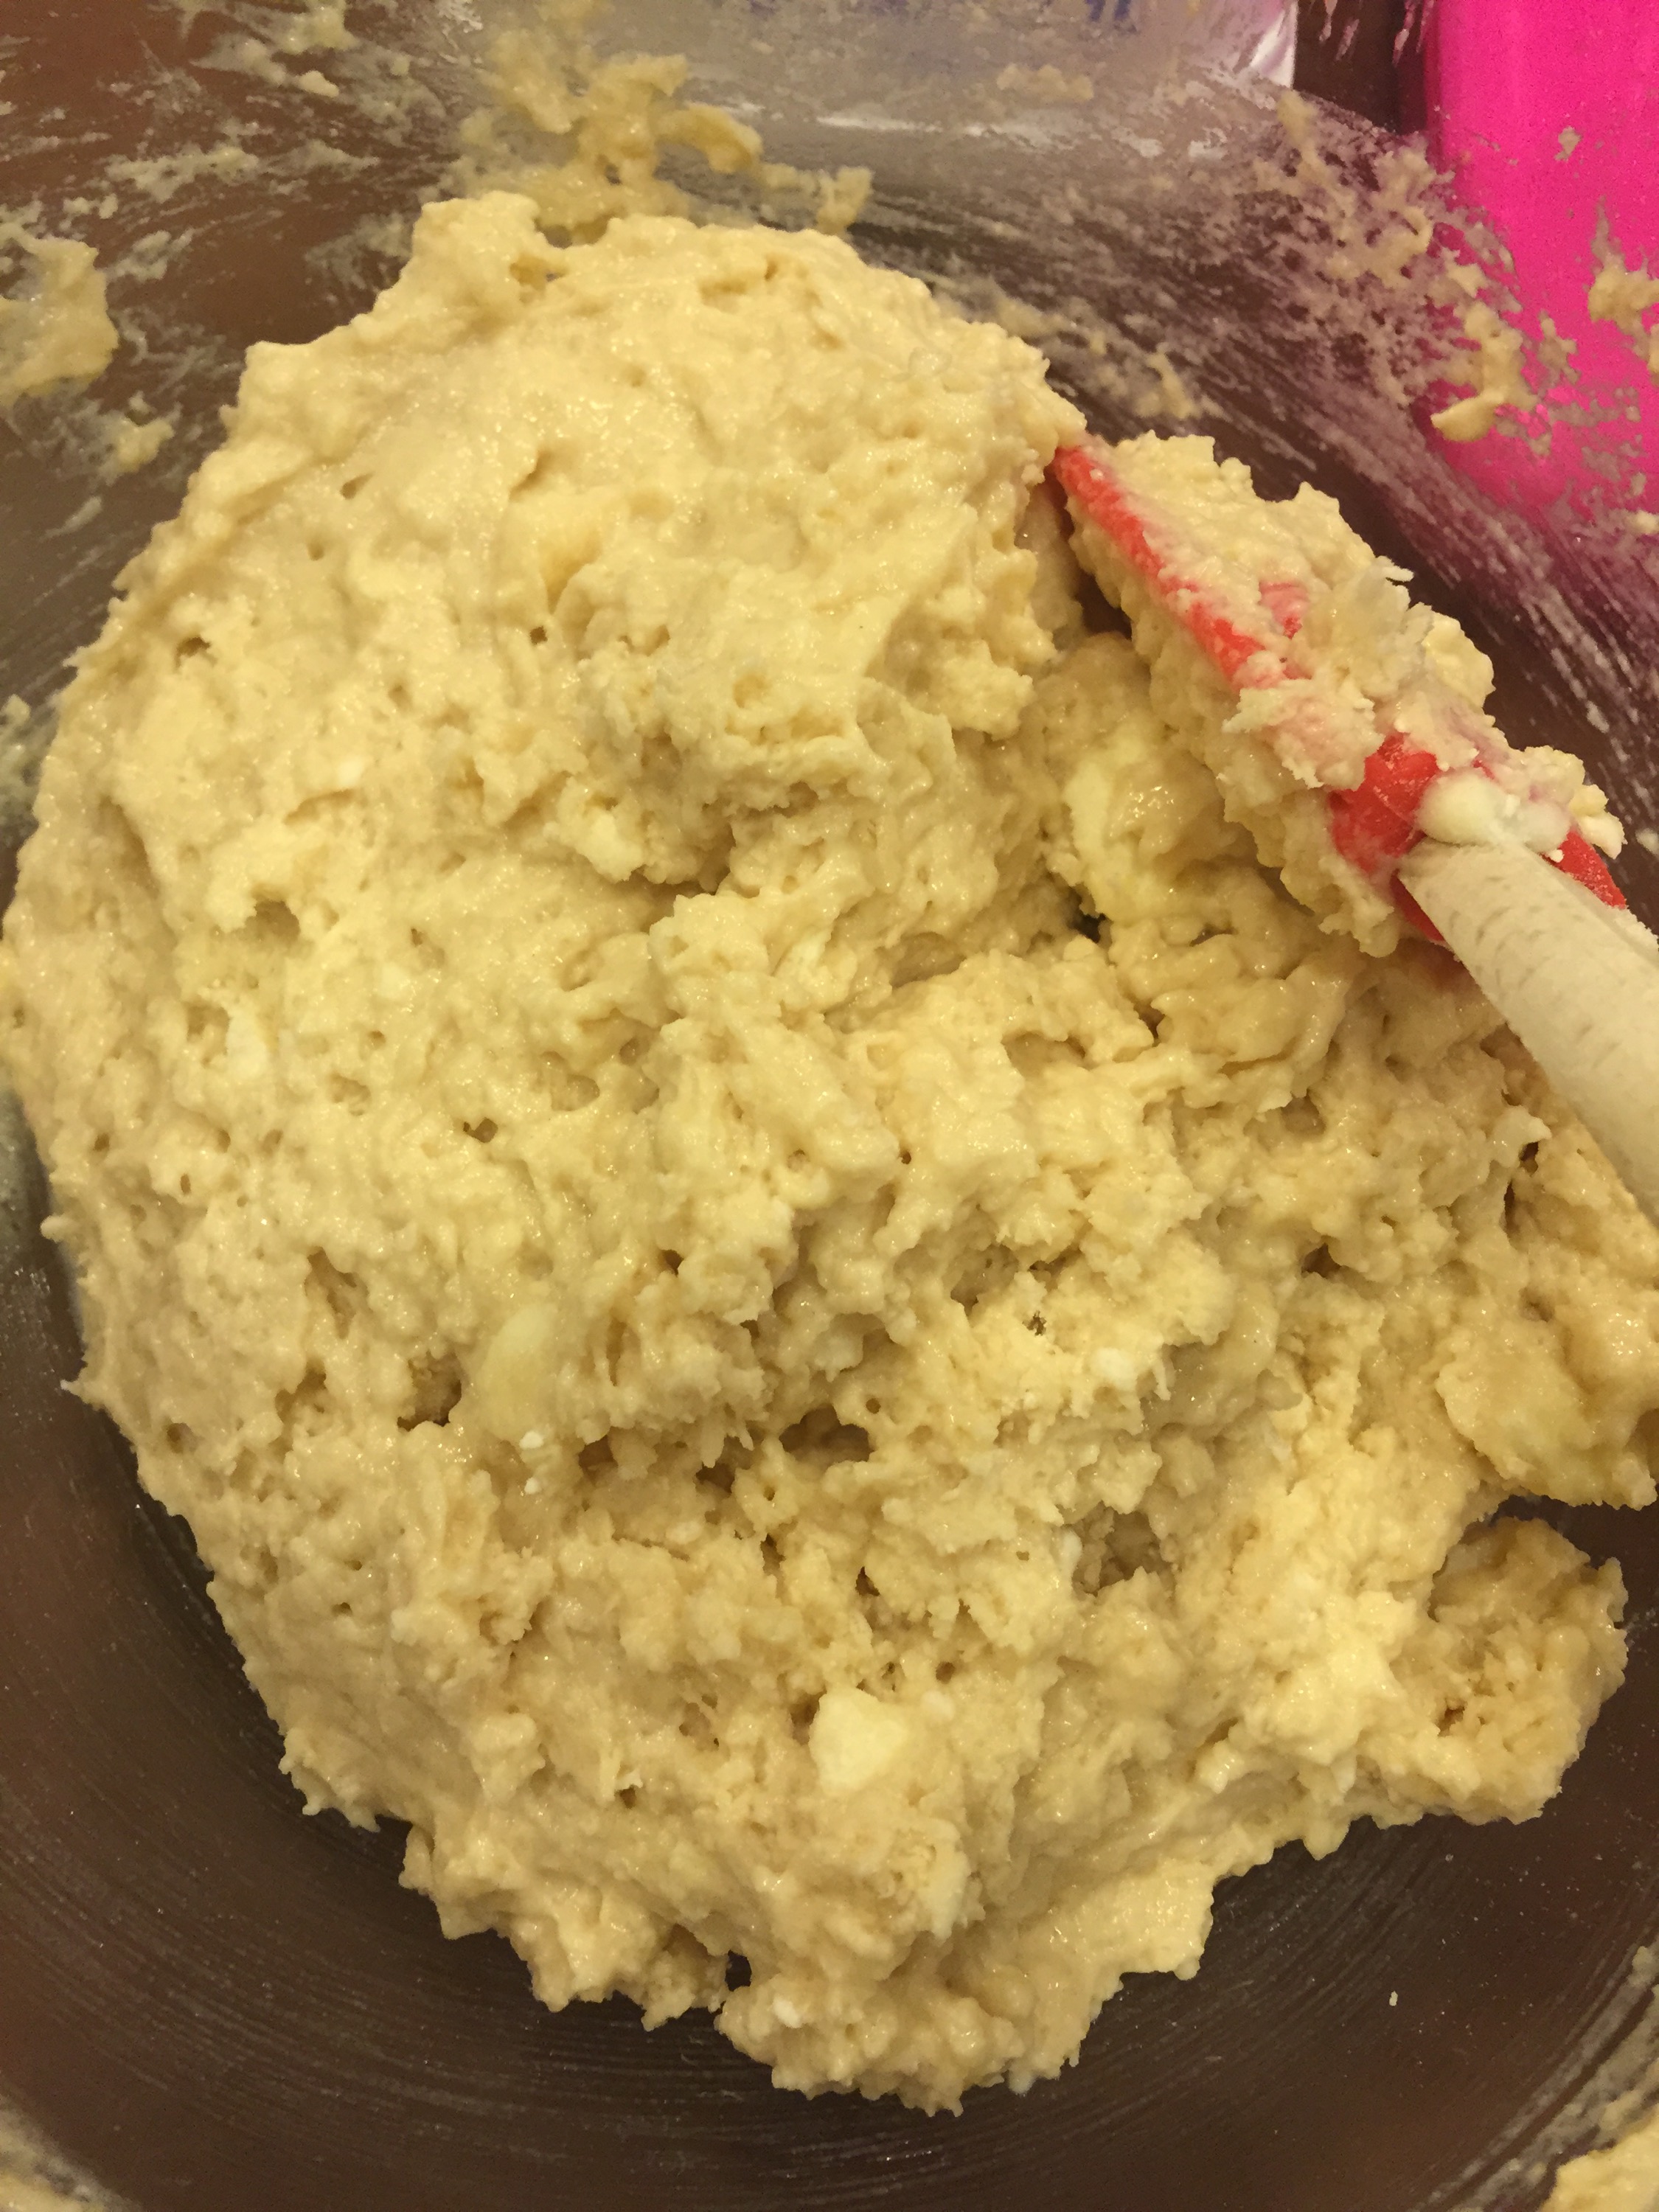
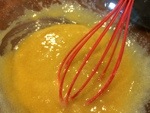
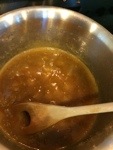
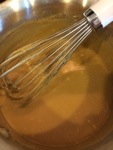
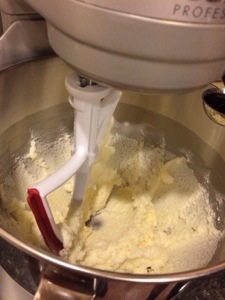
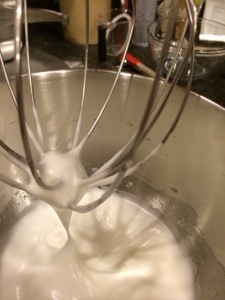
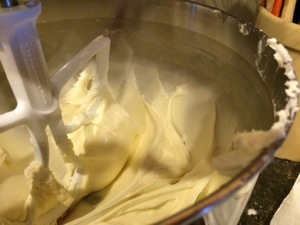
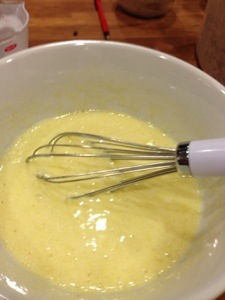
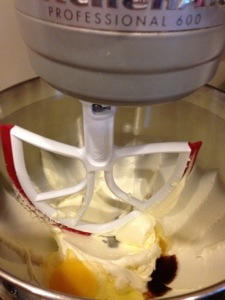
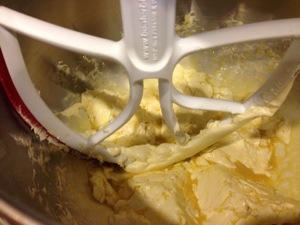
  3. In a stand mixer beat the egg whites and sugar together on high speed for a minute.  Decrease the speed to low and add in oil and vanilla.
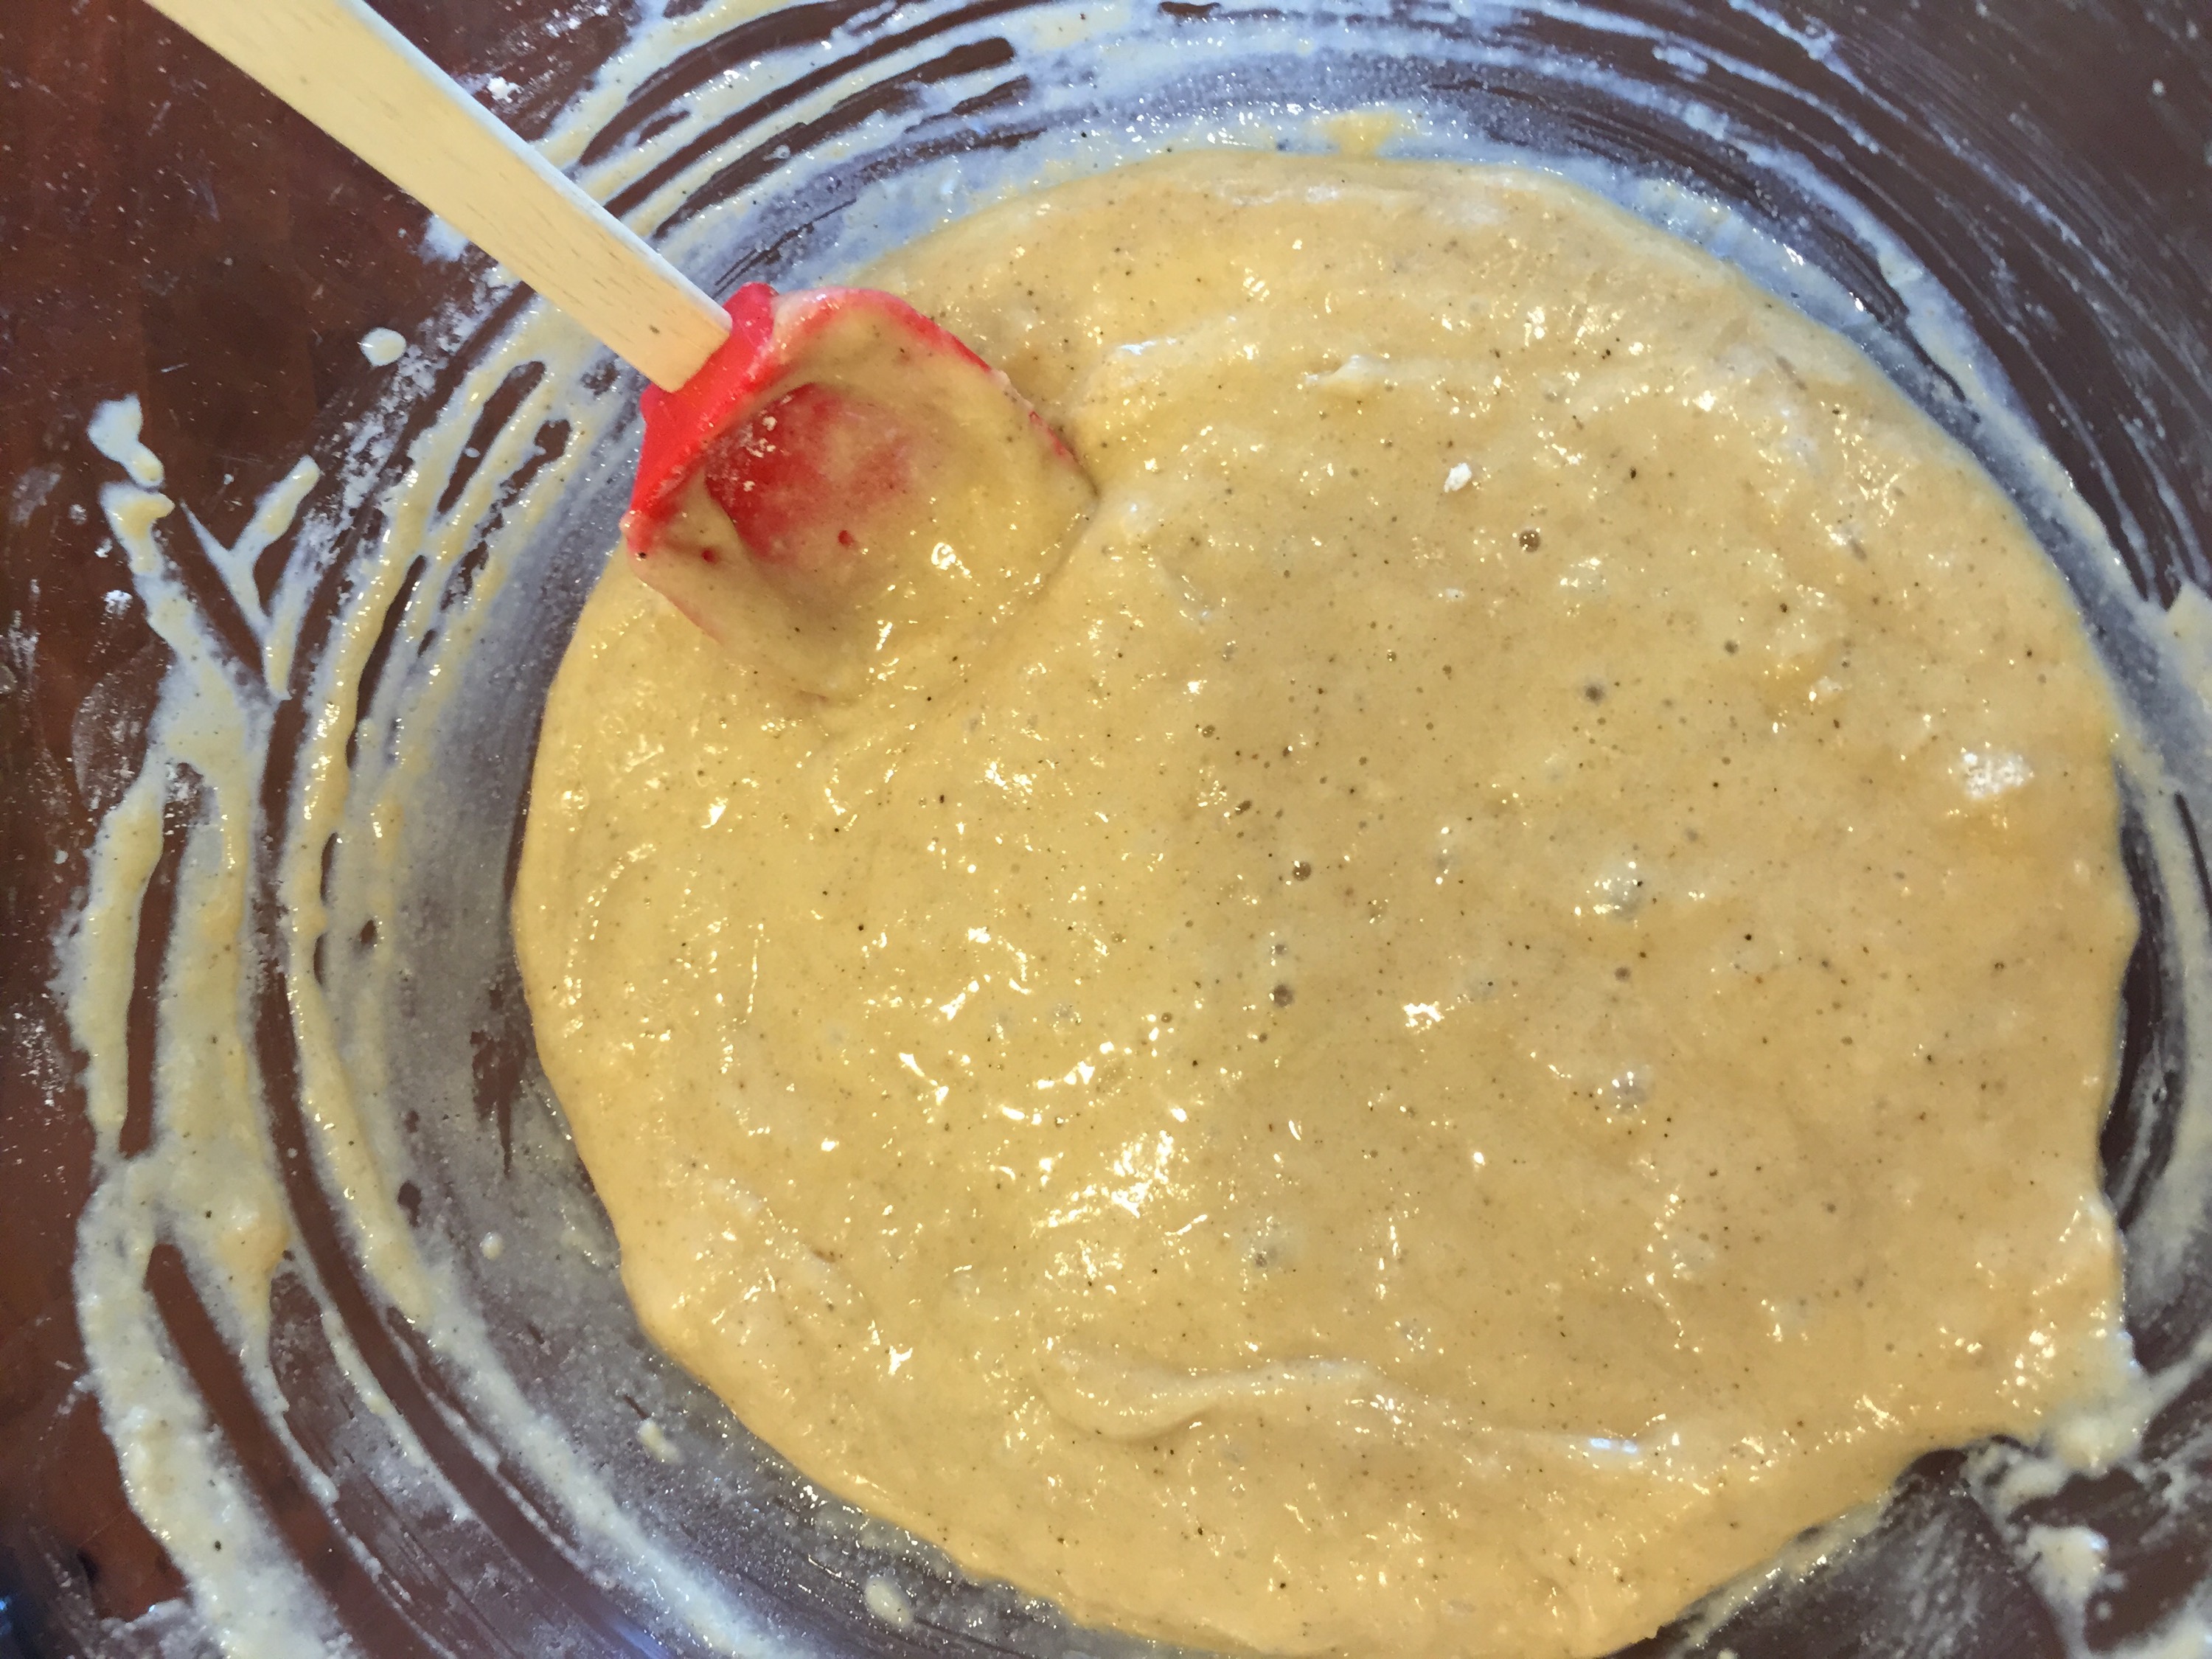
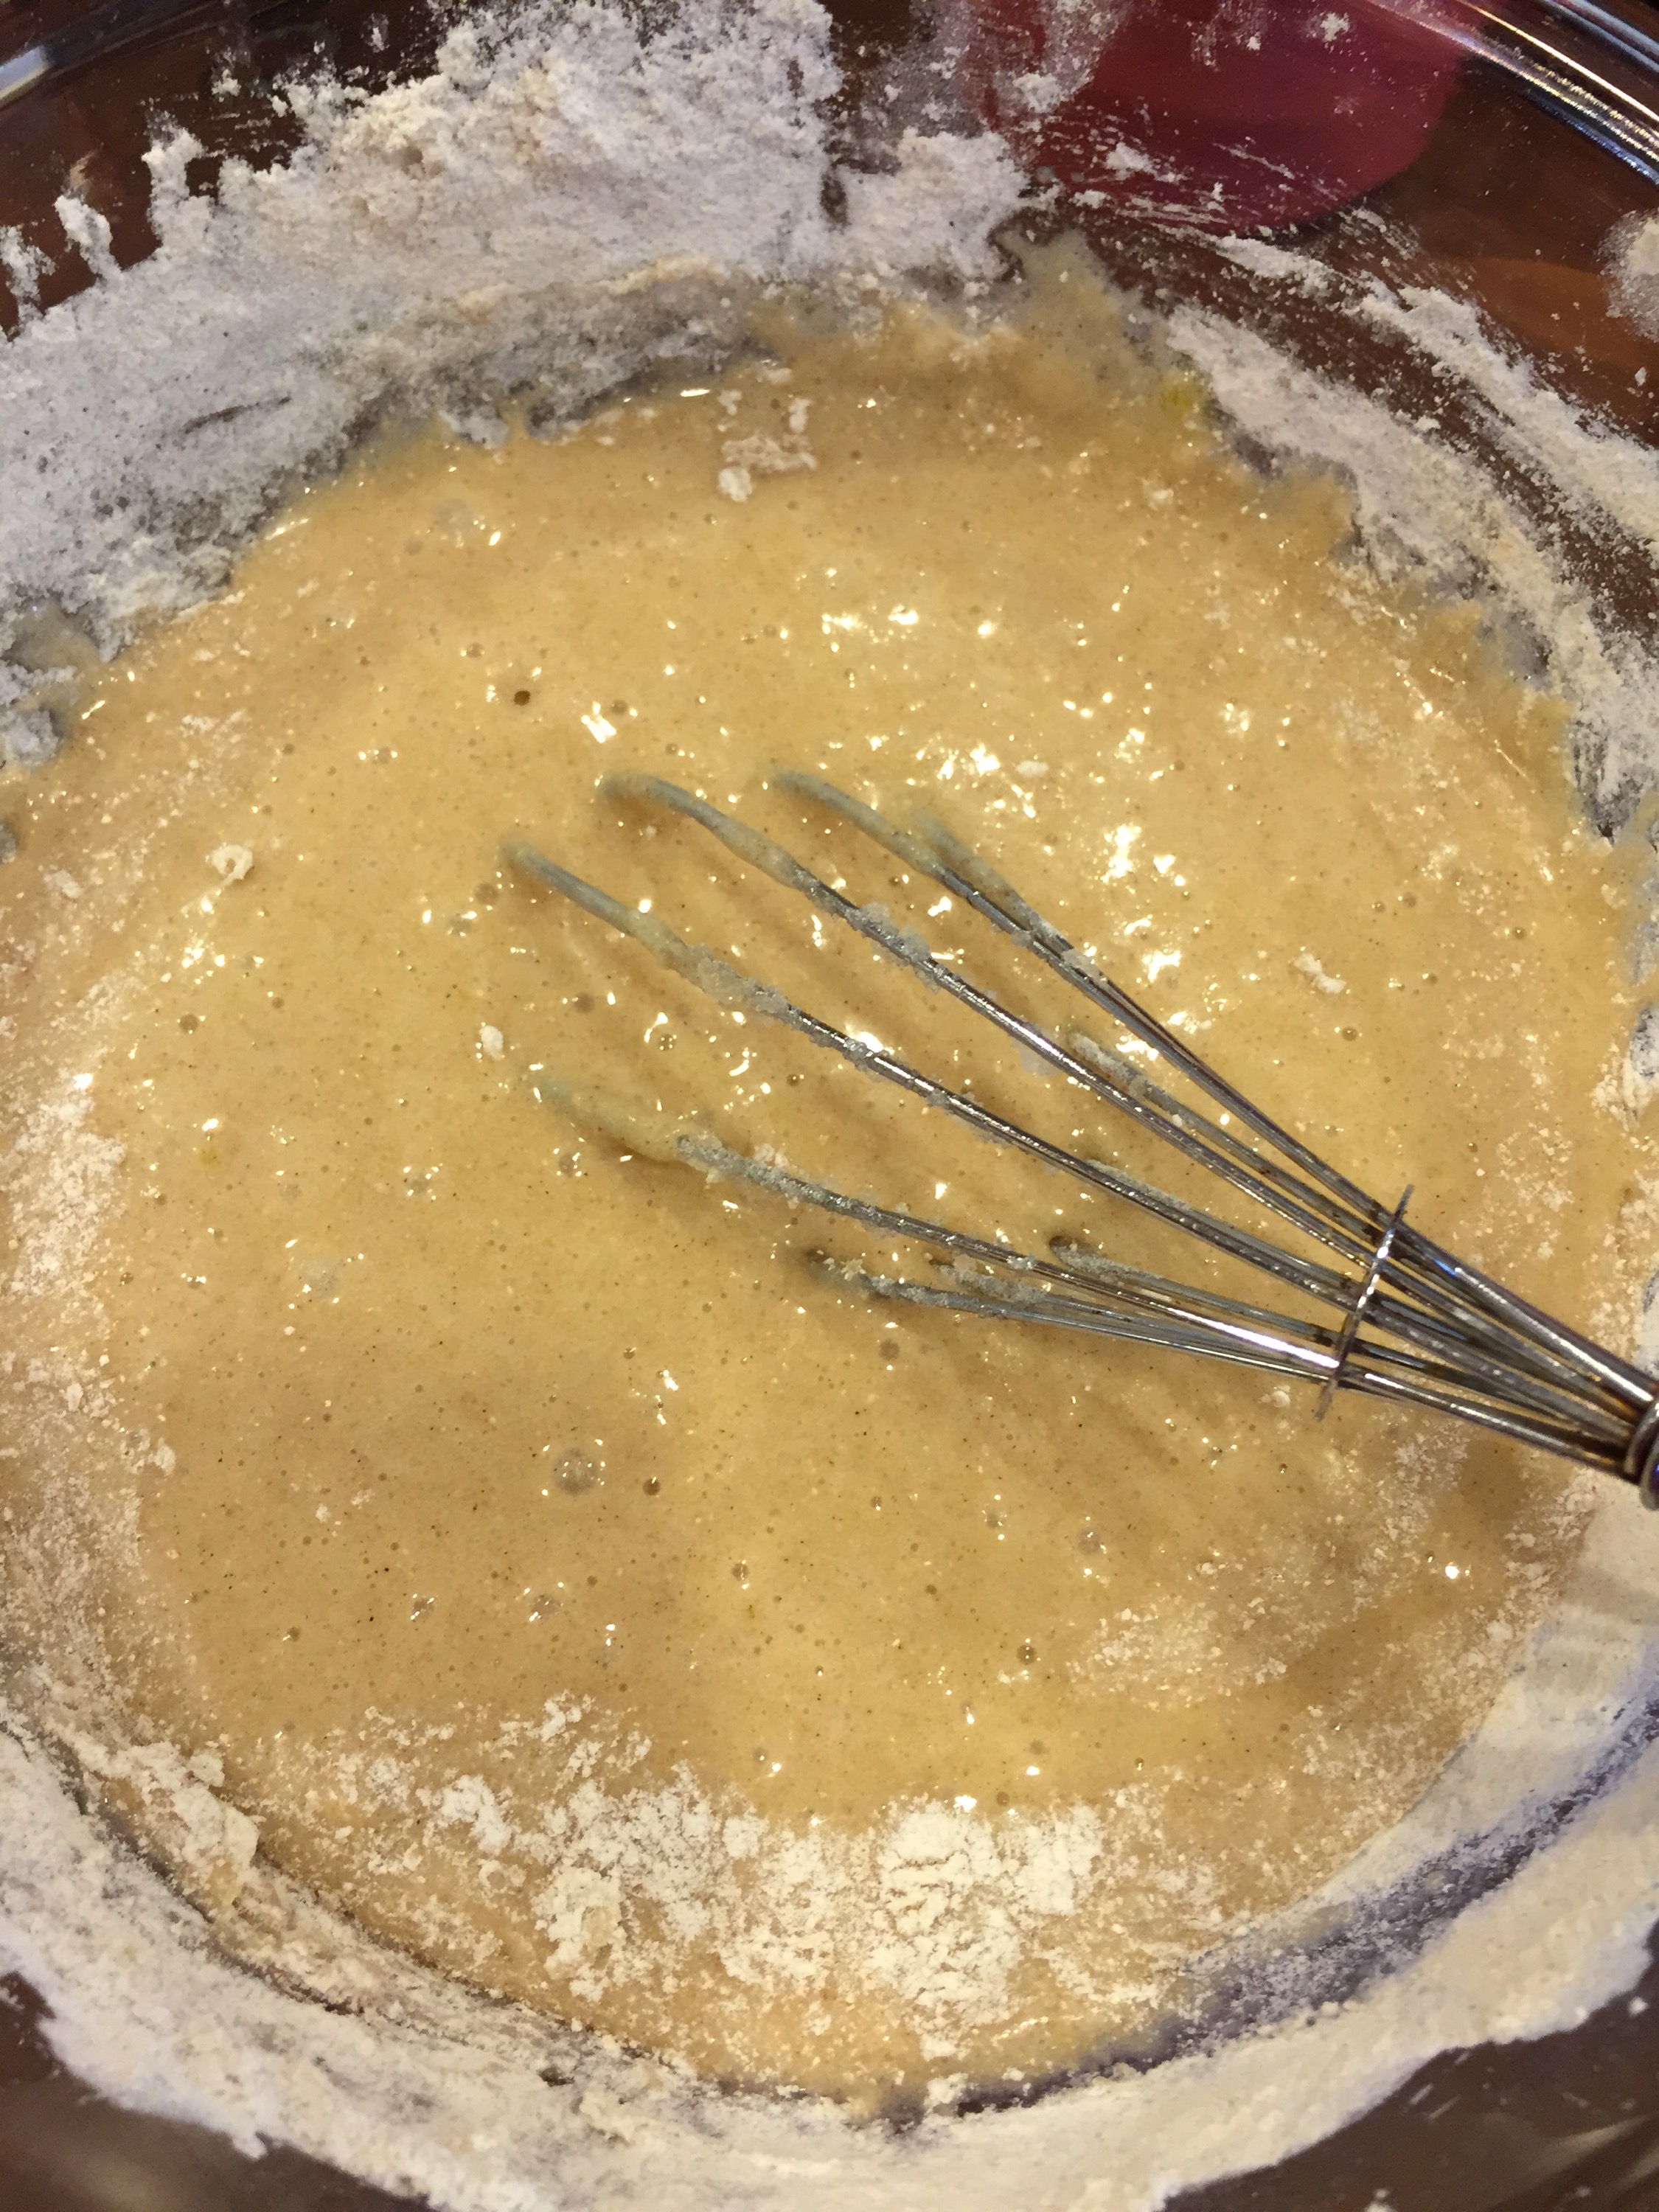
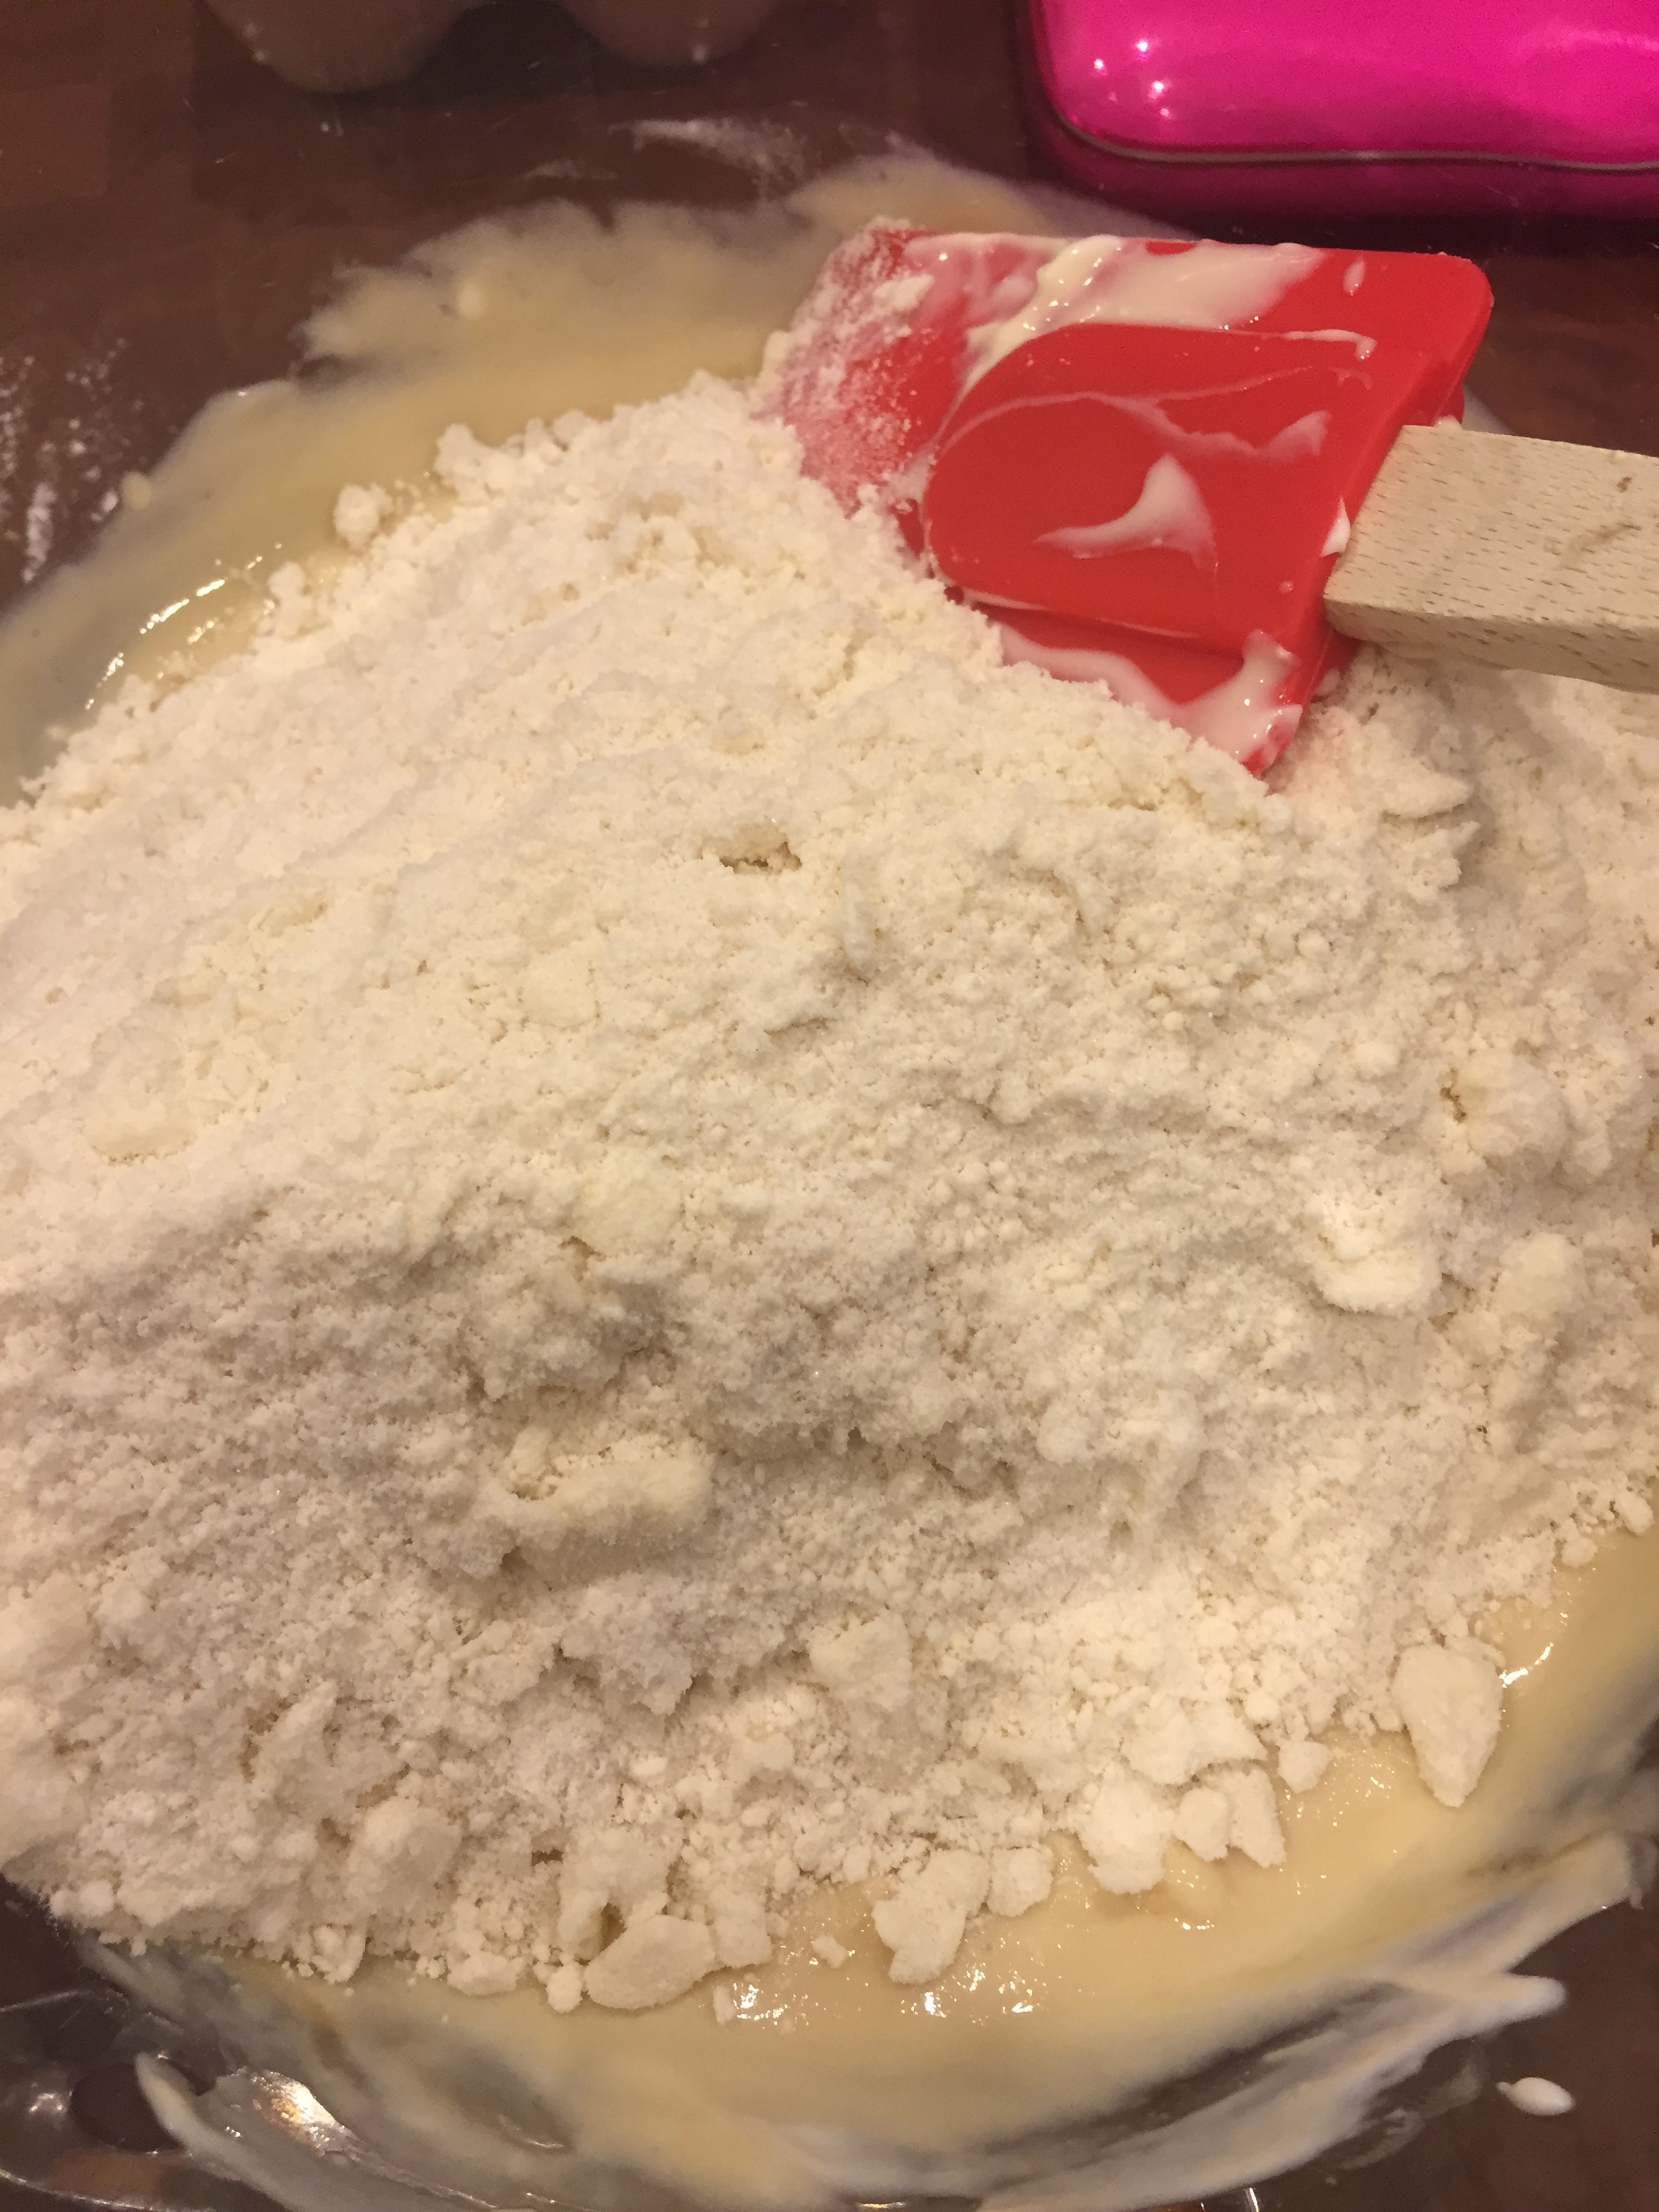
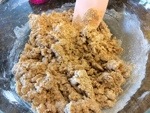
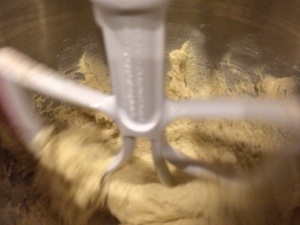
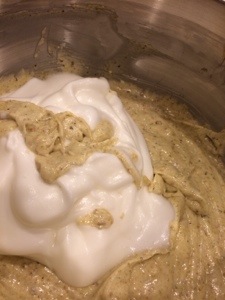
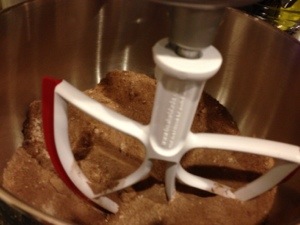
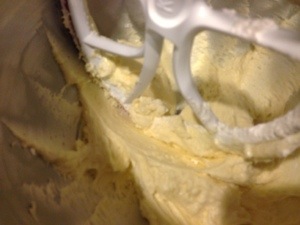
  4. Continue the mixer on low speed, gradually add the flour into the wet batter (I like to do this either by large spoon or a half cup measuring cup). Mix until no dry residue remains.
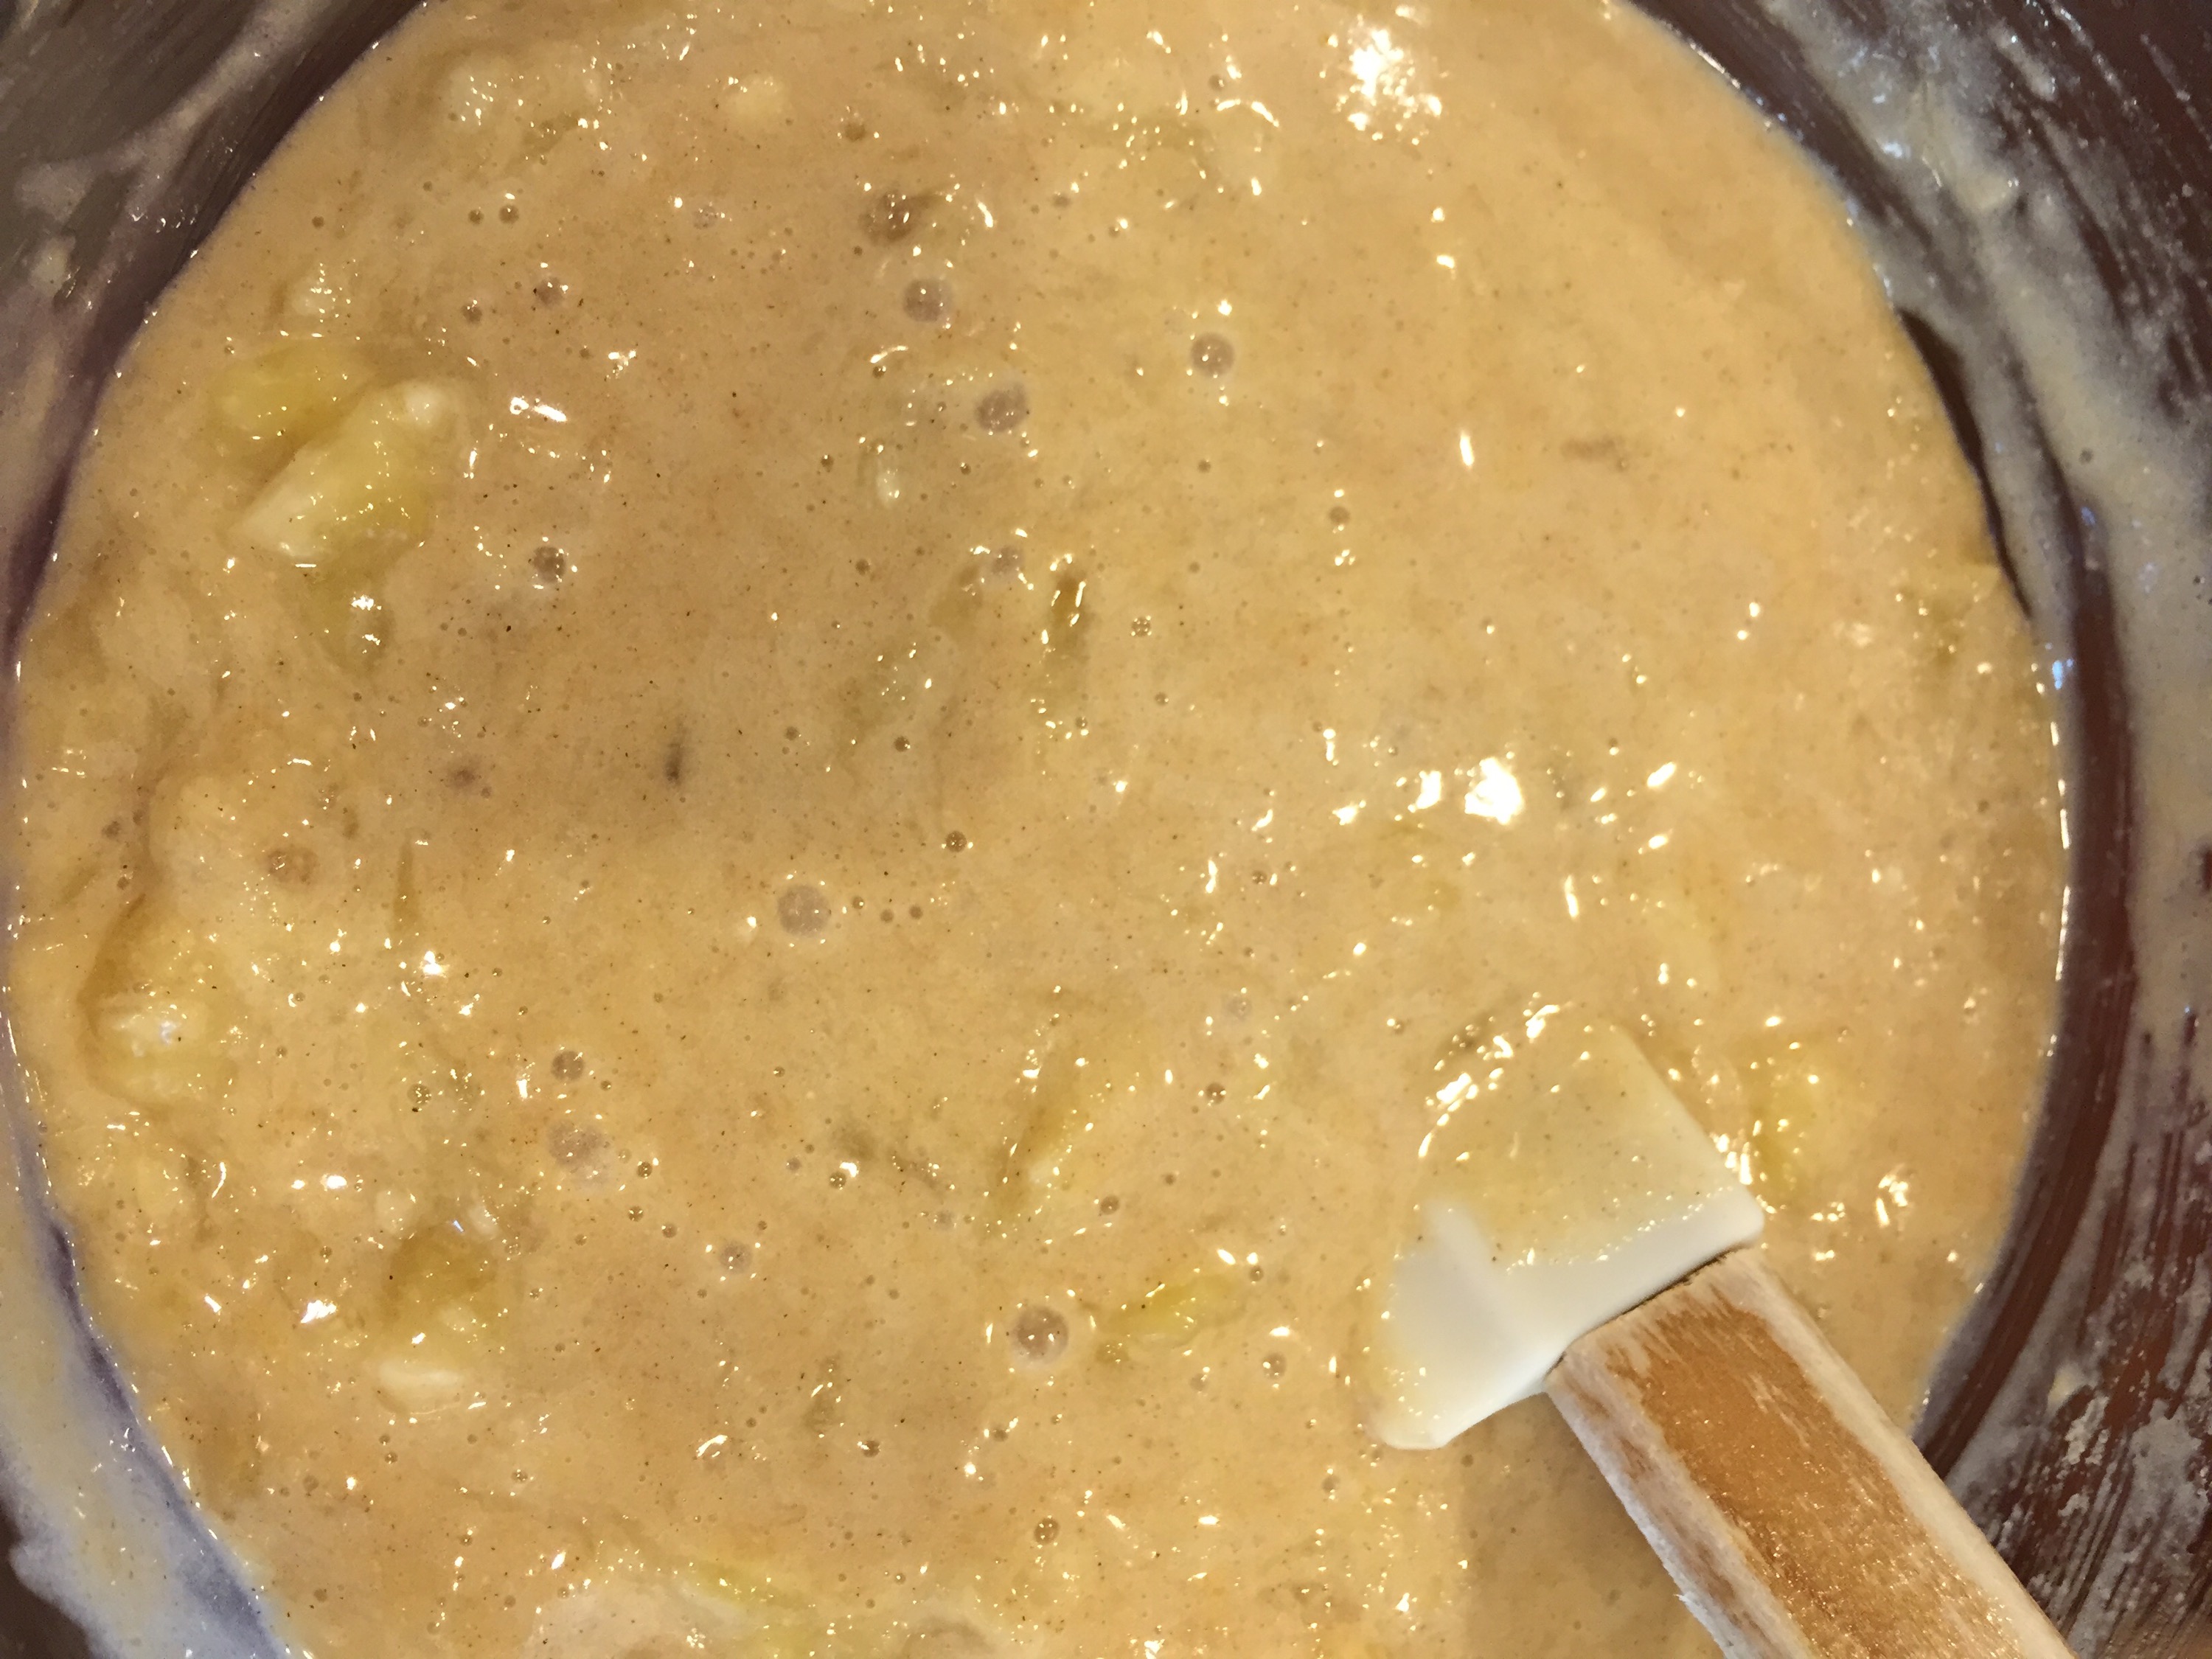
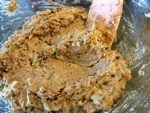
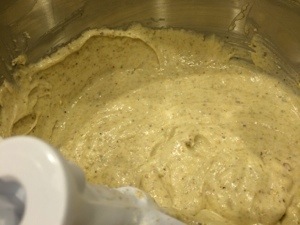
  5. Gently fold in the rhubarb and almonds.
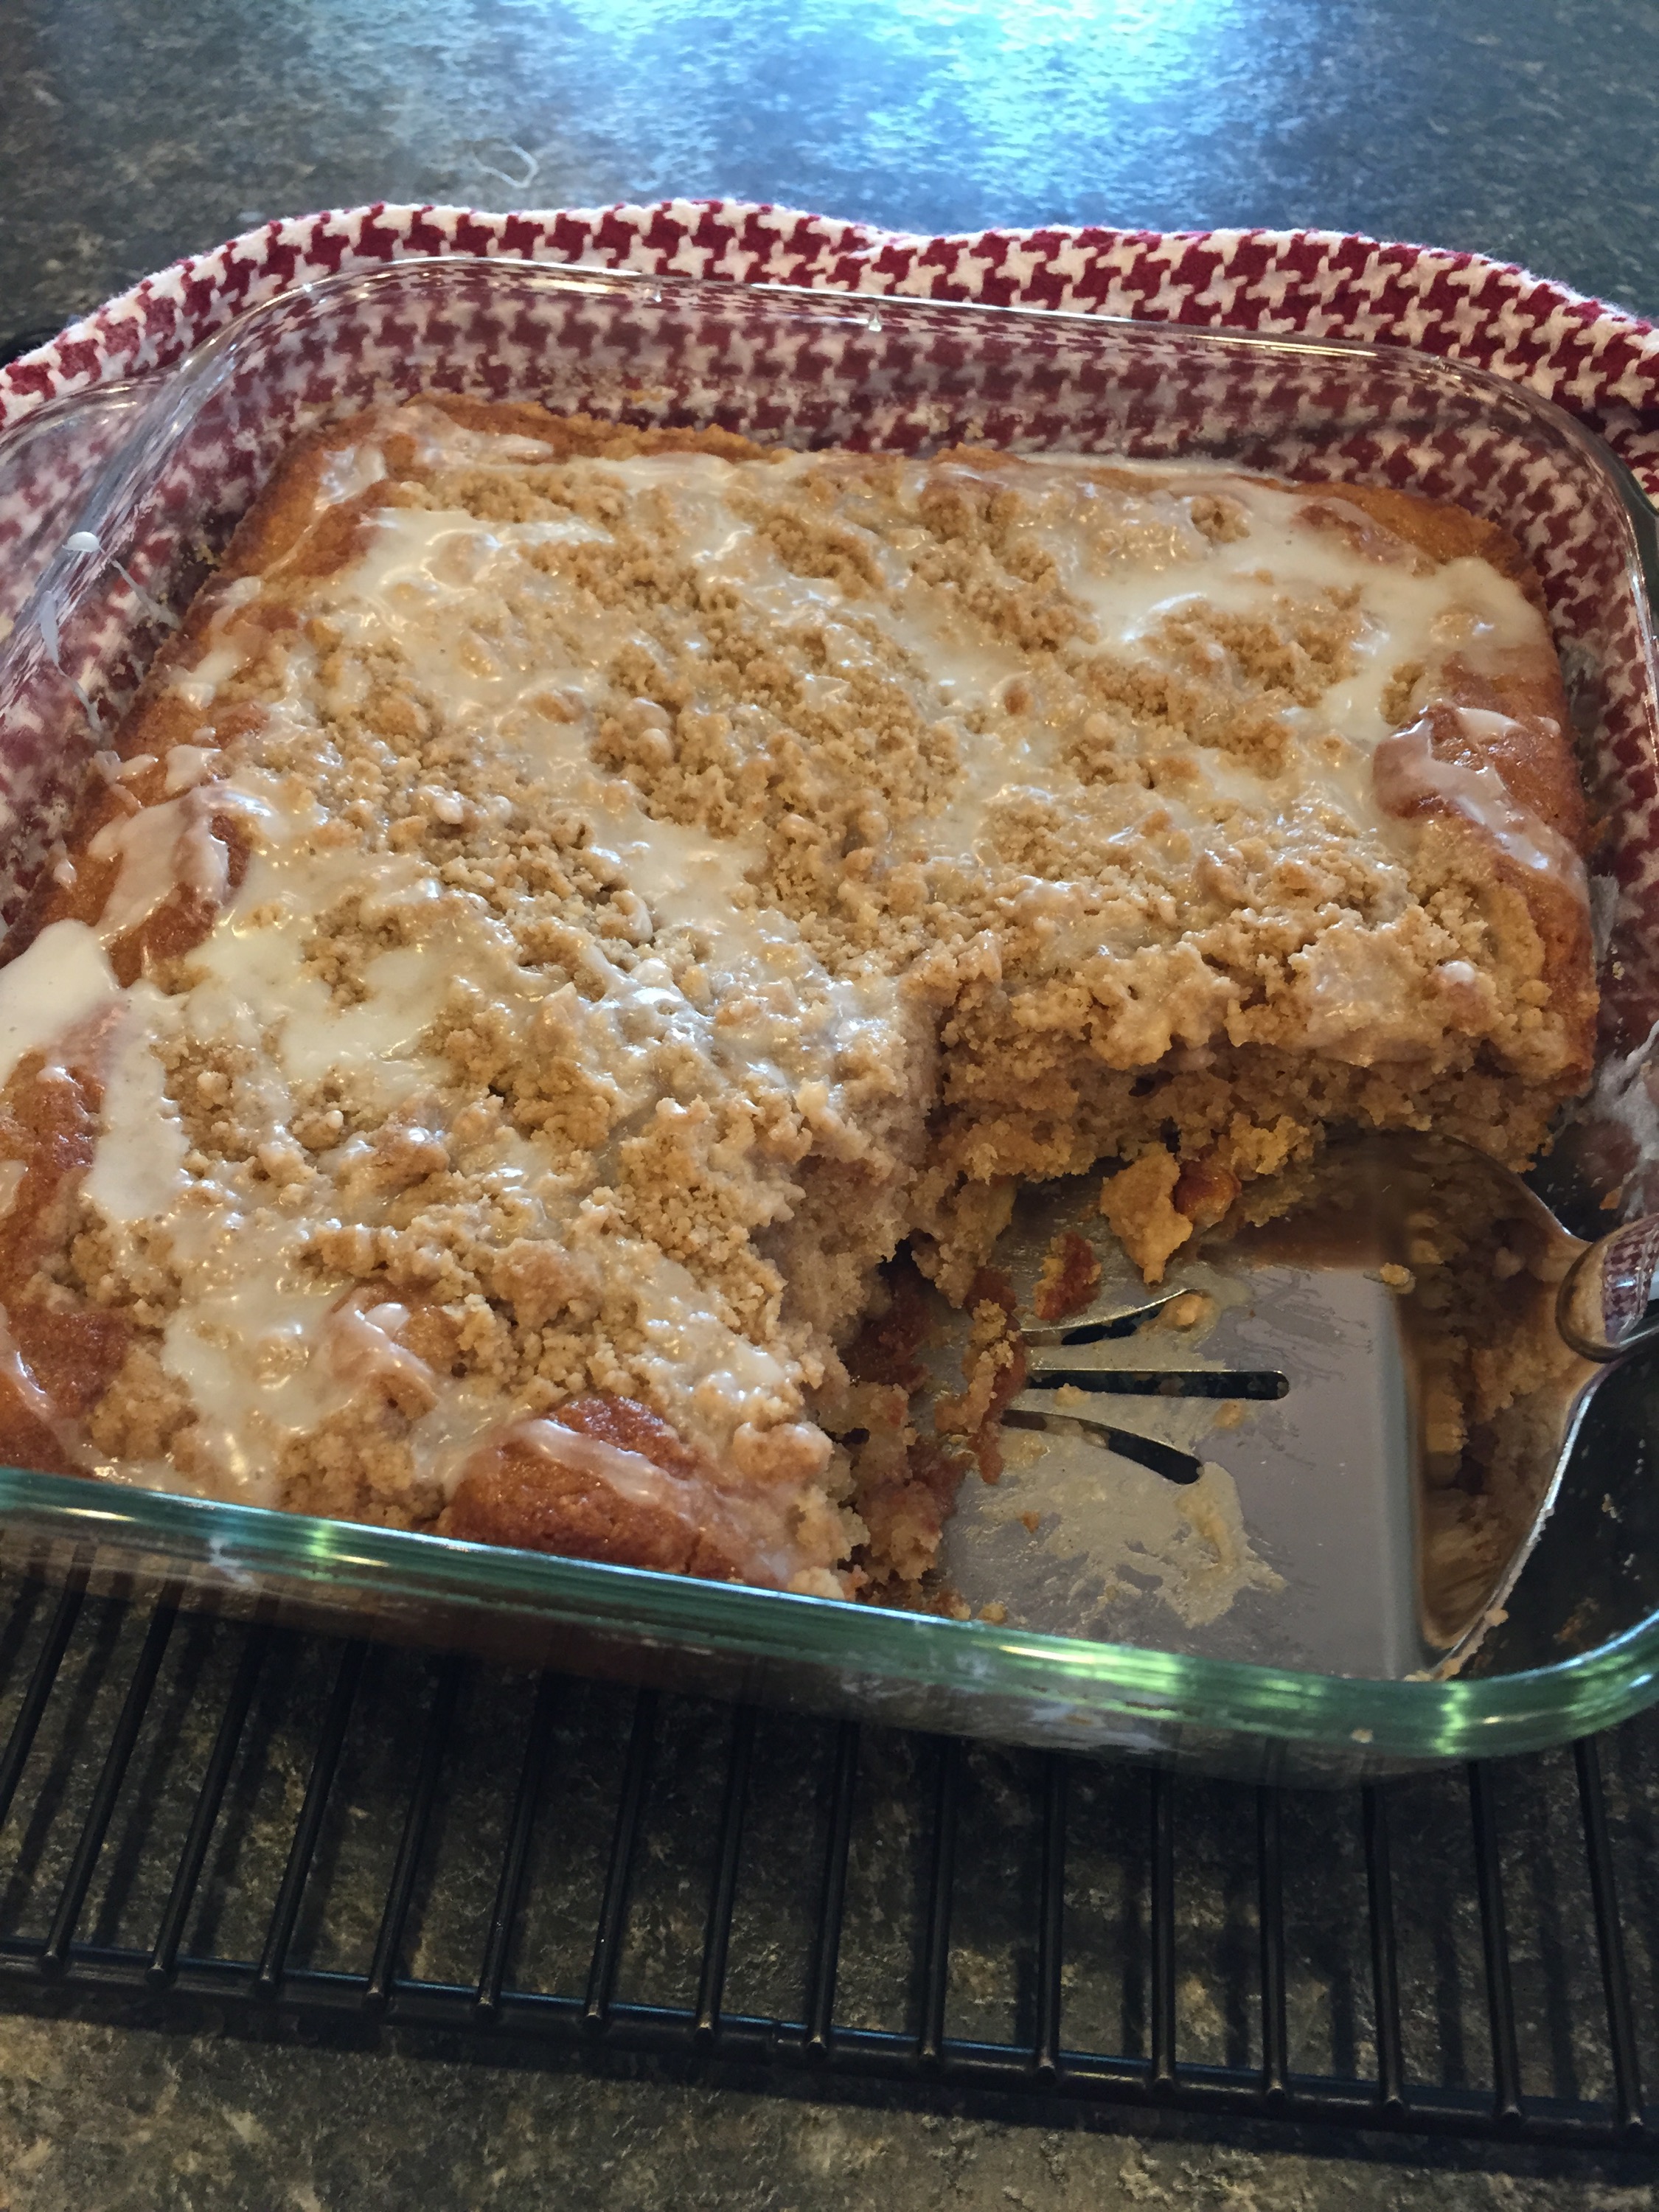
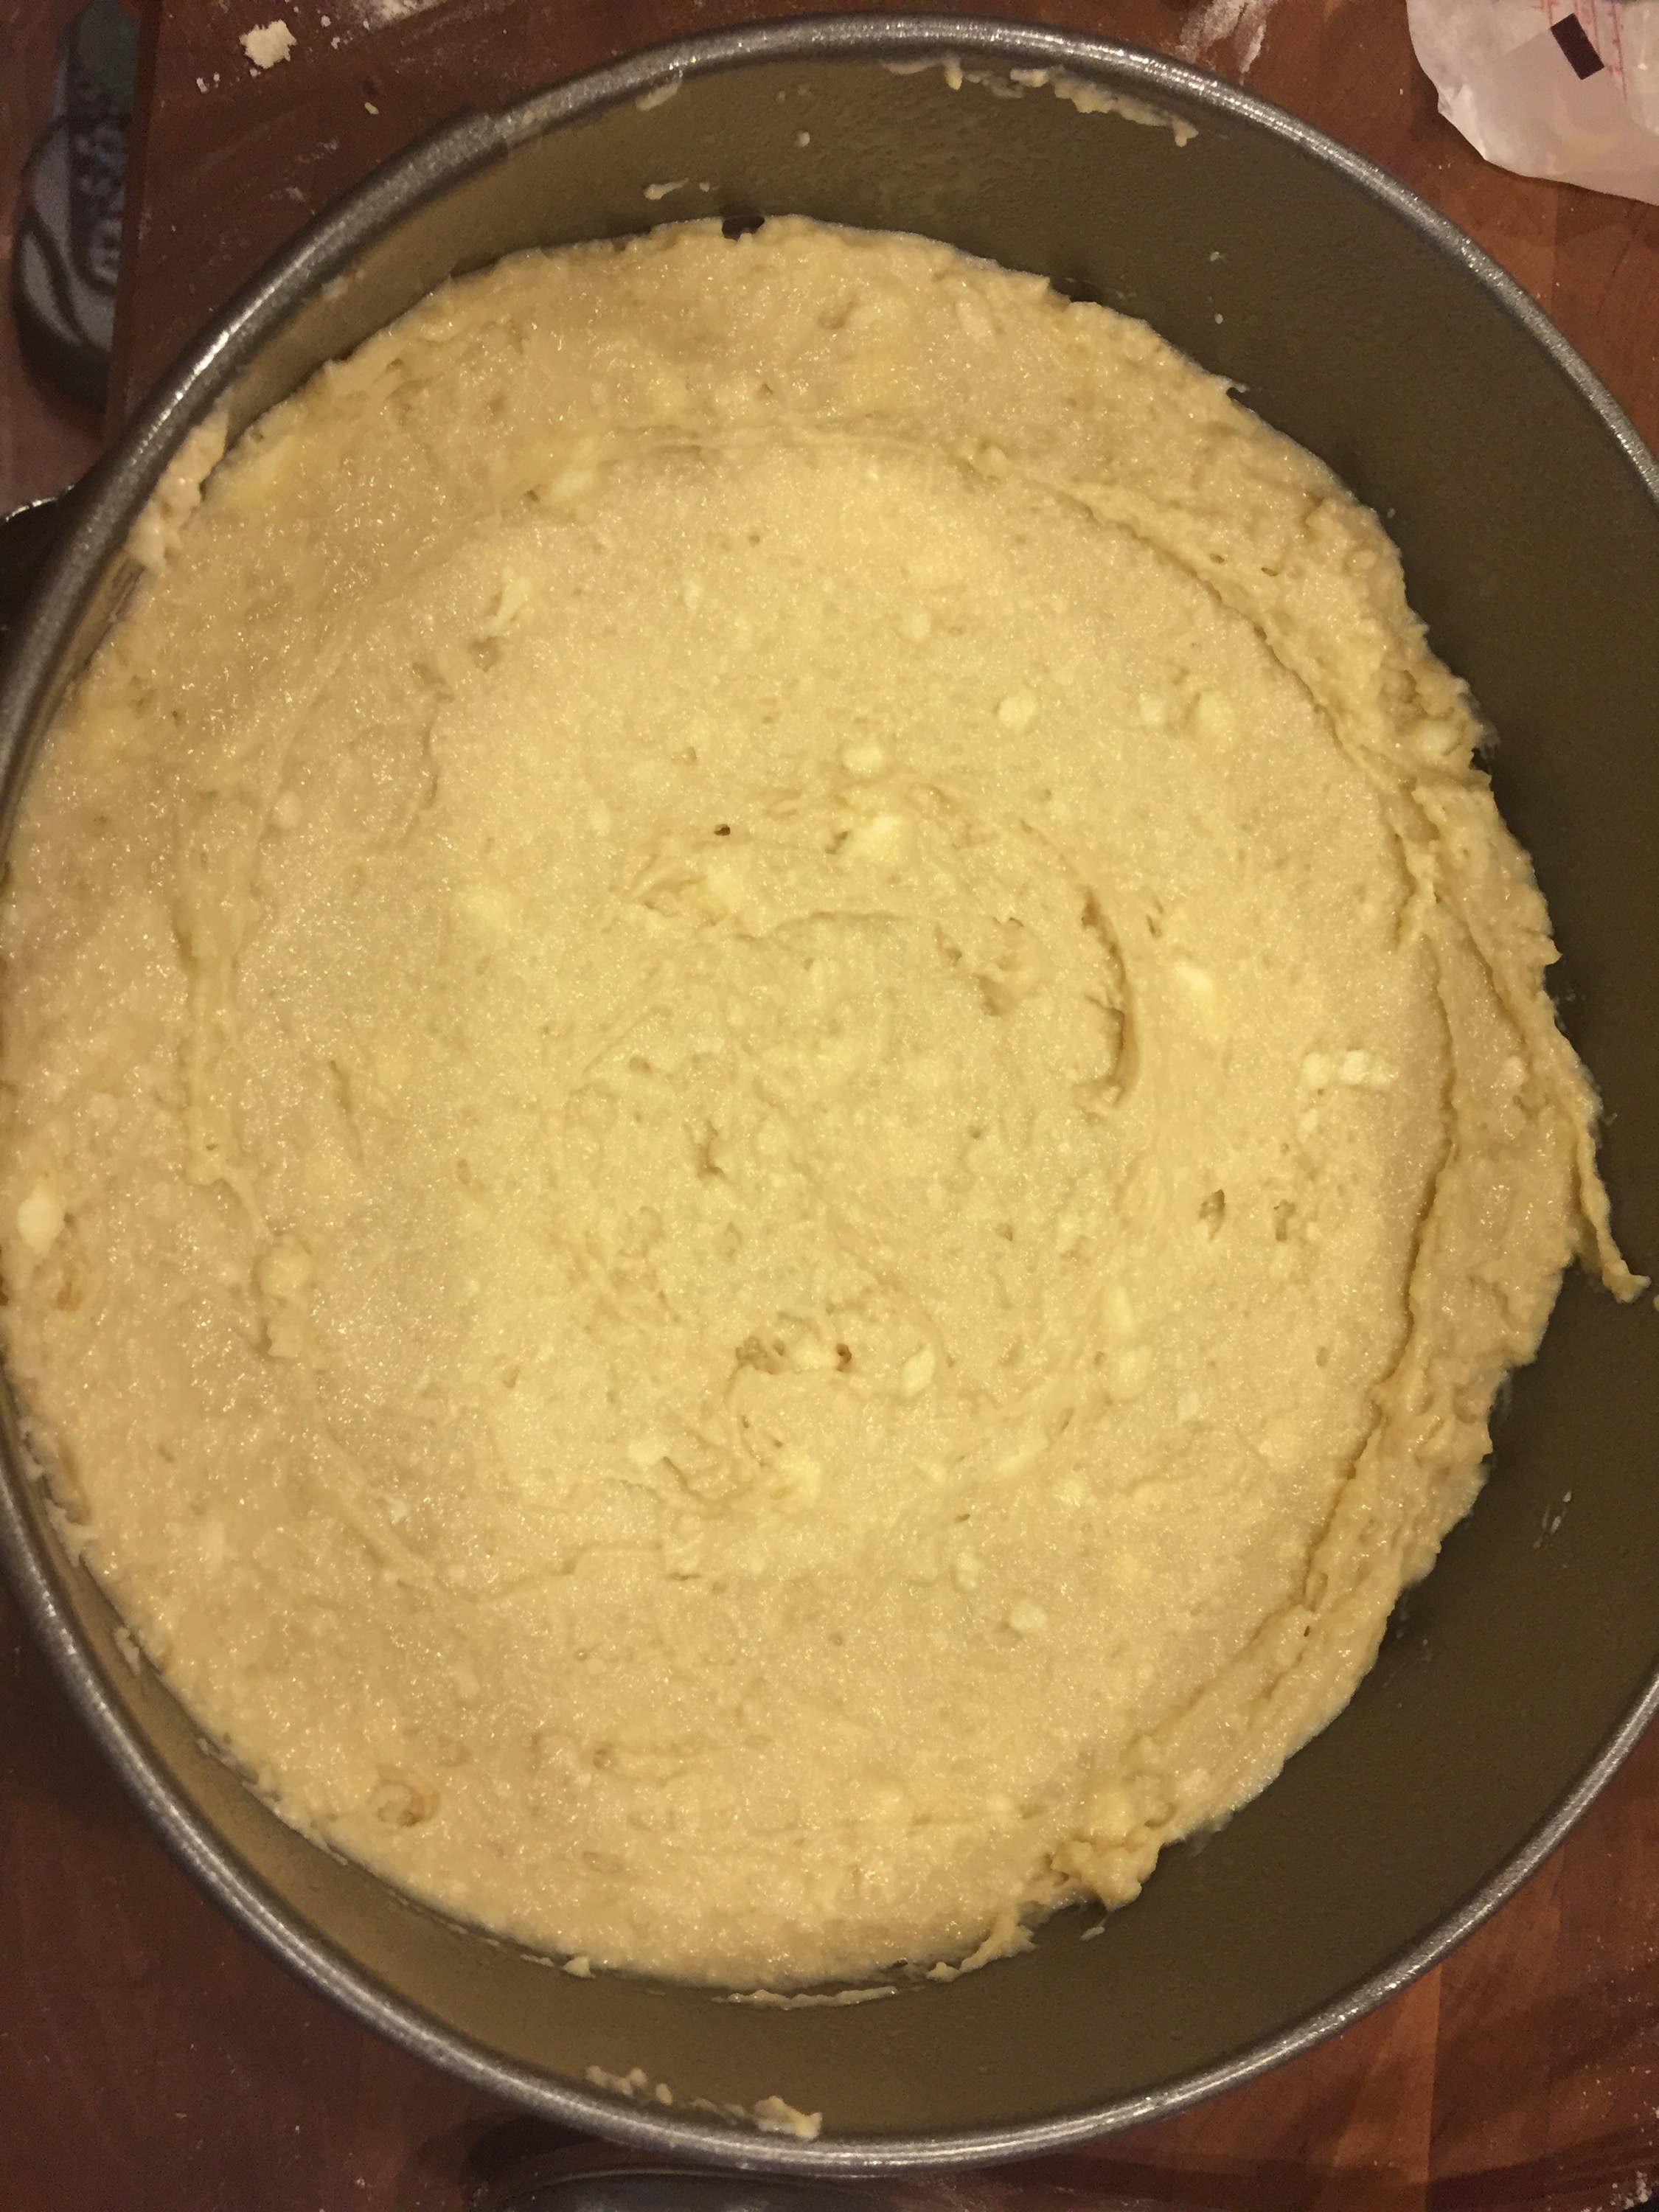
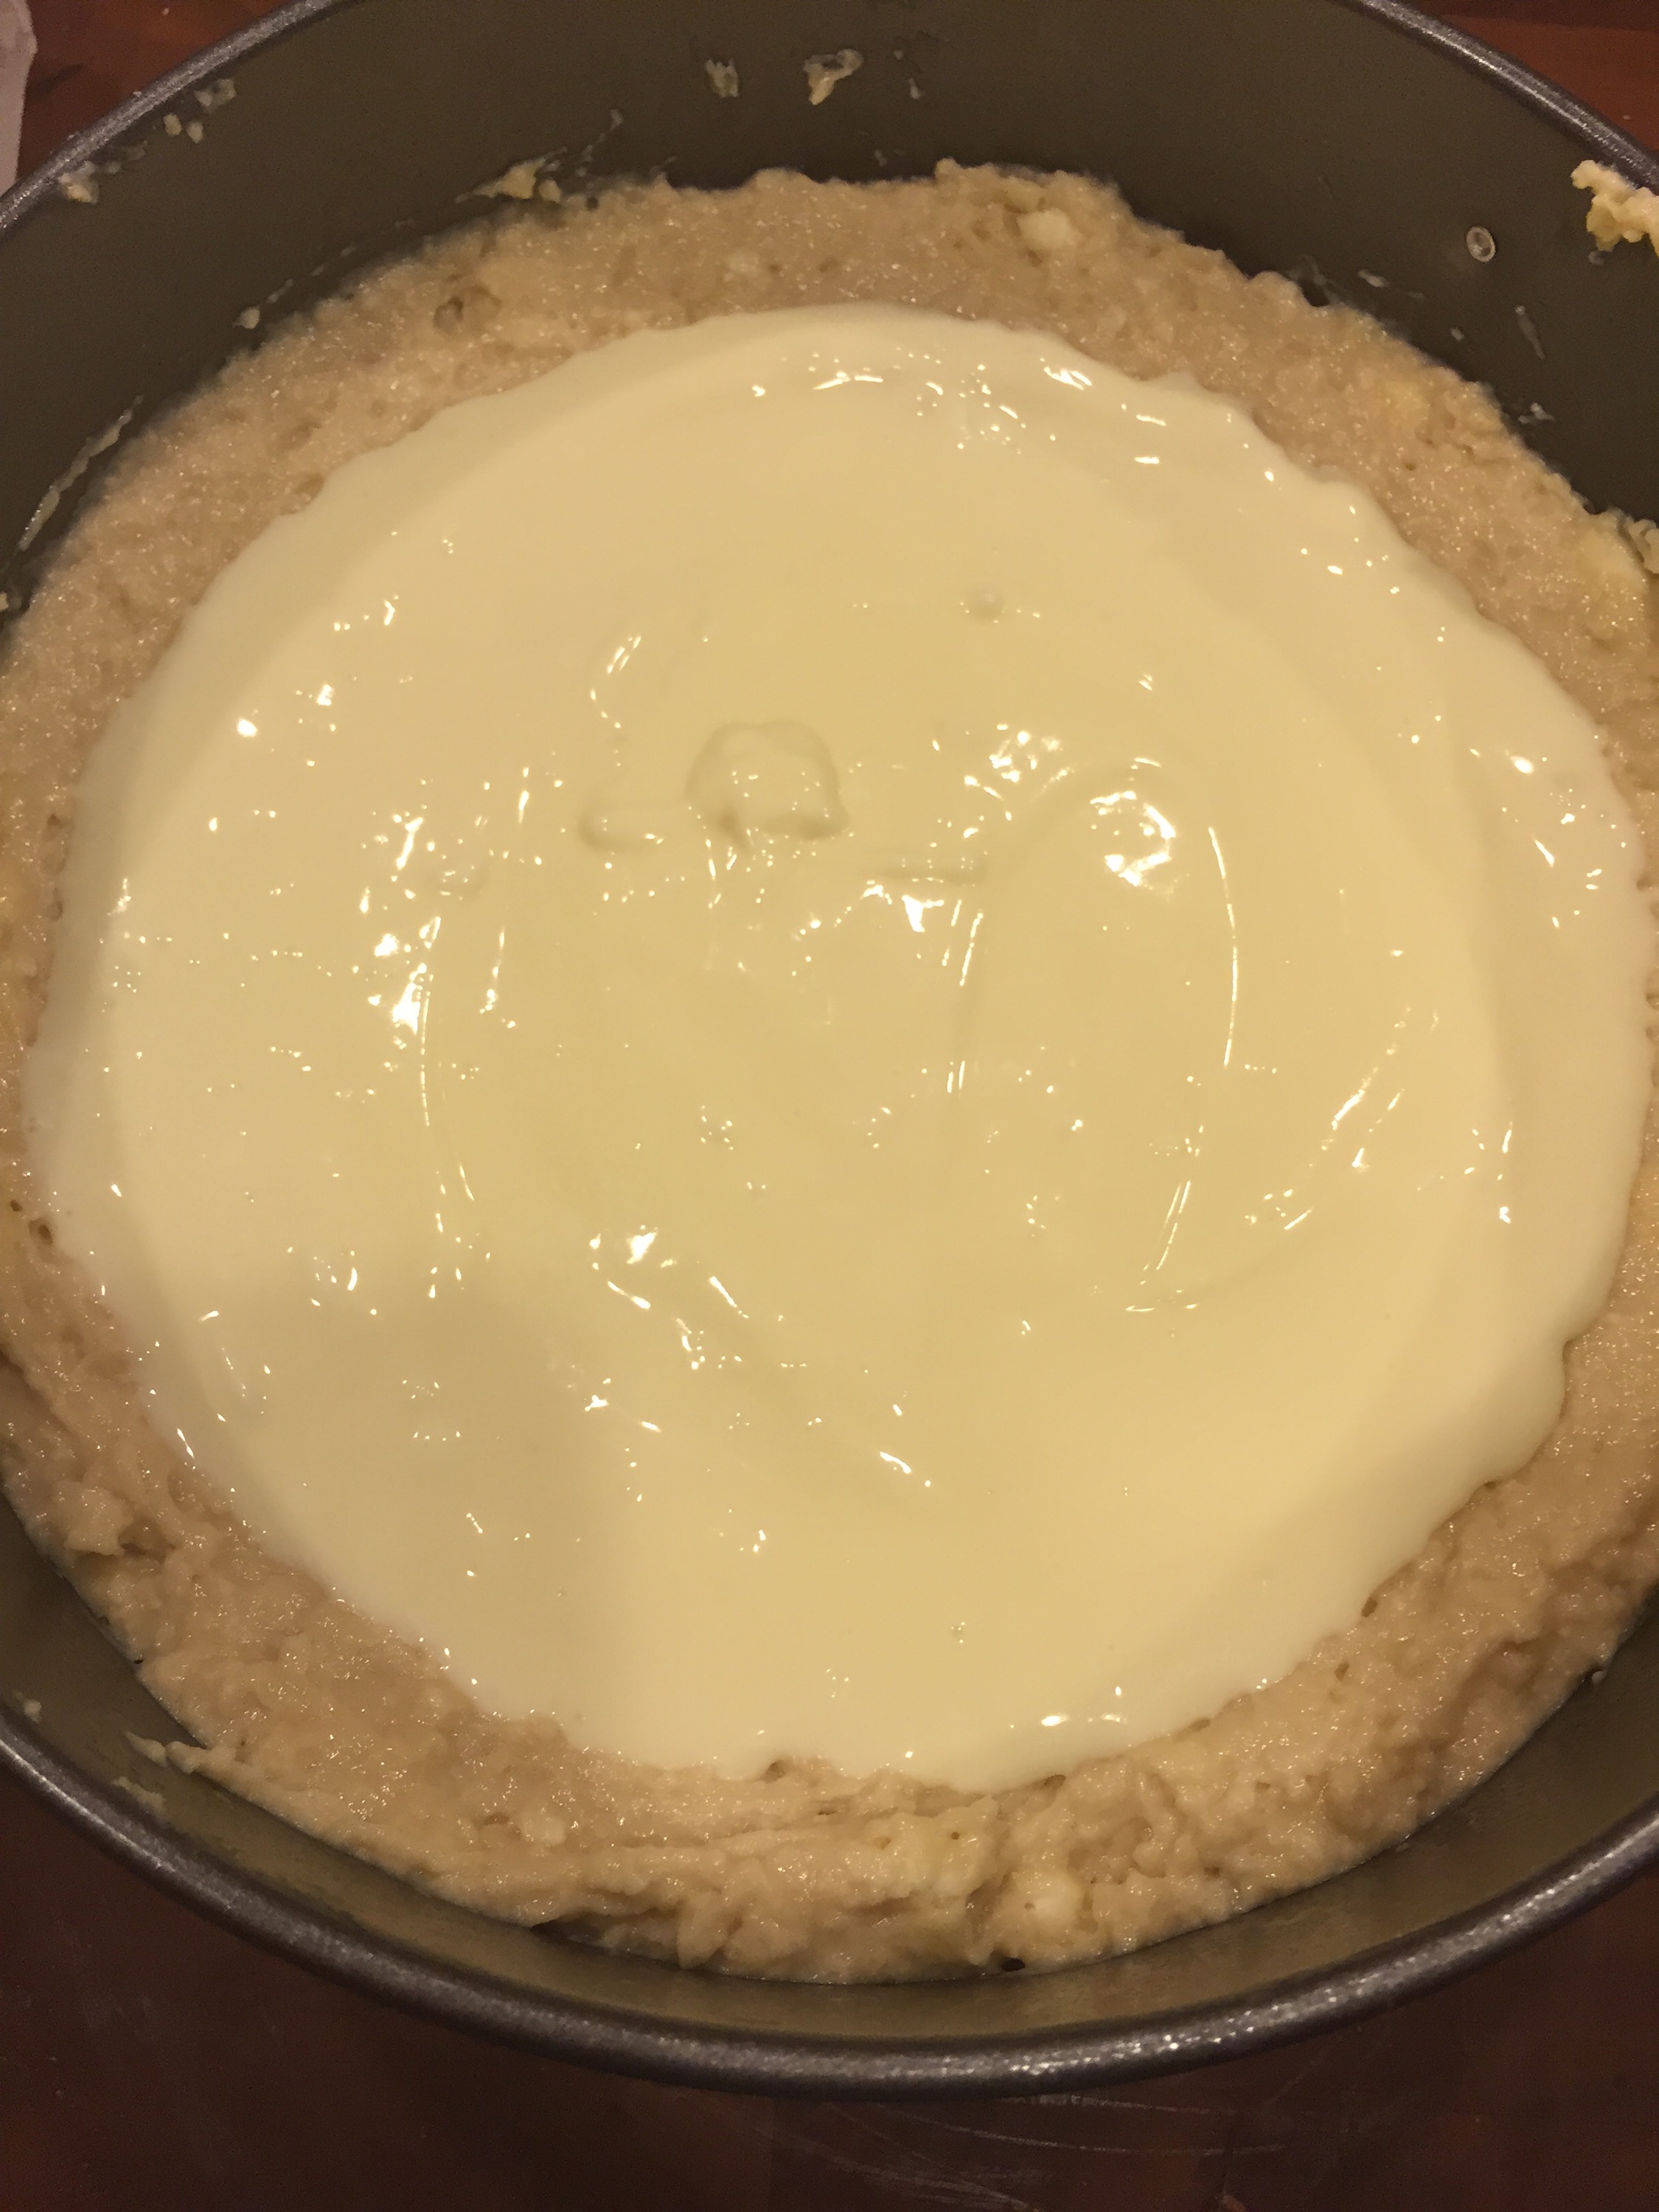
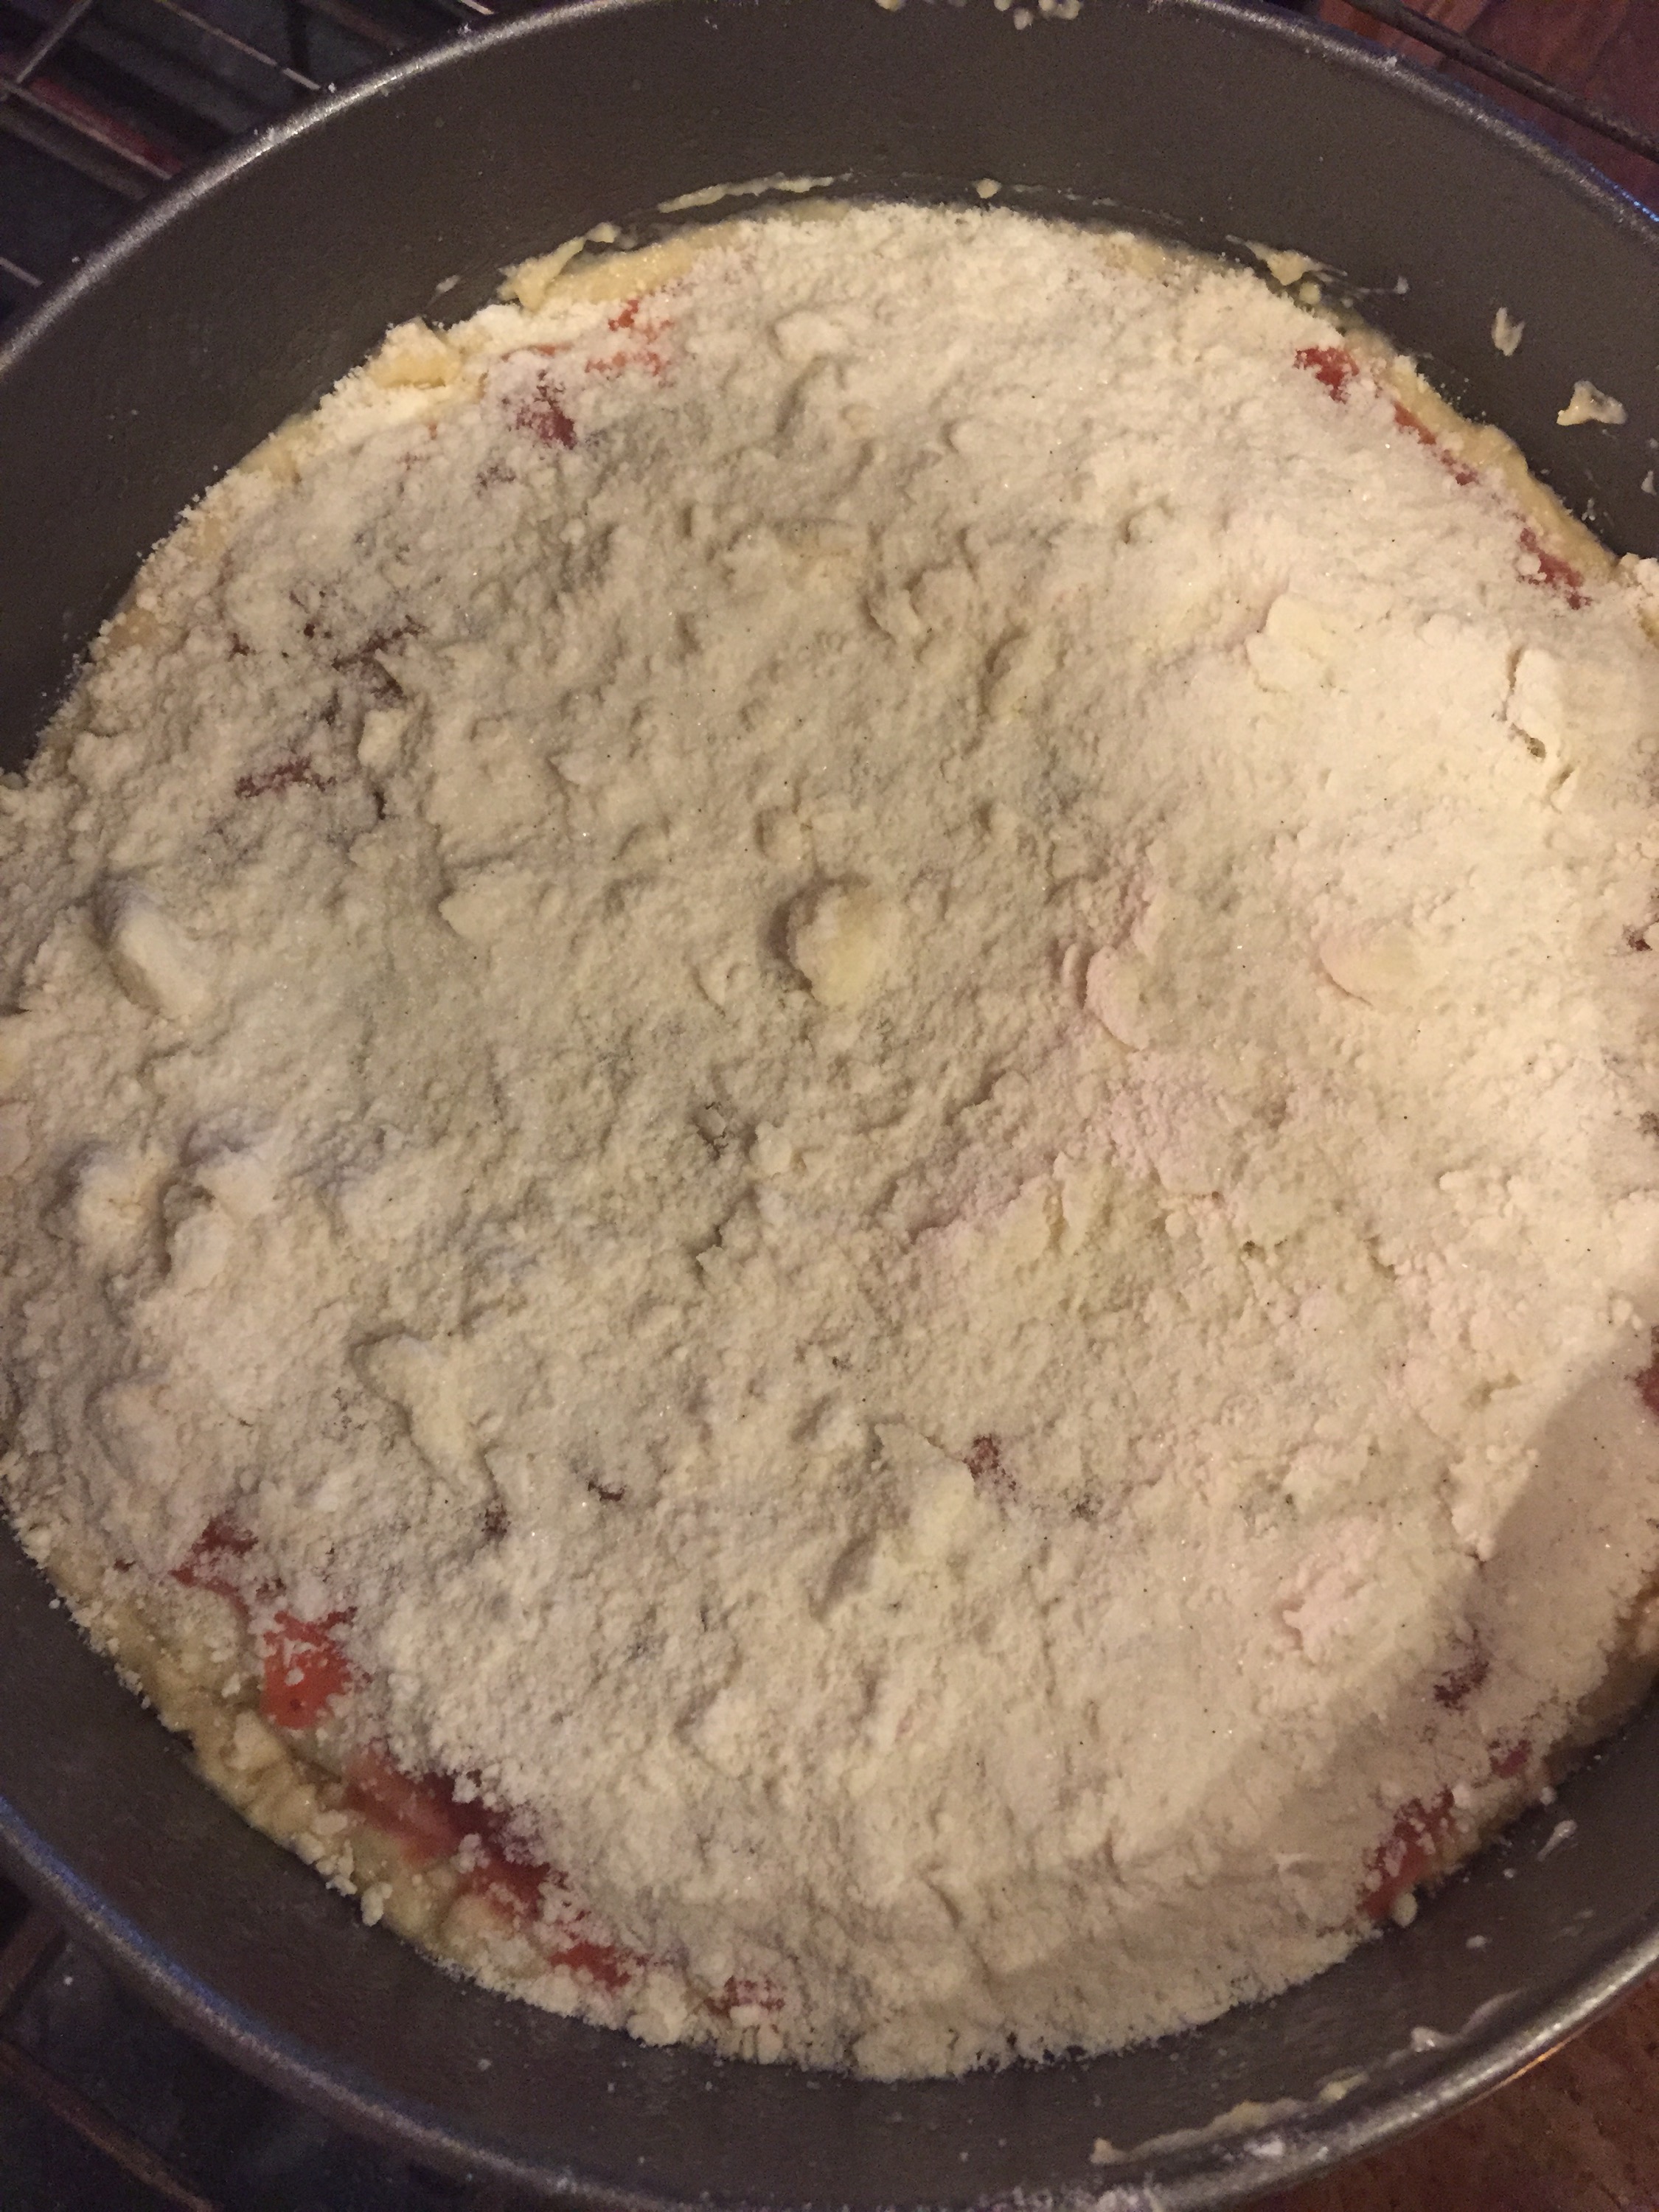
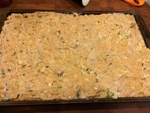
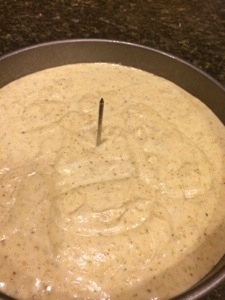
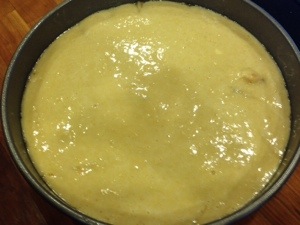
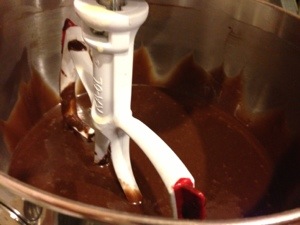
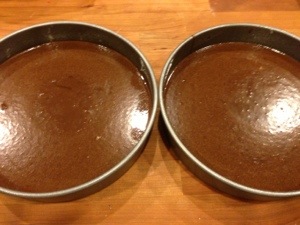
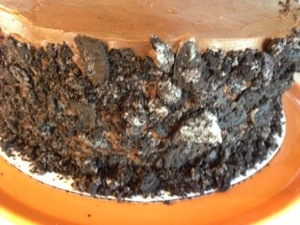
  6. Pour about half the batter into the greased bunt pan. Sprinkle the cinnamon and sugar evenly on-top of the batter. Pour the remaining batter on-top of the cinnamon layer.
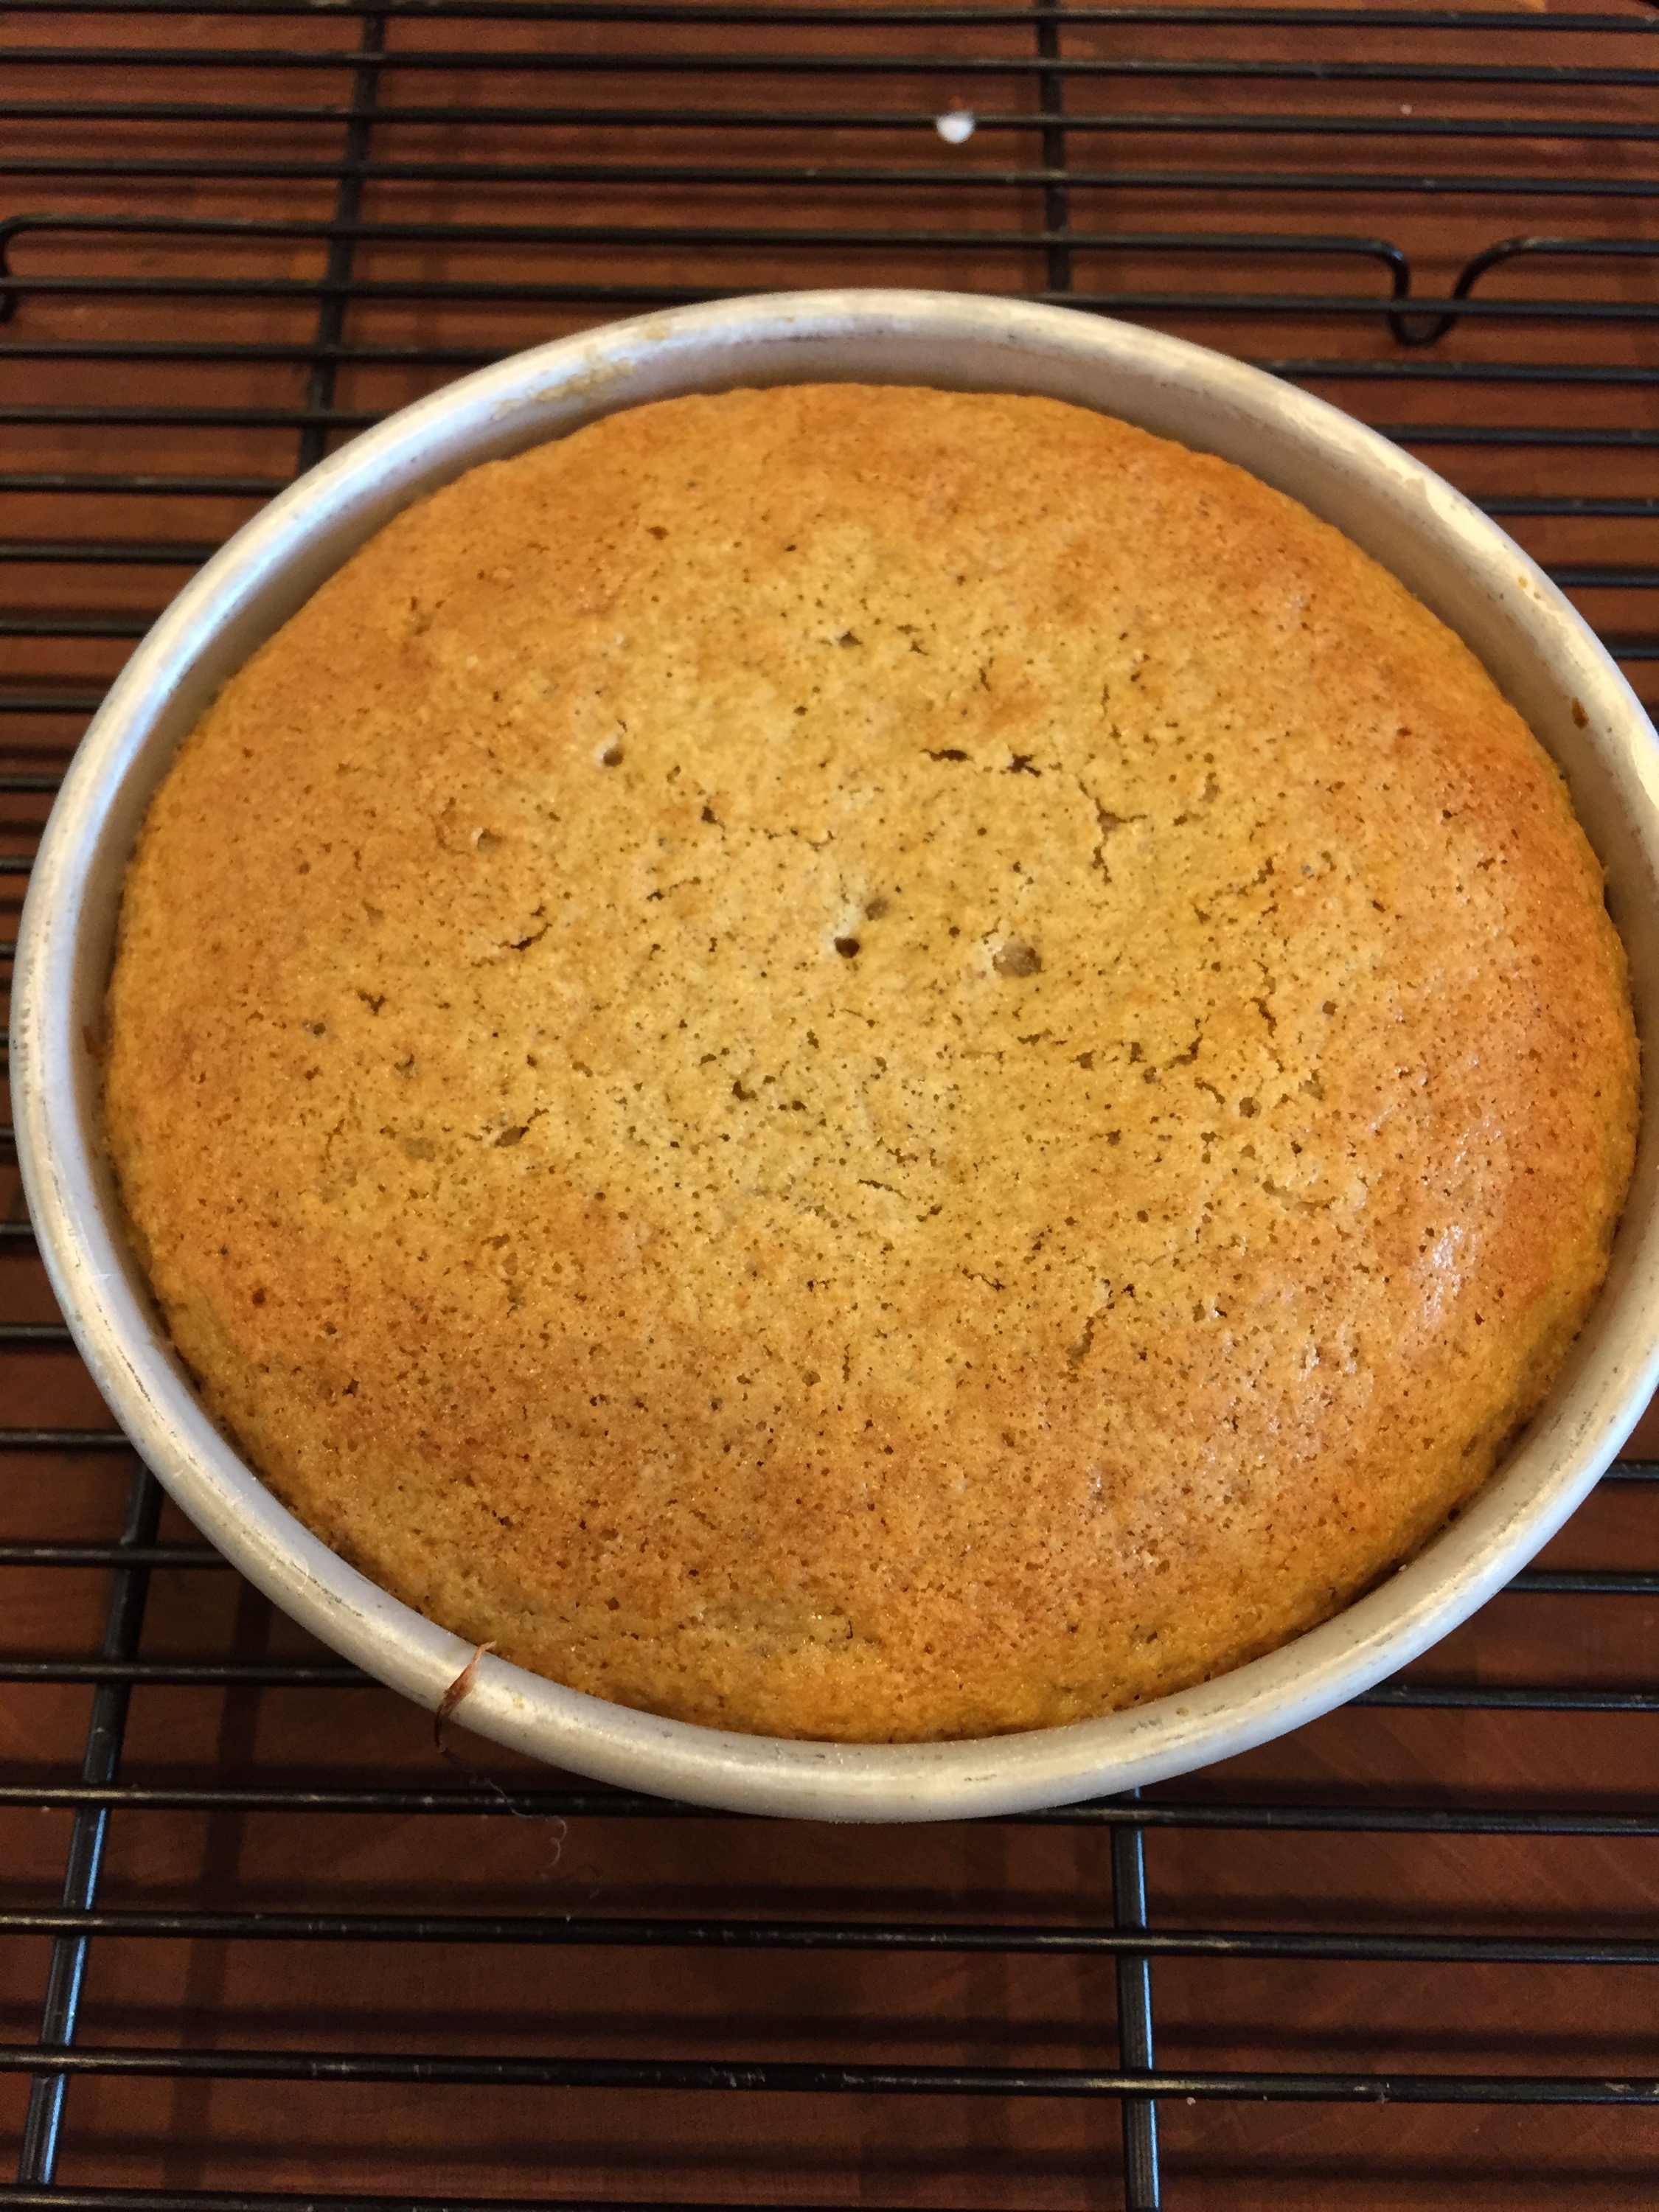
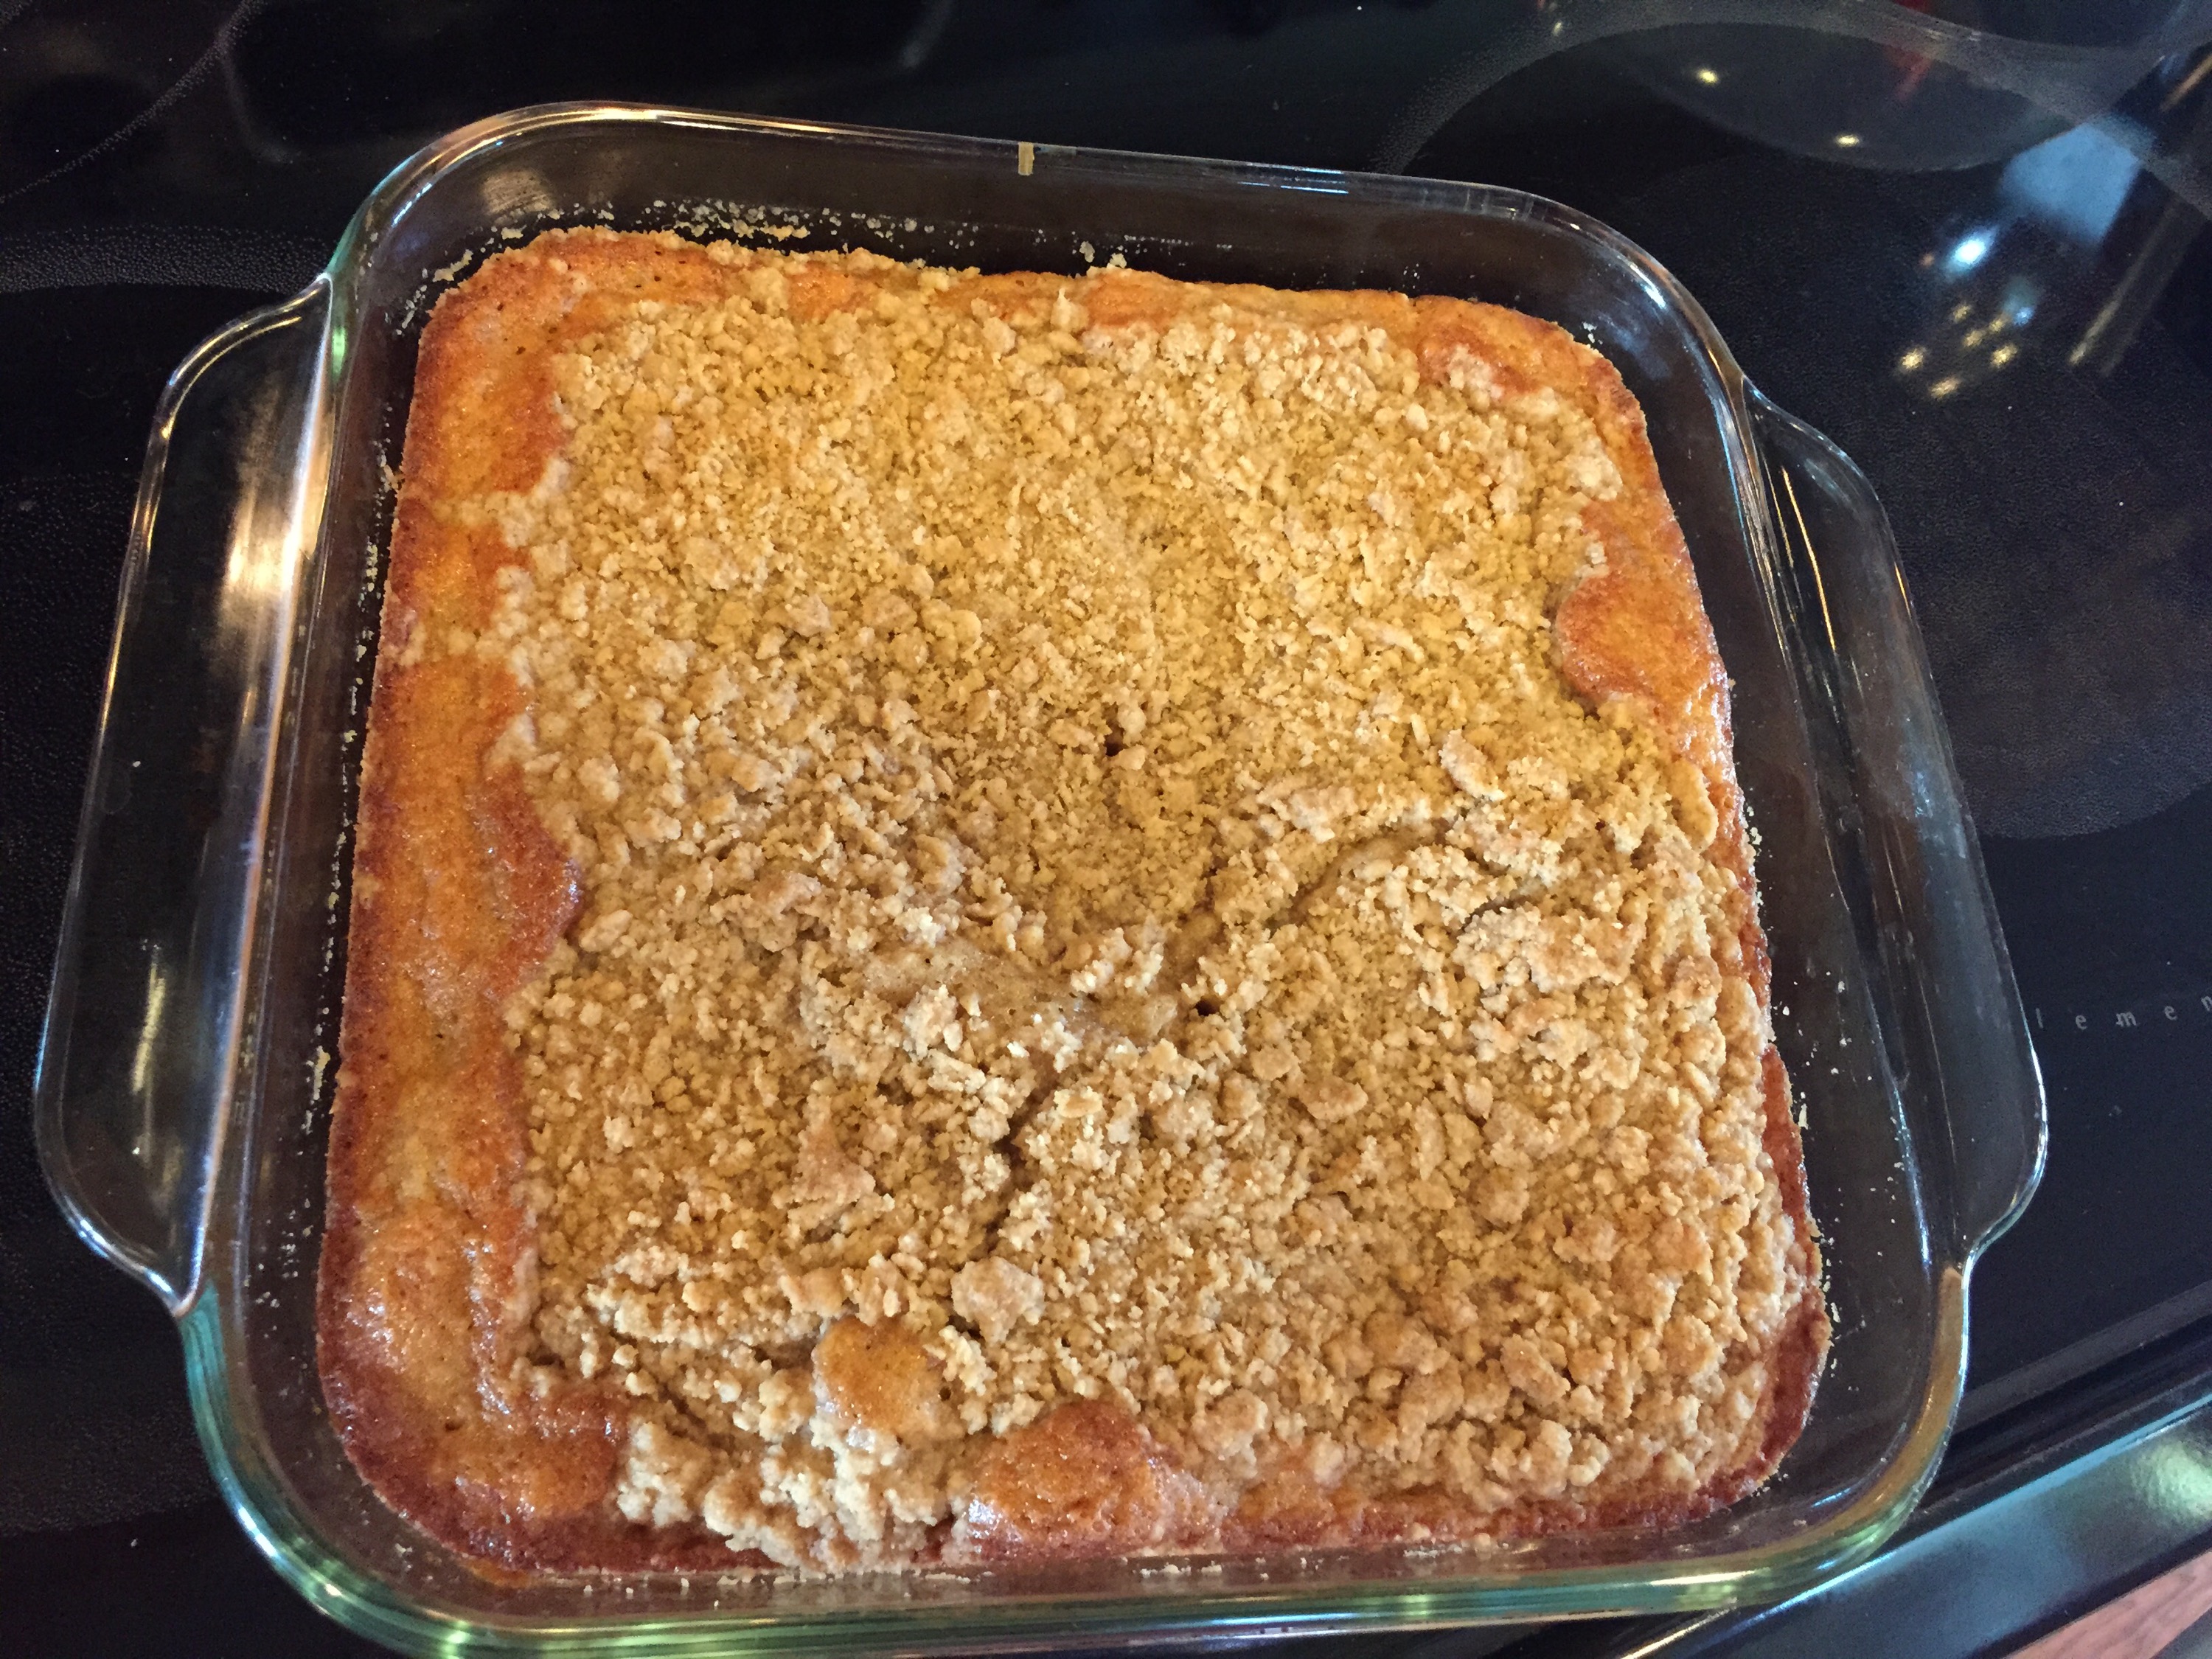
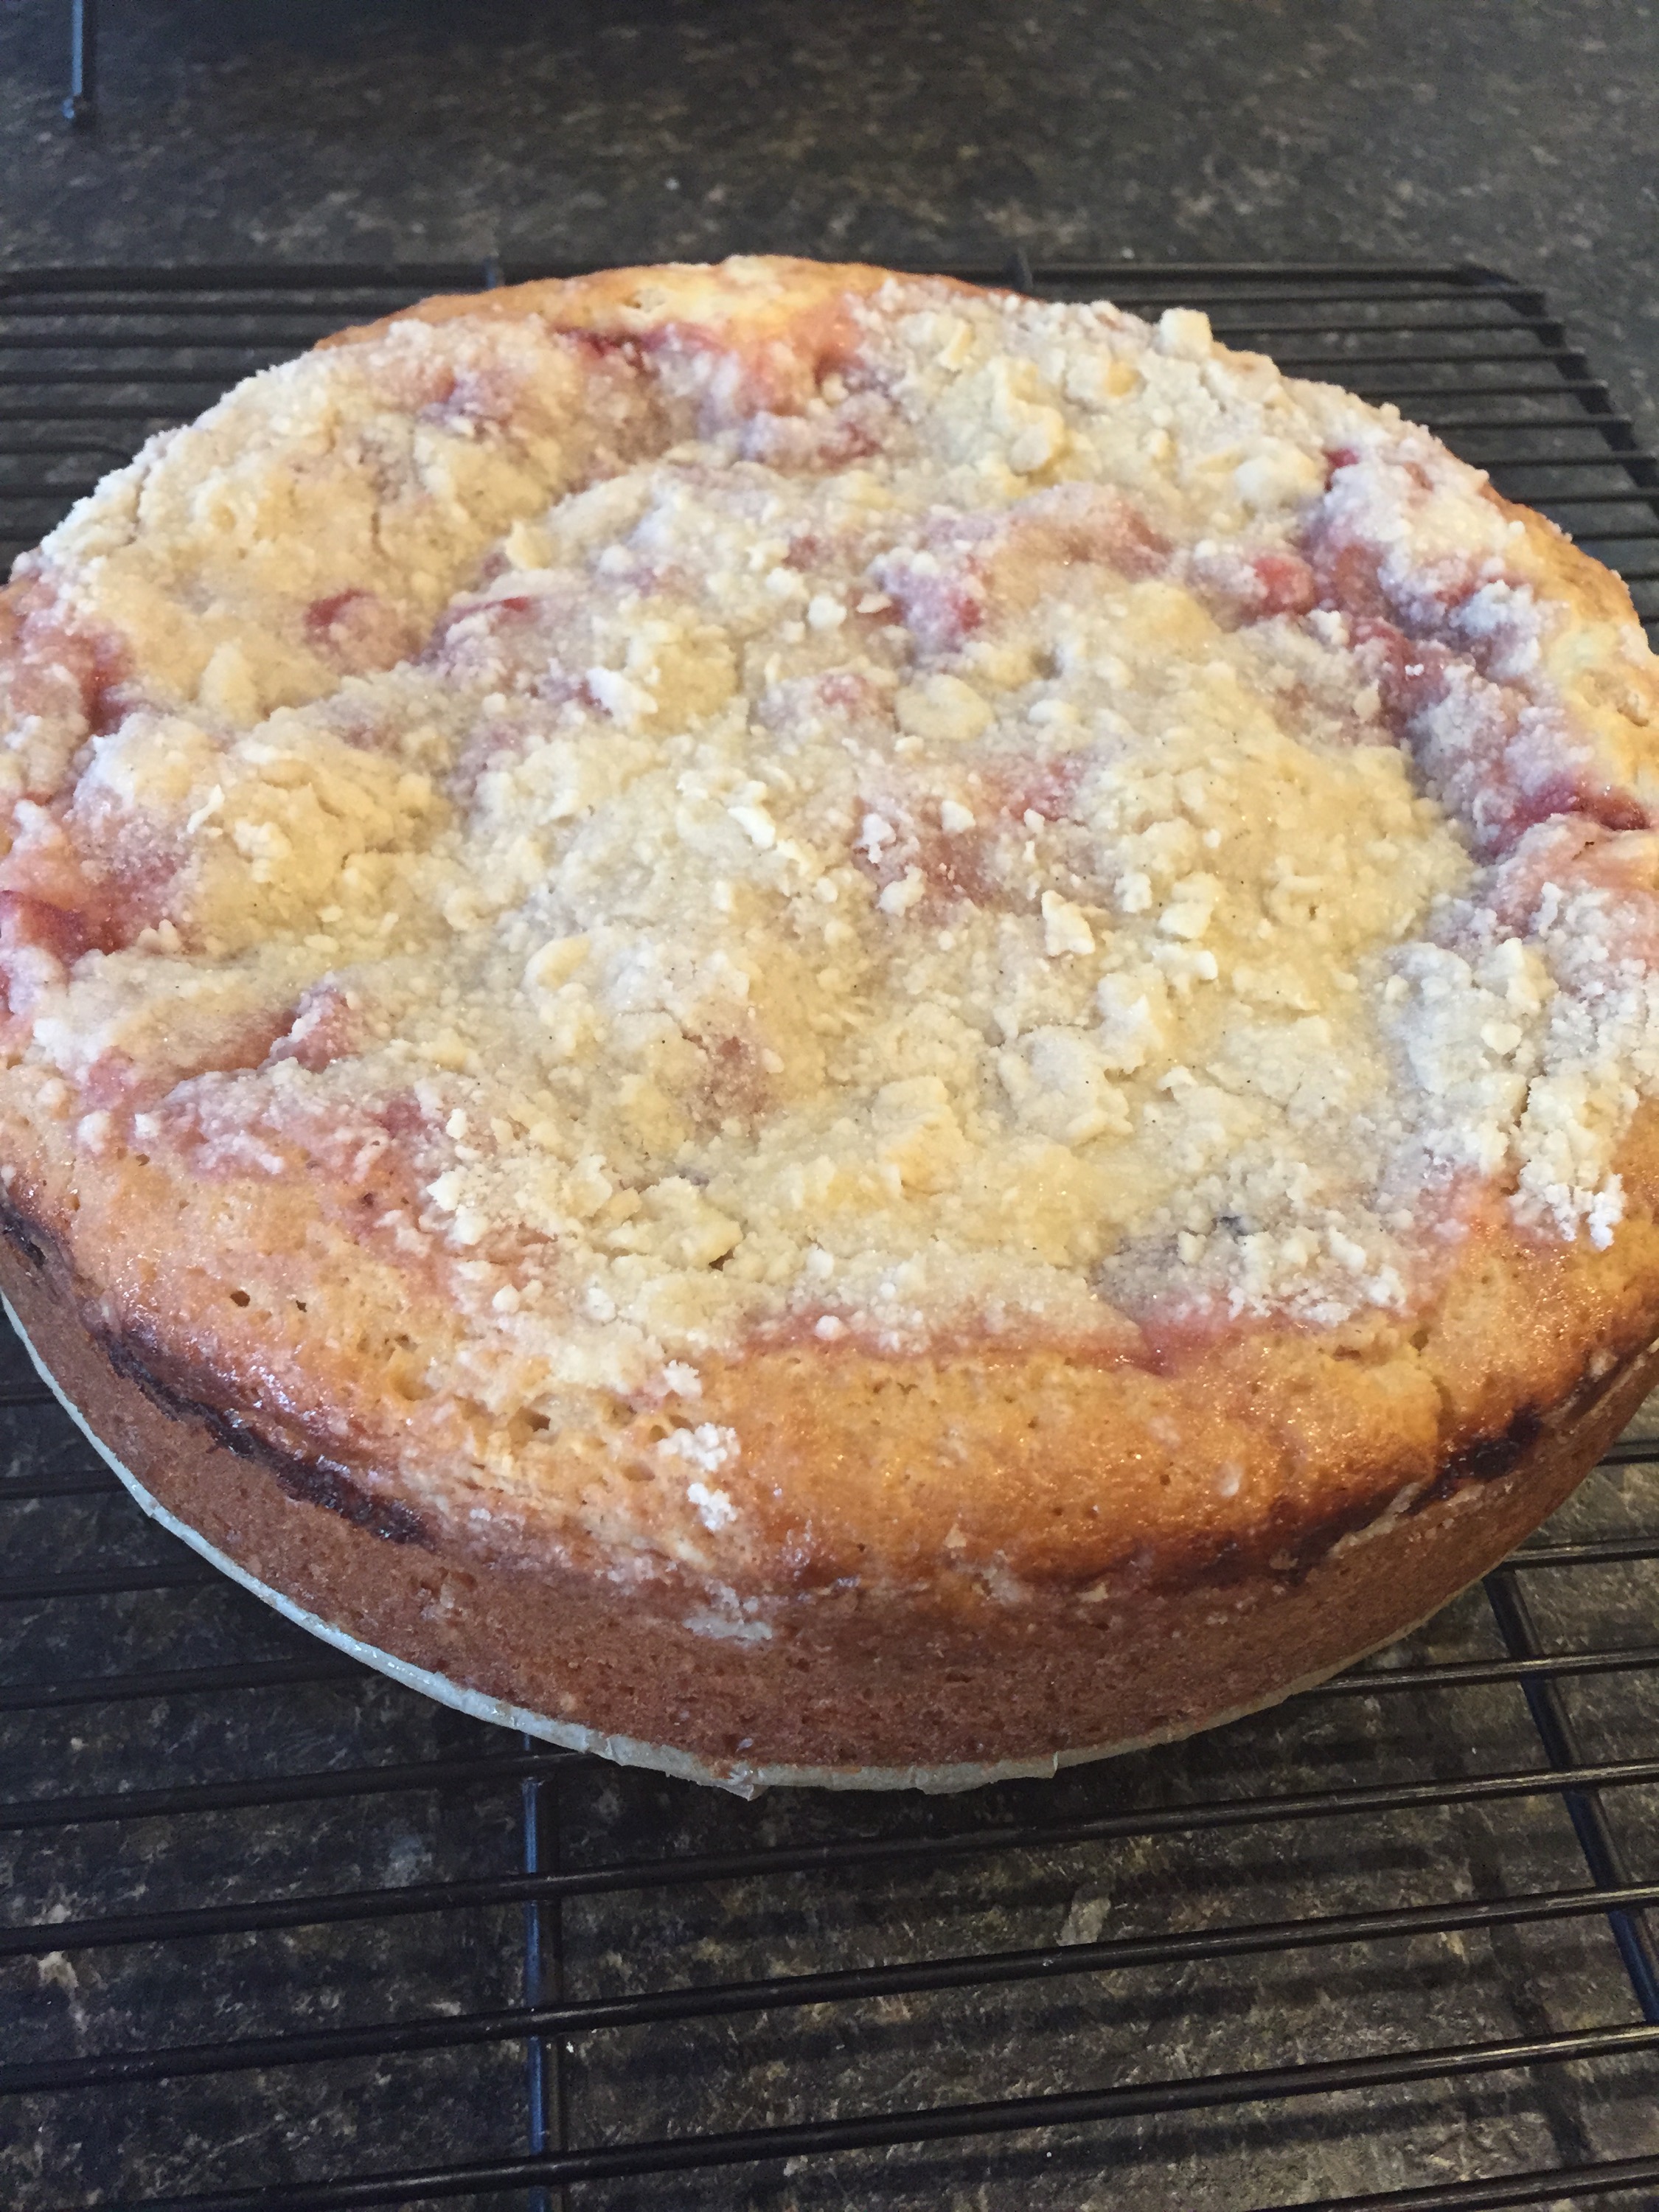
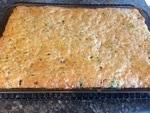
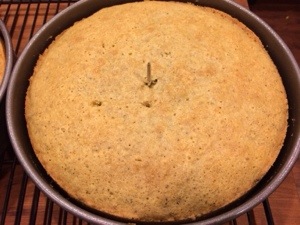
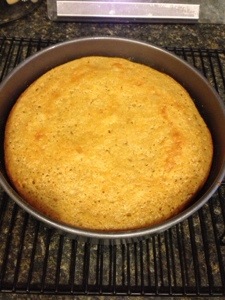
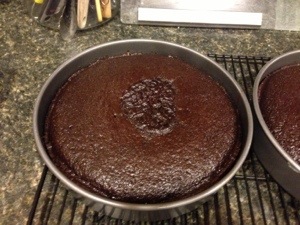
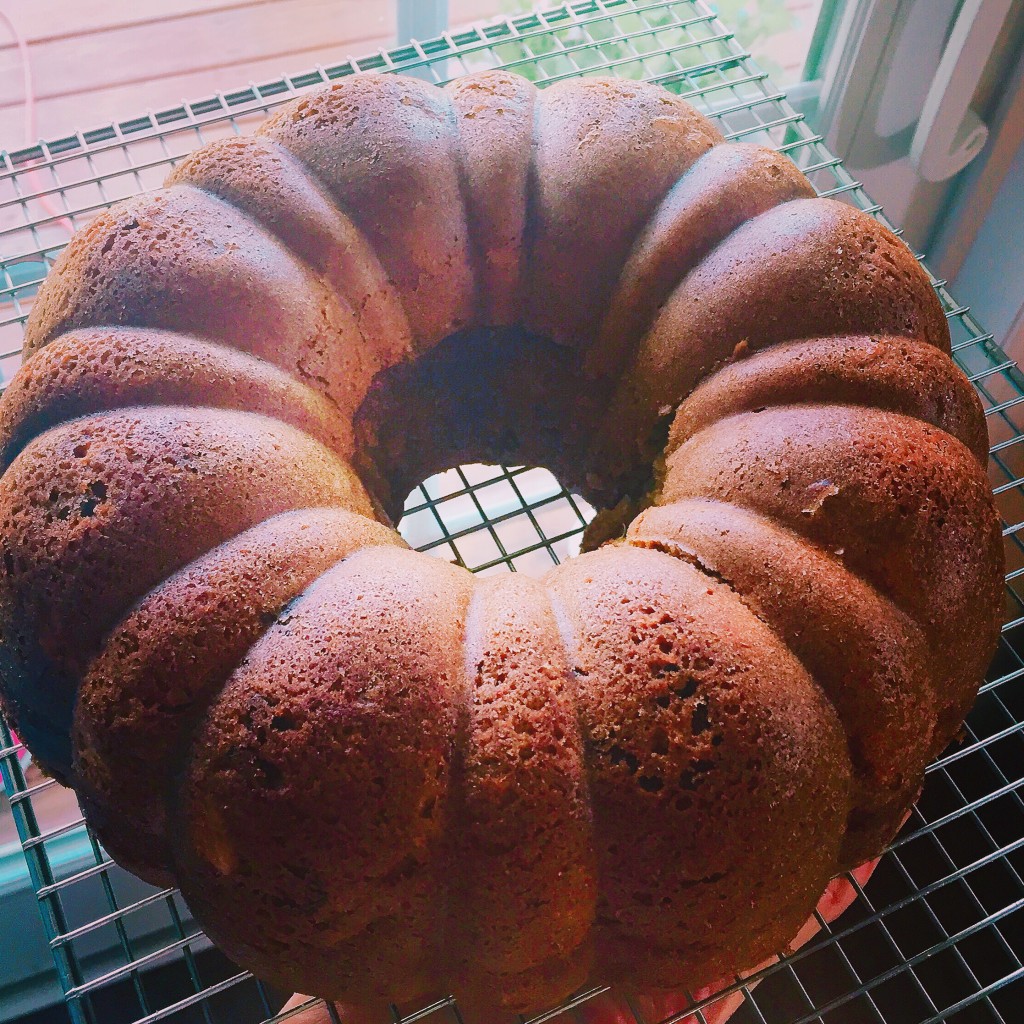
  7. Bake the cake in the oven at 350 degrees for 60 minutes. I used a stoneware bunt pan, so baking times can differ. Be sure to check the cake with a cake tester and verify to see if the tester comes out clean without signs of wet residue.
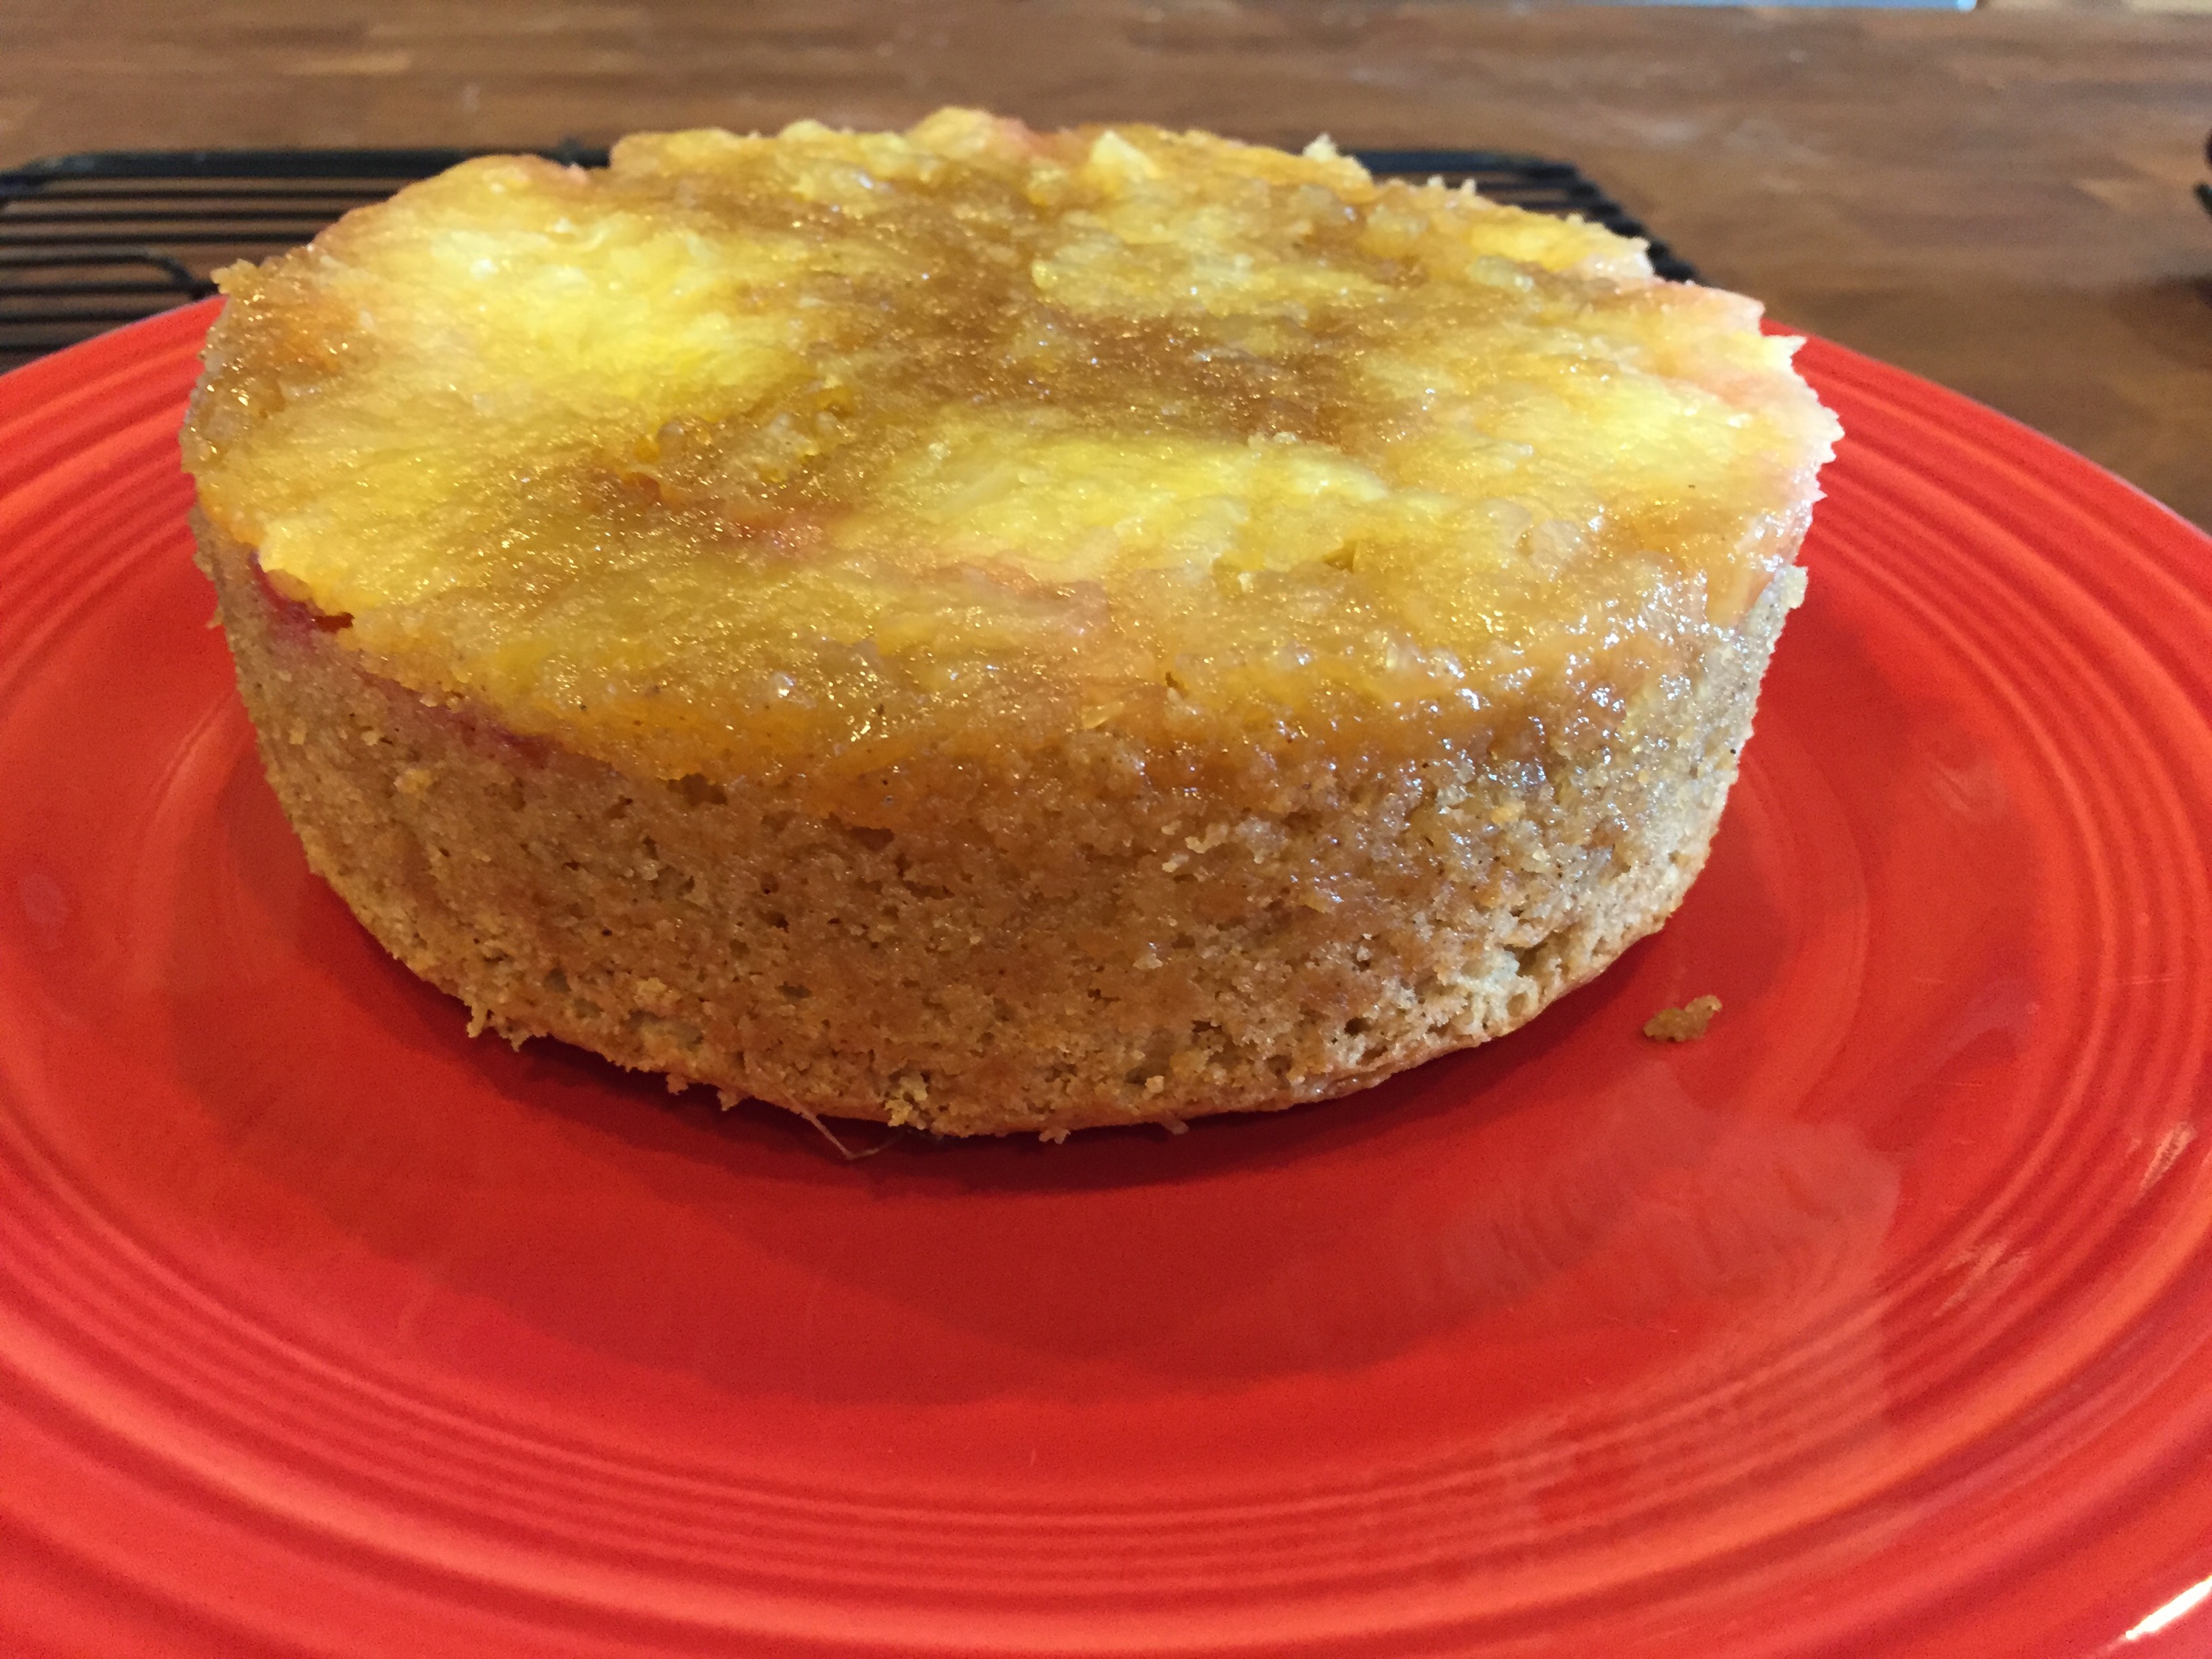
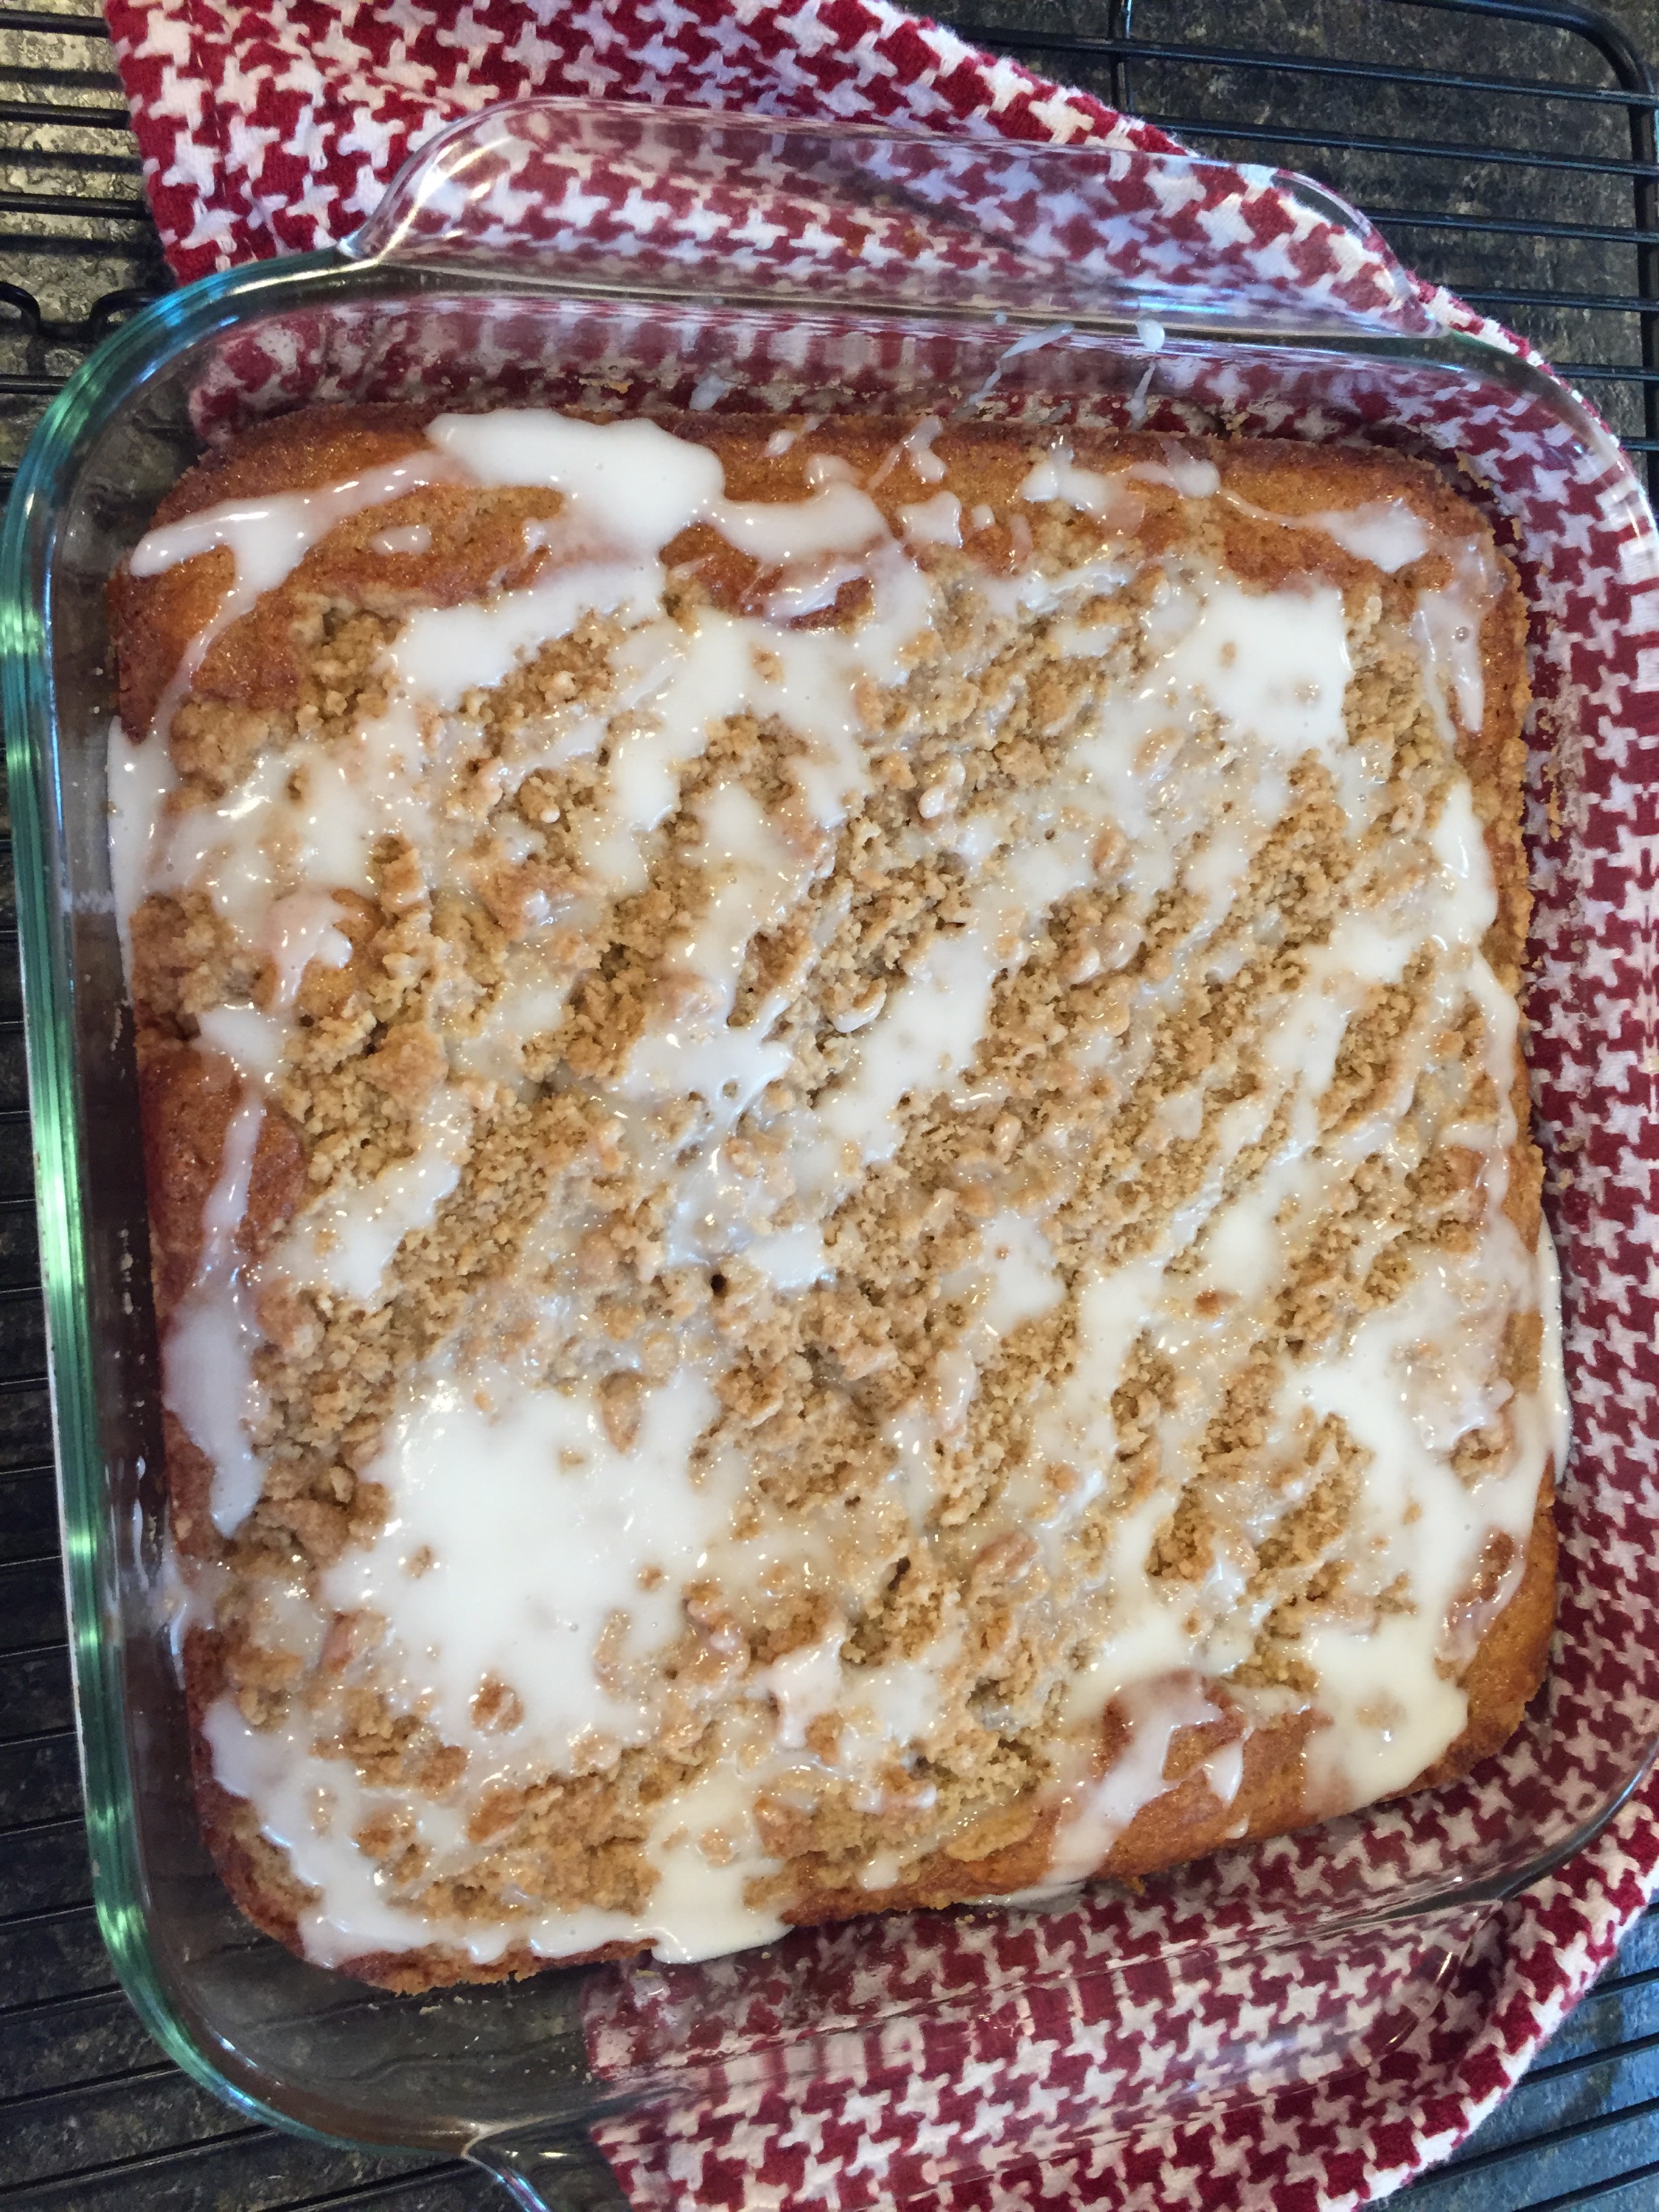
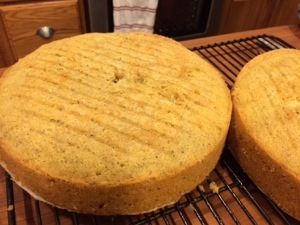
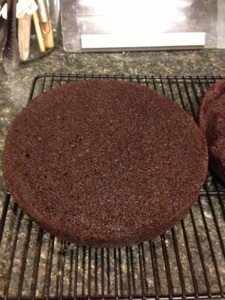
  8. Remove the cake from oven and place the bunt pan on a wire rack and allow the cake to cool in the pan for at least 10 minutes before inverting and removing the cake to cool the remainder of the time on wire rack.
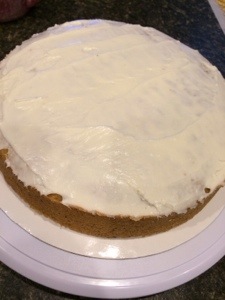
  9. Enjoy


Vanilla Cake with Pastry Cream Filling & Strawberry Whipped Cream Frosting

My grandfather turned 86 years old this past weekend and I was honored to bake the cake for him. We were able to celebrate with some of our family at his favorite restaurant. We finished off the celebration with this refreshing spring cake.

Strawberries are one of his favorite fruits. My grandpa grows them in the summer and there is nothing, absolutely nothing that compares to his homegrown strawberries.

When my sister and I were kids we would go to his house and pick them fresh out of the garden. Two for me and one for the basket was our motto. We loved spending the summers at our grandparent’s home. Once we were finished we would have angel food cake, vanilla ice cream, & fresh sliced strawberries with some cool whip. Yum! I can taste the dish just thinking about it. This cake takes me back to those wonderful nostalgic memories at Grandma & Gtrandpa Harpers.


This cakes serves 16- 24 servings

Cake Ingredients:

3 cups cake flour
1 Tbsp baking powder
1/2 tsp kosher salt
1 cup (8 oz) (2 sticks)unsalted butter, room temperature
1 3/4 cup  granulated sugar
3 large eggs
2 large egg yolks
1 1/4 cups low fat buttermilk
2 tsp pure vanilla extract

Pastry Cream Filling:

3-4 Large Strawberries

1/2 cup skim milk 1/4 cup fat free half and half1/4 cup heavy cream
1/2 vanilla bean, split lengthwise, seeds scraped out
3 egg yolks
1/2 cup granulated sugar
1/8 cup cornstarch
1/2 tablespoon unsalted butter


Strawberry Cream Cheese Whipped Cream Ingredients:
1 1/2 cups heavy cream
1/2 cup powdered sugar, divided
4 oz cream cheese, 1/3 reduced fat, room temperature
1/2 tsp pure vanilla extract
1  lbs strawberries, hulled and sliced into pieces slightly under 1/2-inch
Sliced strawberries for decorating


Directions for the Cake:

Preheat oven to 350 degrees. Cooking spray with Bakers Joy (or a flour based spray) 3 9-inch round cake pans then line bottom with a round of parchment, cooking spray with Bakers Joy parchment. Set pans aside.

Whisk together flour, baking powder, and salt together into a medium mixing bowl, set aside.
In the bowl of an electric stand mixer fitted with the paddle attachment cream the butter and sugar until pale and fluffy. Mix in eggs and egg yolks one a time. Also add vanilla in with the eggs.  Add 1/3 of the flour mixture at a time (to the butter/egg mixture) alternating with 1/2 of the milk and mixing on low speed just until combined after each addition. Scrape down sides and bottom of bowl and gently fold batter several times.
Divide batter among prepared baking pans evenly. I like to use my scale for this, even distribution makes for even baking. Bake in preheated oven 20 minutes until toothpick inserted into center of cake comes out clean. Cool in pan about 5 minutes, run a plastic knife around edges of cake to ensure they are loosened then invert onto wire racks to cool for 20 minutes. After the time has elapsed prepare them for the freezer. I like to wrap them in plastic wrap and place them back into their baking pans and stack them in a deep freezer before frosting.

Directions for the Custard Filling:

In a small saucepan, heat the milk, heavy cream,  half and half, and vanilla bean to a boil over medium heat. Immediately turn off the heat and set aside to infuse for 10 to 15 minutes. In a bowl, whisk the egg yolks and granulated sugar until light and fluffy. Add the cornstarch and whisk vigorously until no lumps remain. Whisk in 1/4 cup of the hot milk mixture until incorporated. Whisk in the remaining hot milk mixture, reserving the empty saucepan. Cook over medium-high heat, whisking constantly, until thickened and slowly boiling. Remove from the heat and stir in the butter. Let cool slightly. Cover with plastic wrap, lightly pressing the plastic against the surface to prevent a skin from forming. Chill at least 2 hours before placing in between the layers of the cake.

Whipped Cream Frosting: 

In the bowl of an electric stand mixer fitted with the whisk attachment, whip heavy cream until soft peaks form (occasionally scrap down sides and bottom of bowl to ensure even mixing), add 1/4 cup powdered sugar and whip until stiff peaks form (make sure they are stiff or your topping will be runny, it should get to the point where it doesn’t have a wet sheen). Scrape cream out into a separate bowl.
Add cream cheese to bowl of stand mixer, fit with paddle attachment and whip cream cheese until smooth and fluffy, mix in remaining  1/4 cup powdered sugar and vanilla. Add strawberries and mix until uniform in color. Remove bowl from stand mixer, add whipped cream and fold into mixture.

Putting it all together:

Take the side with flat surface (the side that was touching the bottom of the pan) and place it onto cake plate or cardboard cake circle. Place a ring of the whip cream frosting around the border of the cake (I piped this by using a ziplock baggie & cutting a small rectangle at one of the tips of one of the corners) and then pour some of the custard into the center. Spread the custard evenly in the center. The ring of whip cream serves as a border to prevent spillage. Place slices of strawberries around the middle.


Place next cake layer down and repeat the custard layer with boarder of whipped cream. Top with the last cake layer.  Finish frosting by taking the remaining whipped frosting and frost cake. Place the cake in the freezer immediately and remove before serving.  Store leftover cake in an airtight container in refrigerator, well that is if there are any leftovers. We did not have any…


Vanilla Bean Cake with Vanilla Buttercream 


My nephew is turning 4 years old in a few days! Wow I cannot believe it. He is growing so fast! Today we celebrated his birthday family style at my mom and dad’s with a pizza party! 

This year the cake design was a hot ever changing subject which kept me on my toes. At first my nephew wanted a robot cake and than one with motorcycles. 

He also loves batman right in the moment so eventually we made him a batman on a motorcycle cake. 

I searched high and low for the perfect vanilla cake recipe, which was hard to locate. I couldn’t find a vanilla cake note worthy but now have one for keeps. 

Predirections
:

Preheat oven to 350 degrees and prep 2, 9 inch baking pans lined with parchment paper and sprayed with bakers joy.

Yields 16 serving

Cake Ingredients:

2 cups All Purpose flour

1/2 a vanilla bean (seeds)

1 tsp high quality pure Vanilla extract 

3 Large eggs room temperature 

1 cup buttermilk

1 1/2 cups granulated sugar

1 TB baking powder

1/2 tsp salt

1/2 cup (1 stick) unsalted butter,room temperature

Directions:

1. Preheat oven to 350 degrees. 

2. In a small bowl whisk together flour, salt, and baking soda. 

3. Beat with paddle attachment in a stand mixer on medium speed the butter and sugar until white pale and fluffy. Reduce the speed and vanilla. Add eggs one at a time mixing after each addition and scraping down sides often. 

3. Decrease the speed of mixer and slowly add the dry ingredients and milk alternating between dry ingredients and milk. Beat until just combined. Be careful to not over mix.

4.Divide the batter into 2 prepared 9 inch baking pans. I weighed my and it was about 521 grams for each pan. Make sure to allow the air bubbles to release by slightly picking up the pan and dropping it onto the countertop gently. 

5. Bake both pans at the same time for 17 minutes or until toothpick comes out with little crumbled and no wet residue. 

6. Allow to cool in pan for 5 minutes. Remove from pan and allow to cool on wire rack for remainder of time. 

**Once the cake has cooled completely I like to wrap it in plastic wrap and place it bake in the cleaned 9 inch pan and place in the deep freezer overnight. This helps when you go to frost the cake so the crumbs don’t go everywhere in the frosting later.**

Vanilla Buttercream Frosting Ingredients:

1 # or 4 sticks of unsalted butter, room temperature 

8 cups of sifted powdered sugar 

2 TB pure vanilla extract

1/2 cup heavy cream

Blue food coloring gel (optional)

**Sprinkles for center layer is optional

Directions:

1. Cream the butter  in a stand mixer and gradually add sugar until light and fluffy. Add the vanilla extract and beat to incorporate. 

2. Add heavy cream and food gel coloring. Beat for an additional 3-4 minutes. 

3. Place the pan side down on a cardboard cakeboard. Top with generous amount of buttercream. (I actually saved some white frosting for the center to layer with sprinkles). My nephew loves sprinkles.  Spread the frosting evenly. Top with second layer of the cake. Place the round side ontop of the frosting. Make sure to center and level. Place generous amount of frosting on top and fill in the sides. Remove excess frosting and decorate as you wish. We used a some black fondant for the batman and city. 

Enjoy I know this little guy did! Happy 4th Birthday Max! Aunt Nelli loves you!  


Mini Pineapple Rhubarb  Upsidedown Cake

  
Today is my husband and I’s 8 year anniversary and one of his favorite desserts is pineapple upsidedown cake. When I asked him what dessert he wanted for our anniversary (which I already knew the answer)  he requested pineapple upsidedown cake. I am not fond of making the same recipe twice, so of course I had to take the original recipe up a notch and add some homegrown rhubarb and whole wheat flour. Since it was just us two today, I made a mini 6 inch cake for sharing. 

Yields 4 pieces 

Ingredients:

Top ingredients:

1/4 cup brown sugar (not packed)

2 TB melted unsalted butter 

1 (8 oz can crushed pineapple) juice removed and saved for something else) keep 1 TB 

2 fresh stalks of rhubarb (cut down the center) and as desired to fit into cake pan

Cake batter ingredients:

3/4 cup whole wheat pastry flour

1 TB canola oil

1/3 cup buttermilk

1 tsp pure vanilla extract 

1/4 tsp allspice

1/4 tsp kosher salt 

1 tsp baking powder

1/3 cup sugar

1 egg

1. Preheat oven to 350 degrees. Place parchment paper in cake pan. Set aside. 

2. Melt butter in glass bowl, add brown sugar and whisk. Place evenly on the bottom of the baking pan. Lay the rhubarb down first on top of butter mixture ( I regretfully didn’t do this but will next time). I was hoping to have the rhubarb shine though in the end result but as you see above it is a hidden jem.

  
Place crushed pineapple on top the rhubarb evenly and set aside.

In a medium bowl whisk together allspice, flour, salt, and baking powder. Set aside. 

In a separate bowl whisk together the egg, sugar, oil, vanilla, and buttermilk. 

Add in dry mix of ingredients into the wet and use spatula to incorporate.  

Pour batter over top the rhubarb and bake for 25 to 28 minutes. Or until toothpick comes out clean from the center. 

Allow to cool on wire rack for 5 minutes in the pan. After the time has elapsed remove from pan into dish. 
  

Enjoy!


Banana Crumb Breakfast Cake

  
I do have to admit I love baking early in the morning before my husband gets up. I always like having something in the oven before he walks out into the kitchen and wants to pour a bowl of cereal. I like to think the aroma of homemade goodness helps place him in good spirits for the remainder of the day. Baking early also helps clear my mind and plan my day. 

I had quite a few dozen bananas leftover. I thought I was going to need more for cupcake order but didn’t end up using all of them. I think today I’ll be eating bananas breakfast lunch and dinner and maybe dessert too. I will probably individually freeze some as well for banana ice cream!

Preheat oven to 350 degree and spray a 8 by 8 oven safe dish with cooking spray. Set aside.

Yields 9 servings 


Cake Ingredients:

1/4 cup canola oil

1/2 tsp ground Vietnamese cinnamon

One and a half teaspoons of baking powder

Half a teaspoon of salt

1 teaspoon of vanilla pure extract

Half a cup of whole wheat pastry flour

1/2 cup of regular all-purpose flour

2 ripe bananas mashed well

1/2 cup skim milk

1 egg or 3 TB egg substitute 

2/3 cup granulated sugar

Crumble Topping:

1/2 cup Ap flour

1/2 cup whole wheat pastry flour

2/3 cup brown sugar (not packed)

6 TB unsalted butter

1/2 tsp ground cinnamon

Optional powdered sugar dizzle:

1/2 cup powdered sugar

1 1/2 TB skim milk

Directions:

1. In a small bowl mash bananas set aside.

  
2. In a medium bowl whisk flours, baking powder, salt and cinnamon. Set aside.

  
3. In small bowl whisk canola oil, granulated sugar. Add egg and vanilla whisk to combine. 

4. Add in milk to liquid ingredients and whisk to incorporate. 


5. Add the dry ingredients  to the wet and whisk together until no dry residue remains. 


6. Fold in mashed bananas using spatula.  


7. Pour the batter into a cooking sprayed 8 by 8 baking dish. Set aside.

  
8. In medium bowl mix  all the crumble topping ingredients using a butter cutter cut butter into pea size wet sandlike texture. 


9. Bake for 35 to 38 minutes or until toothpick comes out of the center clean. 


10. Allow to cool on wire rack for ten minutes before cutting into or frosting with powdered sugar dizzle. 
 

11. For powdered sugar dizzle place skim milk and powdered sugar in bowl and whisk add more milk if necessary to reach desired constancy. Pour on to crumble. I didn’t use the entire amount. 

12. Enjoy with some coffee!


Rhubarb Strawberry Coffee Cake

coffee cake

Recipes yields 16 pieces!


We made this for the Mother’s Day brunch. My mom saw the basic recipe in the local newspaper back home. I wanted to use up some rhubarb and try to decrease some of the fat in the recipe. I don’t think it will be missed. Not to mention there was not a piece left ! No joke…

May 2016 UPDATE: 

This recipe was also featured in Taste Of Home Magazine April/ May 2016. I made it again for our 2nd Annual Mother’s Day Brunch May 7th. Taste of Home suggested freezing this cake, if you want to make it in advance. This year I did, I made the cake a few days before the brunch. Once the cake cooled completely out of the oven, I wrapped the entire cake (still in the springform pan) with plastic wrap and placed it in the deep freezer. I took it out 3 hours before our event, and allowed it to cool at room temperature, it was still very cold and firm similar to a cheesecake. Which was okay, but if you want to thaw the cake out completely I recommend taking the cake out the night before and letting it thaw in the refrigerator.


IMG_6748

The Mother’s Day Menu for this year 2016 was:

Rhubarb Coffee Cake (recipe below)

Yogurt Bar with Greek Vanilla Yogurt, Homemade Maple Granola, Fresh Raspberries, Blackberries, and Strawberries, Fresh Cantaloupe & Freshly Whipped Whipped Cream

Caramelized Onion, Bacon & Kale Strada made with Homemade Bread

Hash brown Quiche Cups

Cucumber Mint Water

Mini Pink Lemonade Muffins & Mini Key Lime Muffins


736789_986595164753073_3265016851850206786_o
Cake Ingredients:

2 cup Whole Wheat Pastry Flour (Or 1 Cup Whole Wheat Pastry Flour and 1 Cup AP <last years 2015 recipe I did this> )

3/4 cup sugar

1/2 tsp baking powder

1/2 tsp baking soda

1/4 tsp kosher salt

1/2 cup cold cubed unsalted butter

3/4 cup fat free sour cream

1 tsp pure vanilla extract

1 egg

Cream Cheese
 Filling

1 (8 oz ) 1/3 fat reduced Cream Cheese block (room temp)

1 egg

1/4 cup sugar

Strawberry Rhubarb Sauce

3/4 cup diced fresh strawberries

3/4 cup chopped rhubarb (fresh or frozen)

1 TB water

3 TB Sugar

1 1/2 tsp corn starch

one 8″ springform pan

Directions:

1. Preheat oven to 350 degrees F. Line an 8 inch springform pan with parchment paper and spray with baking joy.  Set aside

2. Prepare the strawberry rhubarb compote. Combine in a 2 qt. sauce pan the cornstarch, sugar & water mix well. Add the strawberries and rhubarb and place on low heat until strawberries and rhubarb juices release. Stir occasionally for 5-10 minutes until thickened. Set aside off heat to cool to room temperature.


3. In a stand mixer, prepare the cream cheese filling by beating the cream cheese on medium high speed. Add sugar and mix, then add egg and mix to incorporate. Set aside.

4. Prepare the cake by adding flour, and butter to a large bowl. Use your hands to cut the butter into the flour until the flour resembles wet sand. Remove 3/4 cup of the flour mixture and set aside. With remaining flour add baking soda, salt, and baking powder whisk well to incorporate. Set aside.


5. In another small bowl, beat by hand the sour cream, egg and vanilla until well incorporated. Set aside.


6. Gently add the sour cream batter to the dry flour ingredients. Be careful not to over-mix (the batter will be lumpy). 

7. Pour the batter into the greased springform pan. Make a well with the batter, at least enough to go up the sides a 1/2 inch. Also leaving an 1/2 inch border to prevent the cream cheese filling from going to the edge of the cake.


 8. Pour the cream cheese mixture into the center of the well, make sure to leave a 1/2 inch border.


9. Now spread the strawberry and rhubarb compote on the top of the cream cheese filling.


Finally sprinkle the remaining flour mixture on the top of the strawberry and rhubarb compote. Bake for at least 55 minutes in the oven at 350 degrees.


10. Take the pan out of the oven and let rest on a wire rack for 20 minutes. After 20 minutes have elapsed remove the springform pan shell.


11. Allow to cool.

12. Dig in!

Caramel Frosted Zucchini Bars

20140801-191929-69569571.jpg

My grandma gave me a bunch of old recipe cards a few years ago. Most of them were blank but one I stumbled across was a zucchini bar. I did modify the recipe to incorporate more heart healthy options.I am always looking for zucchini recipes because the garden is always producing more zucchini then one person can make. This is a flavorful spice bar with a added bonus fiber from the whole wheat flour and zucchini.


20140801-192243-69763936

I have made zucchini cake before but it’s always been chocolate zucchini cake. This one is more like zucchini bread with frosting!

Ingredients:
1 1/2 cup Whole Wheat Pastry Flour
1 1/2 cup AP Flour
2 cup shredded zucchini (no need to peel!) (not strained)
1/4 cup apple butter or unsweetened applesauce
1/2 cup canola oil
1/4 tsp ground nutmeg
1/4 tsp ground cloves
1/4 tsp cinnamon
1 tsp vanilla extract
1 tsp baking powder
1 1/2 tsp baking soda
1 cup raw sugar
2 eggs
1/2 cup pecans chopped or walnuts
1/2 raisins
10 by 15 inch baking sheet pan (with 3/4 inch depth)

Frosting
1/2 cup butter unsalted
1 cup brown sugar
1/4 cup skim milk
1 to 1 1/2 cup powdered sugar

Directions: preheat oven to 350 degrees. Place parchment paper on baking sheet.

20140802-184437-67477971.jpg

1. Mix well together in medium bowl flours, salt, soda, baking powder, cinnamon, nutmeg, & cloves set aside.


20140802-182953-66593551.jpg

2. In a large bowl mix oil, sugar, vanilla, apple butter together then one egg at a time mixing after each addition.

20140802-183430-66870190.jpg

3. Add dry mix to wet.

20140802-184004-67204892.jpg

4. Fold in zucchini then nuts, and raisins.

20140802-184128-67288777.jpg

Mix until everything is well blended.

20140802-184223-67343081.jpg

Pour batter into baking sheet and evenly spread with spatula.

20140802-184600-67560675.jpg

Bake for 15 to 20 minutes. If your zucchini is very moist you may need to bake 20 to 25 minutes. I strained my zucchini and the bars didn’t come out as moist as I would have hoped. Next time I will not remove the excess water. Use tooth pick method to test cake prior to removing from oven. If tooth pick comes out clean remove from oven.

20140802-184858-67738831.jpg

Let cool in wire rack.

Once cooled start caramel frosting. In 2 qt sauce pan melt butter and brown sugar.

20140802-192145-69705348.jpg

Bring to a boil and stir continuous for 2 minutes.

20140802-192310-69790236.jpg

Add milk and bring to a boil and simmer for 2 additional minutes.

20140802-192504-69904711.jpg

Remove the frosting from the heat. Whisk in powdered sugar 1/2 cup at a time.

20140802-192625-69985781.jpg
Add 1-1/2 1 cups until you reach your desired constancy.

20140802-192709-70029064.jpg

Frost the cake quickly with spatula. The frosting sets quickly.

20140802-192807-70087174.jpg

Enjoy!

Pistachio Cake from scratch with Cream cheese frosting!

20131201-205751.jpg

Sunday was my nephew’s birthday ! We celebrated his birthday with rocket theme. I still cannot believe he turned two years old! Wow how time flies! My sister requested a pistachio cake with cream cheese frosting. This is what I came up for the big day. I wanted to stay away from the traditional yellow cake box with jello box of pistachio pudding (no offense). The traditional pistachio cake is one my husband’s favorites for sure! This recipes just less processed.

Yields a two layered 9″ cake

Ingredients:

2 1/2 cup cake flour
3/4 cup AP Flour
1 cup of pistachios
1 stick (8 TB) unsalted butter (room temperature)
1/2 cup canola oil
1 TB baking powder
1 tsp kosher salt
1/2 tsp baking powder
1 TB Mexican vanilla extract
1 3/4 cup graduated sugar
1 1/2 cup iced water
2 eggs at room temperature
3 egg whites at room temperature
1/4 tsp cream of tarter

Frosting:
24 oz cream cheese (8 oz regular & 16 oz 1/3 fat reduced room temperature)
12 TB unsalted butter (room temperature)
3 cups powdered sugar
1.5 tsp Mexican vanilla

Preheat oven to 325 degrees.

1) parchment paper line two 9″ round cake pans and spray with combination cooking spray/ flour spray such as Baker’s Joy. I like to place a metal flower nail in the center to help the cakes bake evenly.

20131204-164136.jpg

Set aside.

2) In a food processor pulse until fine 1 cup of roasted pistachios.

20131204-164722.jpg

3) Sift together flours, baking powder, baking soda, salt, stir in pistachio powder. Set aside

4) In a stand mixer with paddle attachment with spatula beat butter and shorten together until creamy (takes about 1 minute).

20131204-165056.jpg

5) Add 1 1/2 cup of sugars & vanilla and beat until mixture is fluffy (this can take 3-4 minutes on medium speed). Now turn mixer to low and add whole egg (save the 3 whites for below). Beat until well incorporated.

20131204-165626.jpg

6) Now alternate between adding the flour mixture and ice cold water. Make sure you start and end with flour. Mix until well combined.

20131204-165920.jpg

7) In a clean bowl for stand mixer with whisk attachment whisk egg whites and cream of tarter on medium speed .

20131204-170052.jpg

Whisk until foamy.

20131204-170233.jpg

8) Now add remaining sugar and beat until soft peaks form (please be carful not to over beat!)

20131204-170431.jpg

9) Take egg whites and gently fold them into the cake batter.

20131204-170554.jpg

10) Once batter is prepared divide between the two pans. I like to weigh the pans to have accurate measurements which mine came out to 29.3 oz each.

20131204-171540.jpg

11) Make sure to lightly bang the pan on the counter to remove air bubbles. And if you are using flower nails make sure they are center for placing your pans into the oven. Place both pans in oven staggered from one another. Bake for 35 to 40 minutes or until a toothpick comes out of the center clean.

20131204-172010.jpg

12) Leave in pan for 20 minutes and allow to cool on wire rack. Remove from pan and continue to allow to cool on wire rack.

20131204-172318.jpg

13) After the cakes cool completely wrap in plastic wrap and place back into the pans.

20131204-185727.jpg

Place in freezer overnight. This prevents crumbs from getting in the frosting.

Prepare frosting:
Place butter and cream cheese in stand mixer beat until fluffy.

20131204-190140.jpg

Add vanilla. Add powered sugar in small amounts (1/2 cup portions works well) .

20131204-190317.jpg

Lay flat of cake side down. Place a small amount of frosting in the center.

20131204-190720.jpg

Now lay round portion of the cake on to frosting. Which would allow the flat surface appear on the top. Frost to your liking.

20131204-190906.jpg

Enjoy!

20131204-191250.jpg

Serves 12 to 16 servings (really just depends on how you cut it)

Upside-Down Pear Cake

20130921-152139.jpg

My grandpa gave us lots of pears last time we were back home for a visit. I have been trying my best to eat them all before they go bad. But it has been difficult with all the good produce in season.

We are having a fall dinner tomorrow and I think this will be the perfect finish to our menu. I have always wanted to make an upside- down cake with pears and since I have plenty on hand I thought there is no better time then now.

Ingredients:
1 cup Whole Wheat Pastry Flour
3/4 tsp baking powder
1/4 tsp ground ginger
1/4 tsp Salt
1/4 tsp baking soda
1/2 cup no sugar added applesauce
1/2 cup buttermilk
3 pears (peeled. sliced, and cored)
2/3 cup sugar
1/2 cup egg whites or egg substitute
1/3 cup Maple syrup
1 Tsp pure vanilla extract

1. Preheat oven 350.

2. Line a 9″ round cake pan with parchment paper and spray with cooking spray.

20130921-153257.jpg

2. Place flour, baking soda, baking powder, ginger in a bowl and mix.

20130921-221240.jpg

3. In a separate bowl mix sugar, applesauce, vanilla, and egg whites.

20130921-222146.jpg

4. Add flour mix and buttermilk alternating the two and mixing after each addition.

20130921-222424.jpg

5. In small sauce pan over medium heat warm maple syrup until thick about 2 to 4 minutes.

20130921-222633.jpg

6. Spread the pears evenly on the parchment paper.

20130921-222838.jpg

7. Once the maple syrup has thickened pour over the sliced pears.

20130921-223059.jpg

8. Now pour batter over pears.

20130921-223200.jpg

9. Bake on 350 for 23-25 minutes.

20130921-223325.jpg

10. Let cool on wire rack for 5 minutes and remove from pan

20130921-223403.jpg

Chocolate Cake with Oreo filling

20130810-093254.jpg

Today is my Dad’s Birthday and there is only one way to celebrate my dad’s birthday and that is with chocolate cake (and a large family gathering of course).

My dad’s favorite meal is dessert so sorry I didn’t go low calorie on this one. I used Ina Garten’s Chocolate Cake recipe with over 1000 positive reviews. As always I cannot leave well enough alone so I added Oreo filing inside and crushed Oreos on outside of the cake for some extra dazzle http://m.cookingchanneltv.com/recipes/ina-garten/beattys-chocolate-cake.html.

20130810-094151.jpg

Ingredients:

1/2 cup canola oil
1 cup coffee (cooled)
1 3/4 cup AP flour
1/2 cup Dutch processed cocoa
1/4 cup unsweetened cocoa
2 cups of sugar
2 tsp baking powder
1 tsp baking soda
1 tsp salt
1 tsp vanilla
1 cup of Buttermilk
3 large eggs

Amazing Chocolate Frosting
Ingredients:
6 ounces of semi sweet chocolate chips (melted and cooled
1 egg
1 1/4 cup confectionary sugar
2 sticks of butter at room temperature
1 tsp pure vanilla
1 TB instant coffee (dissolved in 2 tsp of hot water) side aside and let cool

1. Preheat oven to 350 degrees. Line two 9 inch round nonstick baking pans and spray with combination flour cooking spray.

20130810-094345.jpg

You don’t want to omit this step! The cakes come out like hot butter without any difficulty.

2. Sift all dry ingredients together.

20130810-095227.jpg

20130810-095248.jpg

3. Sift the ingredients into bowl attached to your stand mixer and place paddle attachment and mix until well blended.

20130810-095445.jpg

4. In a separate bowl whisk oil, milk, eggs and vanilla.

20130810-095605.jpg

5. Start to add wet mixture to dry on low speed.

20130810-095740.jpg

6. Now remain on low and add coffee.

20130810-095832.jpg

The batter will be very thin.

7. Measure evenly to batter between the two pans.

20130810-100009.jpg

I always use my scale for accurate measurements. One was 1.95 pounds and the other was 1.96, pretty close.

20130810-100050.jpg

8. Bake for 25 to 30 minutes and check using a cake tester or toothpick. When tester comes out clean remove pans from oven and place on wire rack to cool.

20130810-100531.jpg

9. Let set in Pan for 5 minutes and remove to cool completely.

20130810-100638.jpg

10. After cooled completely I like to cover in plastic wrap and place back in clean 9 inch pans and freeze over night in pans. This is essential prior to frosting.

20130810-100838.jpg

11. Remove from pans from freezer and start working on frosting.

12. Cream the butter for 3 minutes with paddle attachment.

20130810-101016.jpg

13. Add one egg (use pasteurized eggs for safety), and vanilla mix for another 3 minutes on medium speed.

20130810-101203.jpg

20130810-101233.jpg

14. Turn mixer to low and start to add the powdered sugar in 1/4 cup increments. Once thoroughly combined add instant coffee mix and cool melted chocolate.

To melt chocolate place in microwave safe bowl and heat for 30 seconds and stir and keep heating in 15 second increments until melted throughout.

20130810-110631.jpg

15. Let cool before adding to creamed butter mixture.

20130810-110533.jpg

16. Add chocolate and coffee to frosting.

20130810-110827.jpg

17. Mix but don’t whip.

20130810-110856.jpg

18. Uncover your cakes place flat side from pan on a cake board. Place frosting or filling of choice inside the cake. I used my trusty Oreo filling http://www.apinchofluv.com/wordpress/2013/07/04/chocolate-mini-oreo-cupcakes-with-oreo-buttercream/

20130810-111204.jpg

19. Place the rounded side of the second cake on the frosting so that the flat side is facing up.

20130810-111321.jpg

20. Fill gaps with remaining frosting and catch any crumbs.

20130810-111432.jpg

20. Now your ready for the final buttercream frosting. Place a large dollop of frosting on the top if your cake.

20130810-111523.jpg

21. Smooth frosting using a metal spatula.

20130810-111635.jpg

22. You will think you don’t have enough frosting but you will.

20130810-111722.jpg

23. Place 10 -12 Oreos in a food processor.

20130810-111812.jpg

Pulse until the cookies are at the consistency you like and hand place the crumbs on the side until evenly spread.

20130810-111931.jpg

The cake is suppose to serve at least 8 but that would be large slices !!!