Category Archives: dessert

Flourless Dark Chocolate Cake


My husband and I took a cookie class back in December. One of our favorite desserts we made was the flourless cake. What is so amazing about this cake is that it only has 3 ingredients. My mother-in-law has omitted gluten from her diet and today is her birthday. We were able to spend the morning together to honor her special day! We thought this would be the perfect cake to  celebate with. There is no reason you cannot have cake on your birthday even if you are avoiding gluten for whatever reason it maybe.

Ingredients:

6 eggs

3 egg yolks

2 bag of dark extra chocolate chips guittard (63%)

2 ounce 100% unsweetened guiattard baking chocolate

2 sticks (1 cup) of unsalted butter

Pre directions place parchment paper in bottom of an 8″ springform pan cut in a circle to fit pan. Spray pan with cooking spray. Cover the the outside of the pan with foil and make sure it is well covered so no water leaks into the cake while it is in the water bath. Preheat oven to 325 degrees.

Directions:

1. Place butter and chocolate in double boiler. And melt chocolate until no chunks remain.Make sure to stir often.

2. While chocolate is melting, in a stand mixer place the eggs in the attached bowl and whisk on high speed for about 5 minutes or until the double in size. 

3. By this time the chocolate should be melted, place the melted chocolate in a medium to large size bowl. Start to fold in eggs a 3rd at a time. Be delicate with folding in the eggs. Once the eggs are incorporated pour the batter into a pre-greased 8 ” springform pan. 


4.  Spread batter evenly prior to placing the cake in oven.  Place the springform pan in a half sheet pan with 1 inch sides. Pour hot water in the half sheet pan to prepare water bath.

5. Bake for 25 to 27 minutes until a thin crust  layer forms on top of cake. 

6. Allow to cool complety on wire rack.  Once cooled cover and Keep refrigerated.  

Enjoy! 


Chocolate Cookies with Mint M&M’s


What better way to celebrate the month of March and welcome spring with some green! These can be a very versitile cookies. Prior to baking you can top them off with just about anything your heart desires. I ran out of mint M&M’s (since my husband found my stash) so I had to use some butterscotch chips at one point.


This recipe yields 54 cookies using a size 60 scoop.

Pre directions: preheat oven to 350 degrees and paperline two half sheet pans with parchment paper.


Ingredients:

2 cups of Ap flour

1/2 cup whole wheat flour

3/4 cup Dutch processed cocoa

2 large eggs

1 cup raw sugar

1 cup white sugar

1 stick unsalted butter (softened to room temp)

3/4 cup vegetable shorten

2 tsp pure high quality vanilla extract

1 tsp baking soda

1/2 tsp kosher salt

162 Mint M&M’s

Cooking spray

Directions:

1. Cream butter, shorten, and both sugars in stand mixer on medium to medium high speed.

2. Add vanilla and eggs one at a time. Beat after each addition. Set aside.

3. In a seperate bowl whisk together both flours, cocoa, salt, and soda.


4. Gently add flour mixture to creamed batter and mix on low to incorporate.


5. Once everything is well mixed and without dry residue remove paddle attachment and scoop cookies onto the pan by using #60 scoop. Sccop evenly 12 cookies to a 1/2 sheet pan.

6. Spray bottom of drinking glass with cooking spray to flatten the cookie slightly. 


7. Place 3 M&M’s to a cookie and press slightly to prevent the candy from falling out of place


8. Bake for 9 minutes on 350 degrees. Allow cookie to cool for 1 minute on tray and then remove to wire rack to cool the remainder of the way.


Enjoy !


Mint Brownies with Chocolate Ganache

IMG_1250

Today is National Registered Dietitian Day. In honor of the celebratory day. I made the team mint brownies to go with a cute idea I found on pinterest regarding appreciation and coining “mint” through the poem. I tweaked a poem for teachers to relate to registered dietitians and it goes like this:

Thanks for your dedication and commit-“mint” to our team.


Thanks for your encourage-“mint” to always do our best.

Thanks for your involve-“mint” in making our patient’s lives better.

Thanks for your invest-“mint” of time and energy 
to make Trinity such a great place to be.


Thanks for making each day an enjoy-“mint” to come to work.

Thanks for helping to create a nice environ-“mint” 
for our co-workers and students to learn and grow.

Everything you have done this year has really “mint” a lot to me!!! Happy RD Day!


The original recipe can be found on Bob’s Red Mill Blog and only yields a 8 by 8 inch amount.

This recipe Yields: 1 13 by 9-inch pan (32 brownies)


Prep work: Preheat oven to 350 degrees. Line a 9 by 13 with foil and spray with cooking spray. Set aside

Ingredients:

For the Brownie Layer

3 sticks (24 tablespoons) Unsalted Butter
6 oz  squares Dark Chocolate ( I prefer Trader Joe’s 72 %)
6 large Eggs, at room temperature
1 teaspoon pure Mexcian Vanilla Extract
3 cups Raw Sugar or Granulated Sugar
1 cup Whole Wheat Pastry Flour
1/2 cup All-Purpose Flour

For the mint layer:

6 tablespoons Unsalted Butter, softened
3 cups Powdered Sugar
3 tablespoons Skim Milk
1 1/2 teaspoon pure Peppermint Extract ( I used Watkins)
4 drops Green Food Coloring

For the chocolate ganache topping:

3 ounces Dark Chocolate
3 tablespoons Unsalted Butter

Directions:

1. Using a double boiler method, melt the butter and chocolate for the brownie layer. Once all the chocolate and butter has been melted remove from heat and allow to cool slightly and add each egg separately to the melted chocolate batter. Whisk after each addition. Place the chocolate mixture in a large bowl and add sugar  and vanilla to the chocolate batter whisk to incorporate. After all the sugar has been blended throughout add both flours and whisk to separate throughout. Place the batter into the prepared foil oven safe baking dish and place in oven for 40 to 45 minutes at 350 degrees.


IMG_1242


Or until toothpick comes out clean. Allow the brownies to cool completely on rack.

2. Once the brownies have cooled start the second layer, the mint layer. Place butter in a stand mixer bowl, place on medium to high speed and cream butter, decrease speed and gradually add the powdered sugar, milk, food coloring, and mint extract. Mix until everything is smooth and creamy and the color of the filling is to your liking.


IMG_1244_2


Place filling on top of cooled brownies using a spatula to spread evenly. Place brownies in refrigerator to so that the filling layer can harder before placing the ganache.


IMG_1246_2

3. Once the mint filling layer has hardened, prepare a second double boiler for the ganache. Place the dark chocolate and butter in the double boiler and allow the chocolate and butter to melt completely. Once everything has melted place the ganache on top of the mint layer. Spread evenly with a metal spatula. Cover the brownies with a plastic lid or plastic wrap and allow to cool completely before cutting into bite size pieces.


IMG_1249_2

Helpful hint:  I let the brownies cool overnight in the refrigerator. I cut them in the morning and placed in recycled jam jars. Three brownies fit perfectly in each jam jar. I placed a decorative muffin paper-cup on the top (I used tape to help the cup stay on the lid to make for easy tying later). I did place wax paper between each brownie as I was stacking to help them prevent from sticking together.


I tied them off with using a colorful string and placed my “mint” poem to each jar. I also included a lanyard and a coupon for our gift shop at the hosptial. Just something small to show my team how much I appreciate them. The good news about this recipe is I made 7 jars with 3 brownies in each jar which means I only used 21 brownies which left plenty leftover to share with others!


Enjoy!


IMG_1252_2

Decadent Triple Chocolate Mousse Cake ….Flourless


IMG_1622
I have made this recipe a few times. I made it recently for my husband’s 32 birthday celebration! The original is from Cook’s Illustrated however it is a classic go to for his special day so I must post to apinchofluv.com. It is terribly rich and full of chocolate goodness. It takes time…. a lot of time, I will not lie however this dessert will be well worth the smile on my husband’s face & all the complements in the end.


Ingredients

Bottom Layer

6 tablespoons (3/4 stick) unsalted butter , cut into 6 pieces

7 ounces dark chocolate , chopped fine (I like to use the trader joe’s 72% Cacao)

3/4 teaspoon espresso powder (I used lily)

1 1/2 teaspoons Mexican vanilla extract ( I prefer penzey’s)

4 large eggs, separate the yolks and the whites ( I like eggland’s best)

Pinch kosher salt

1/3 cup packed raw sugar

cooking spray

Middle Layer

2 tablespoons Dutch-processed High Fat Cocoa powder (I used penzey’s)

5 tablespoons strong hot coffee or expresso

7 ounces dark chocolate, chopped fine I prefer trader joe’s 72% Cacao)

1 tablespoon raw sugar

1/8 teaspoon kosher salt

Top Layer

3/4 teaspoon powdered gelatin

1 tablespoon water

6 ounces white chocolate chips (I used Ghirardelli )

1 1/2 cups cold heavy cream

Block of dark chocolate (for making chocolate curls or shavings), optional ( I generally do this but this last time forgot)

Preparation

Base Layer

Preheat oven to 325 degrees. Spray with cooking spray the bottom &  sides of 9-inch springform pan.


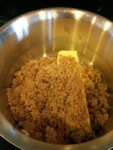
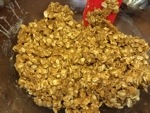
1. Melt butter and chocolate in medium bowl in microwave.

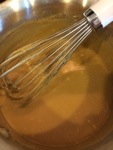
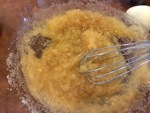
Stir in espresso powder. Cool slightly. Whisk in vanilla and egg yolks; set aside.


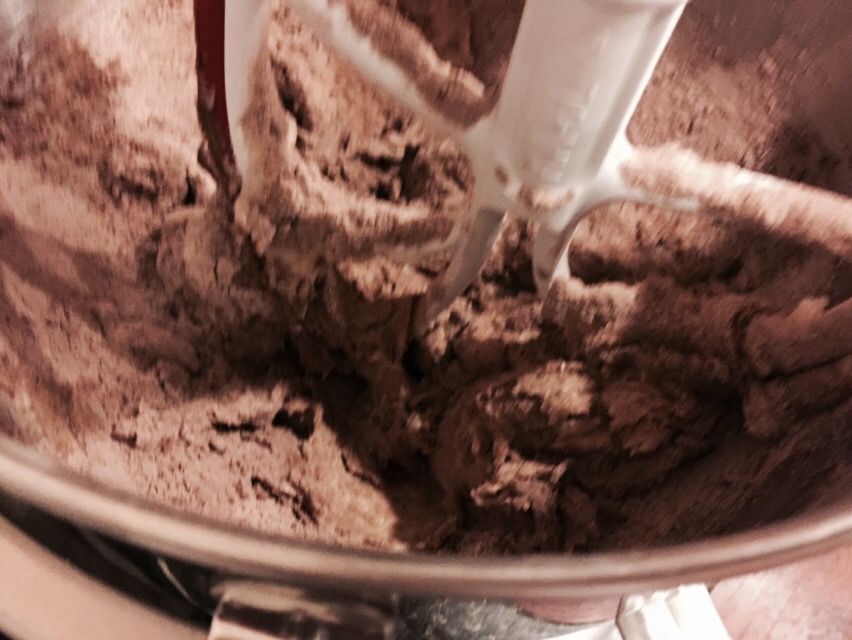
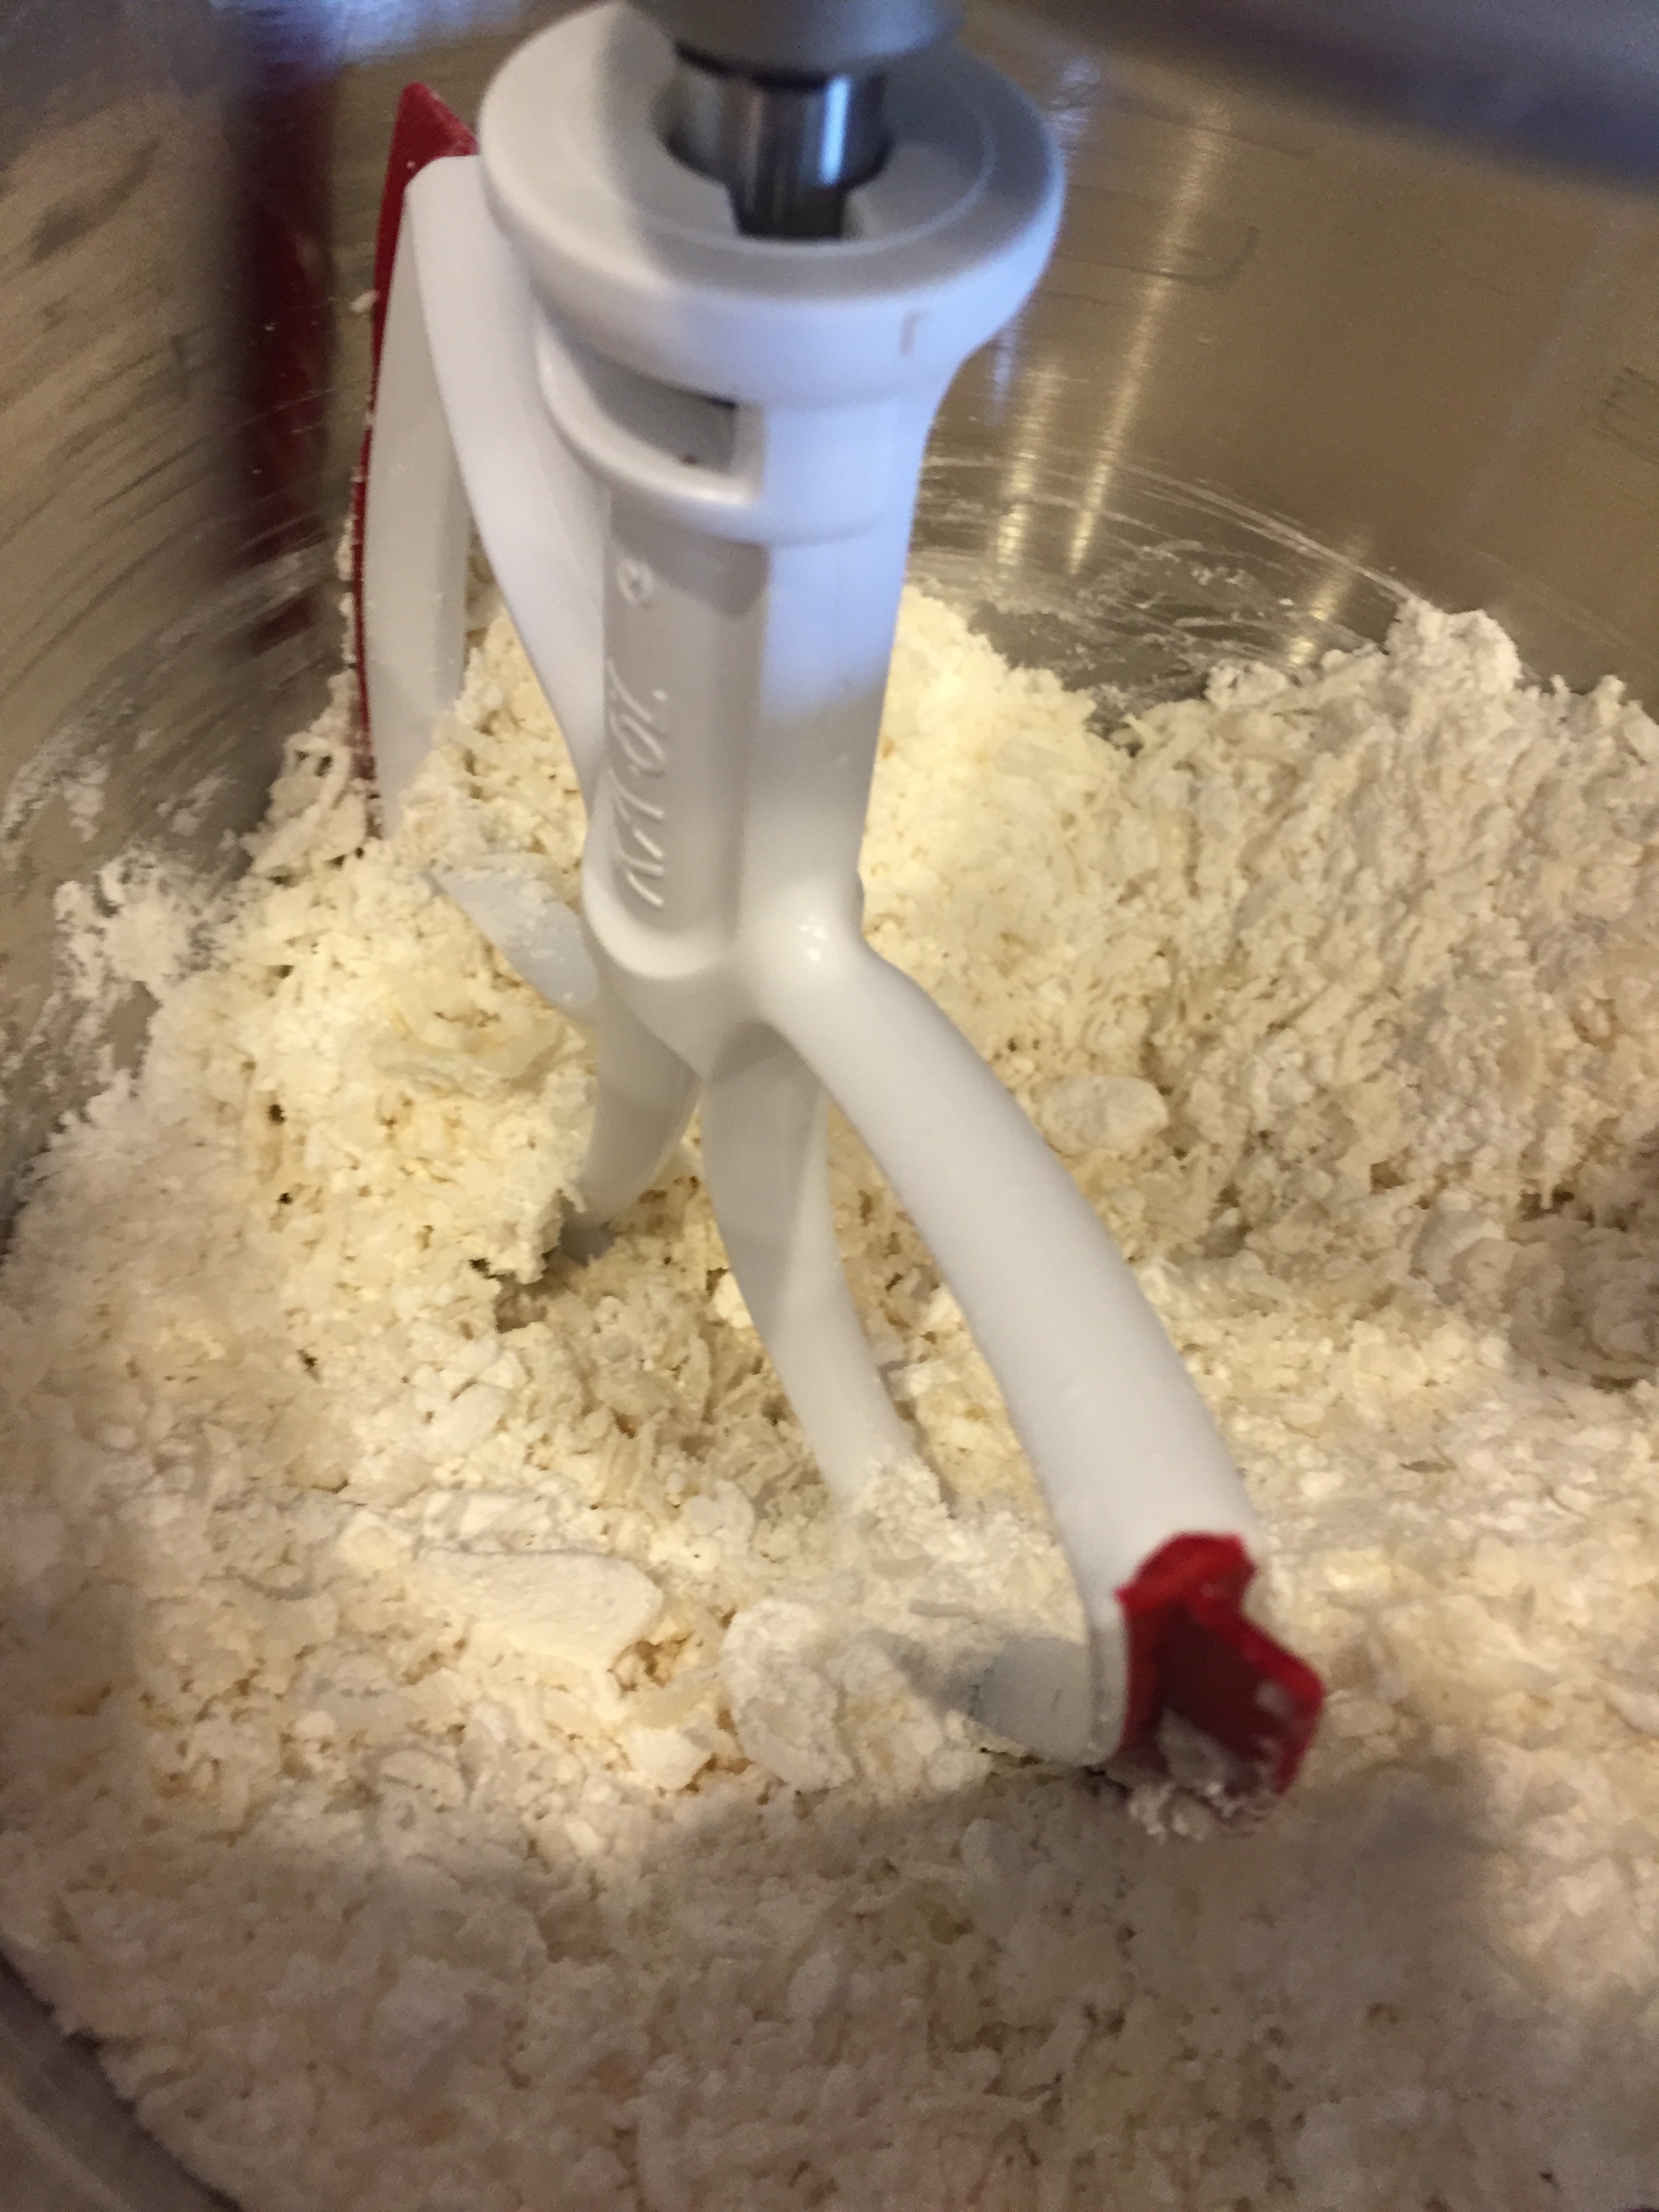
2. In stand mixer fitted with whisk attachment, beat egg whites and salt at medium speed until frothy,

about 30 seconds. Add half of raw sugar and beat until combined, about 15 seconds. Add

remaining raw sugar and beat at high speed until soft peaks form when whisk is lifted, about 1

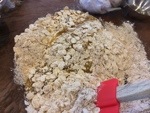
minute longer, scraping down sides halfway through. Using a whisk, fold one-third of beaten egg

whites into chocolate mixture to lighten. Using a rubber spatula, fold in remaining egg whites until

no white streaks remain. Pour batter into cooking sprayed springform pan, and smooth the top with a

small cooking sprayed spatula.

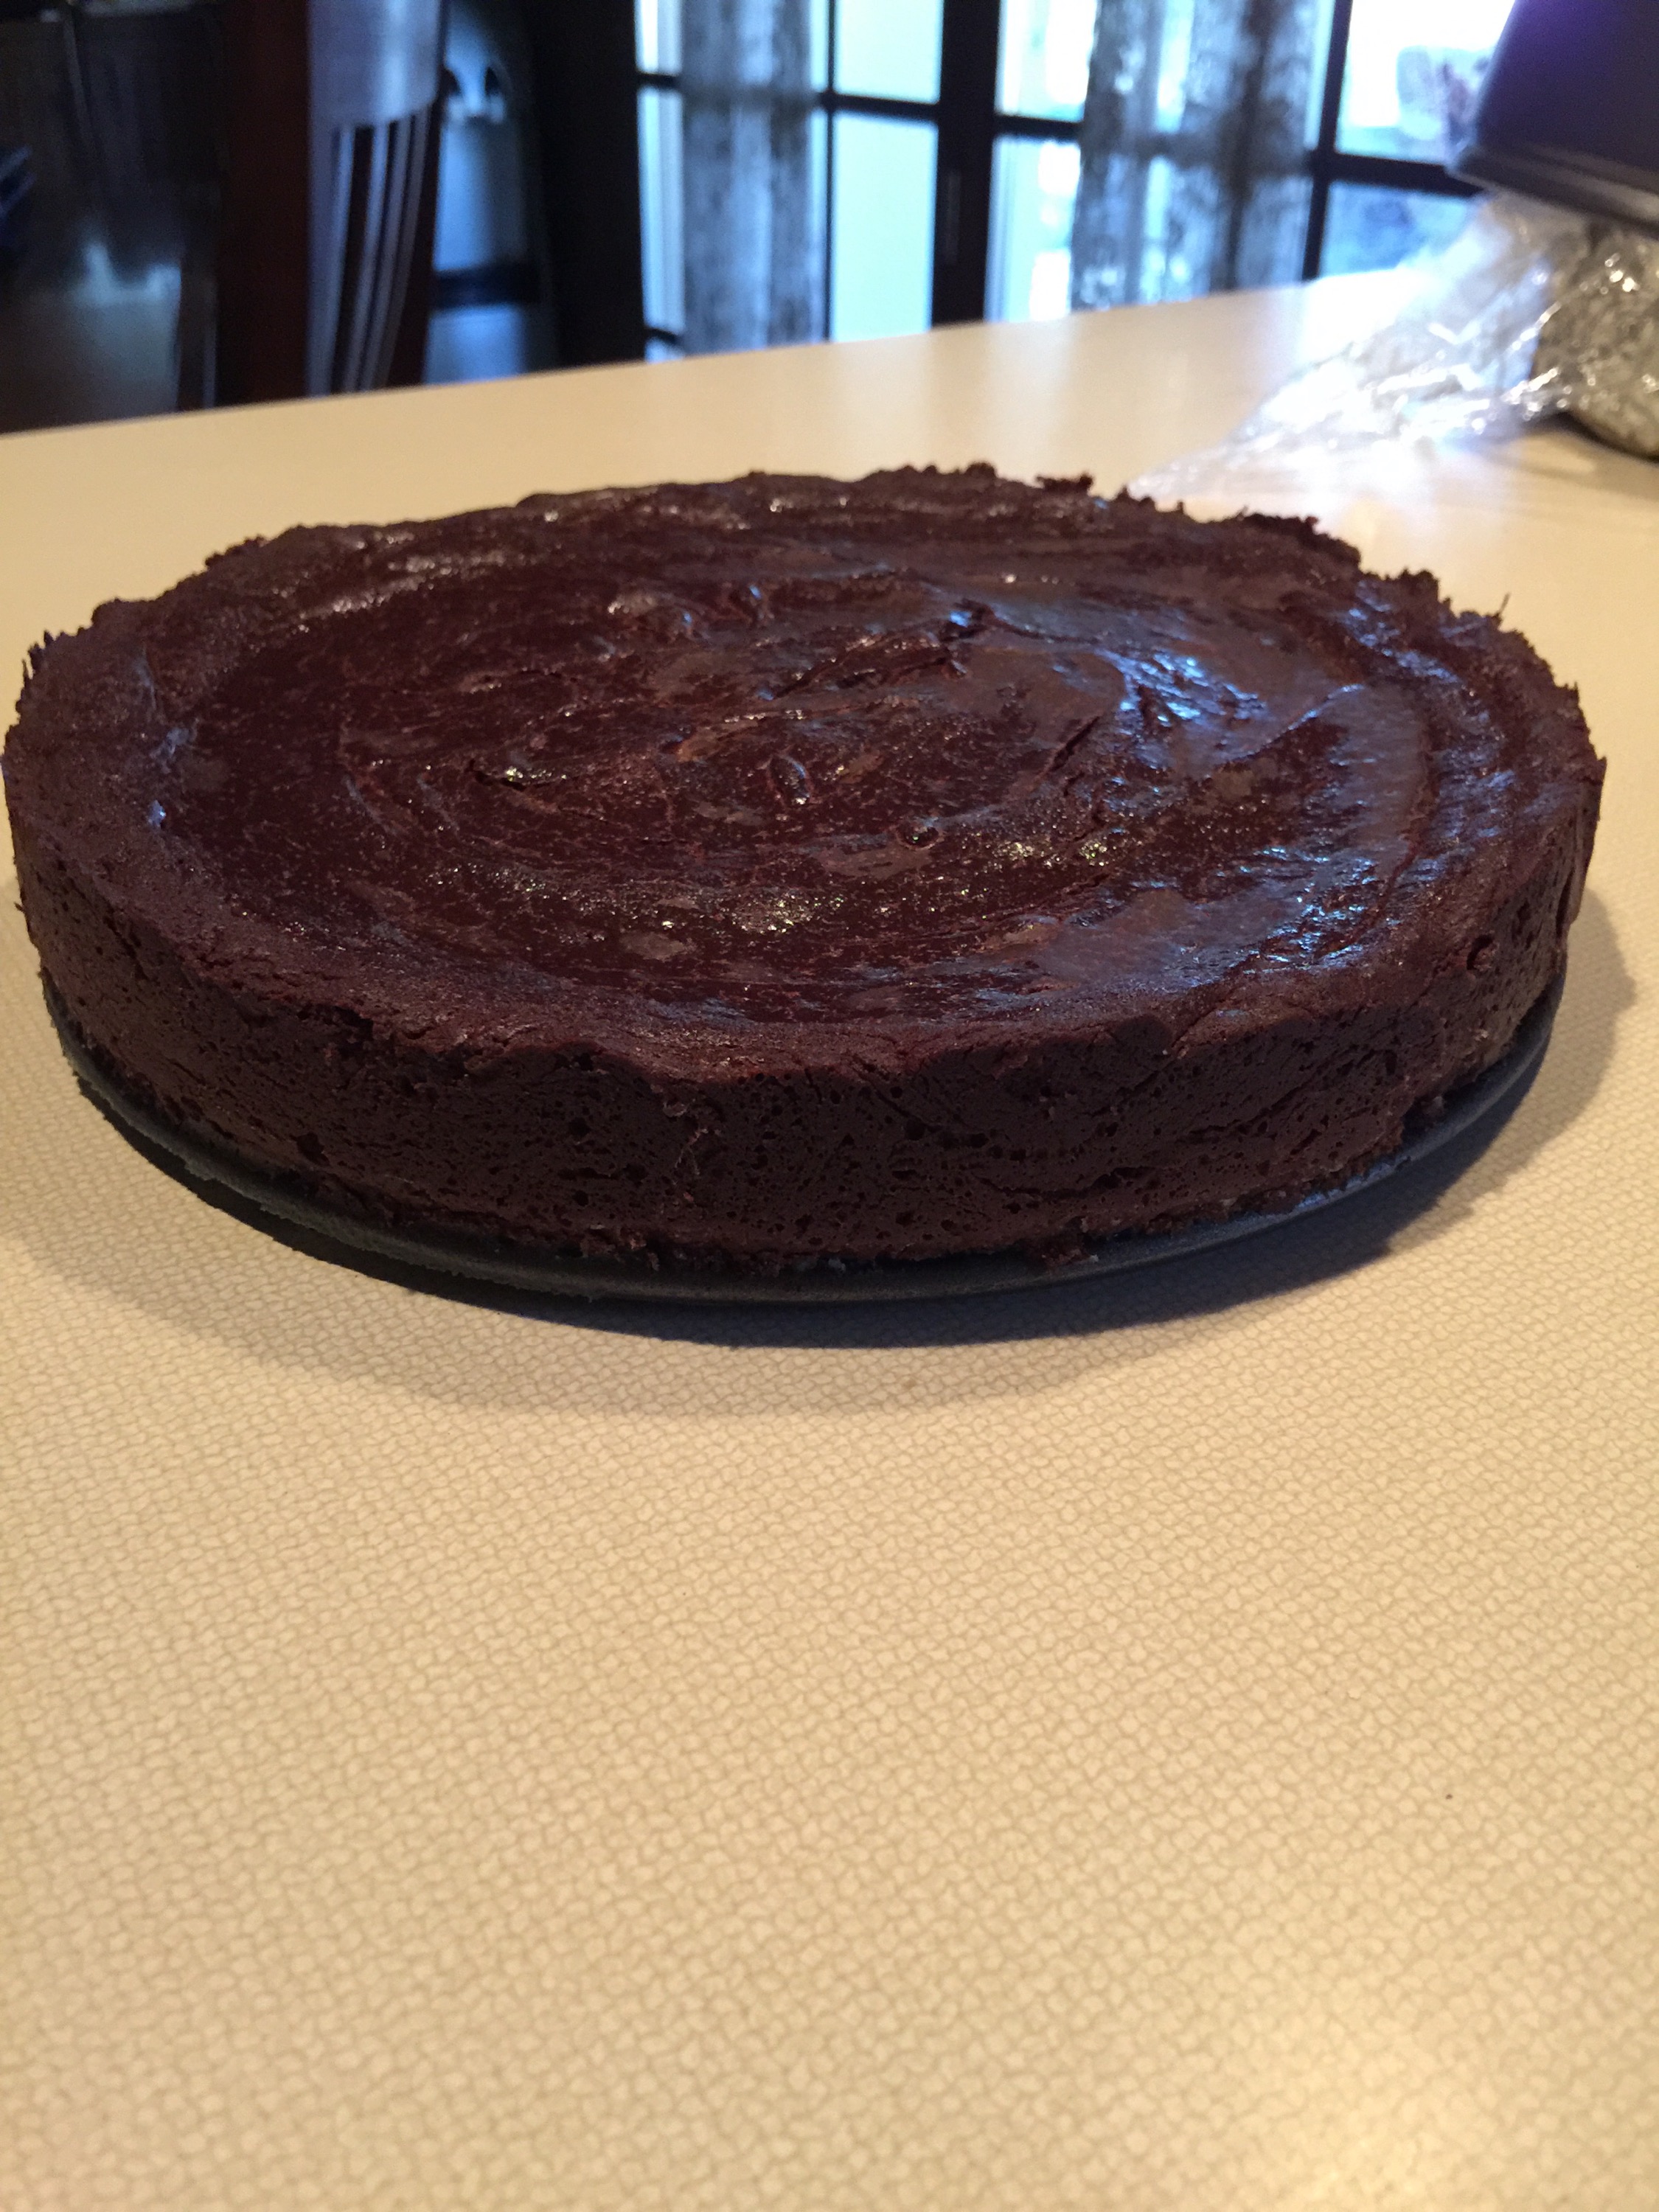
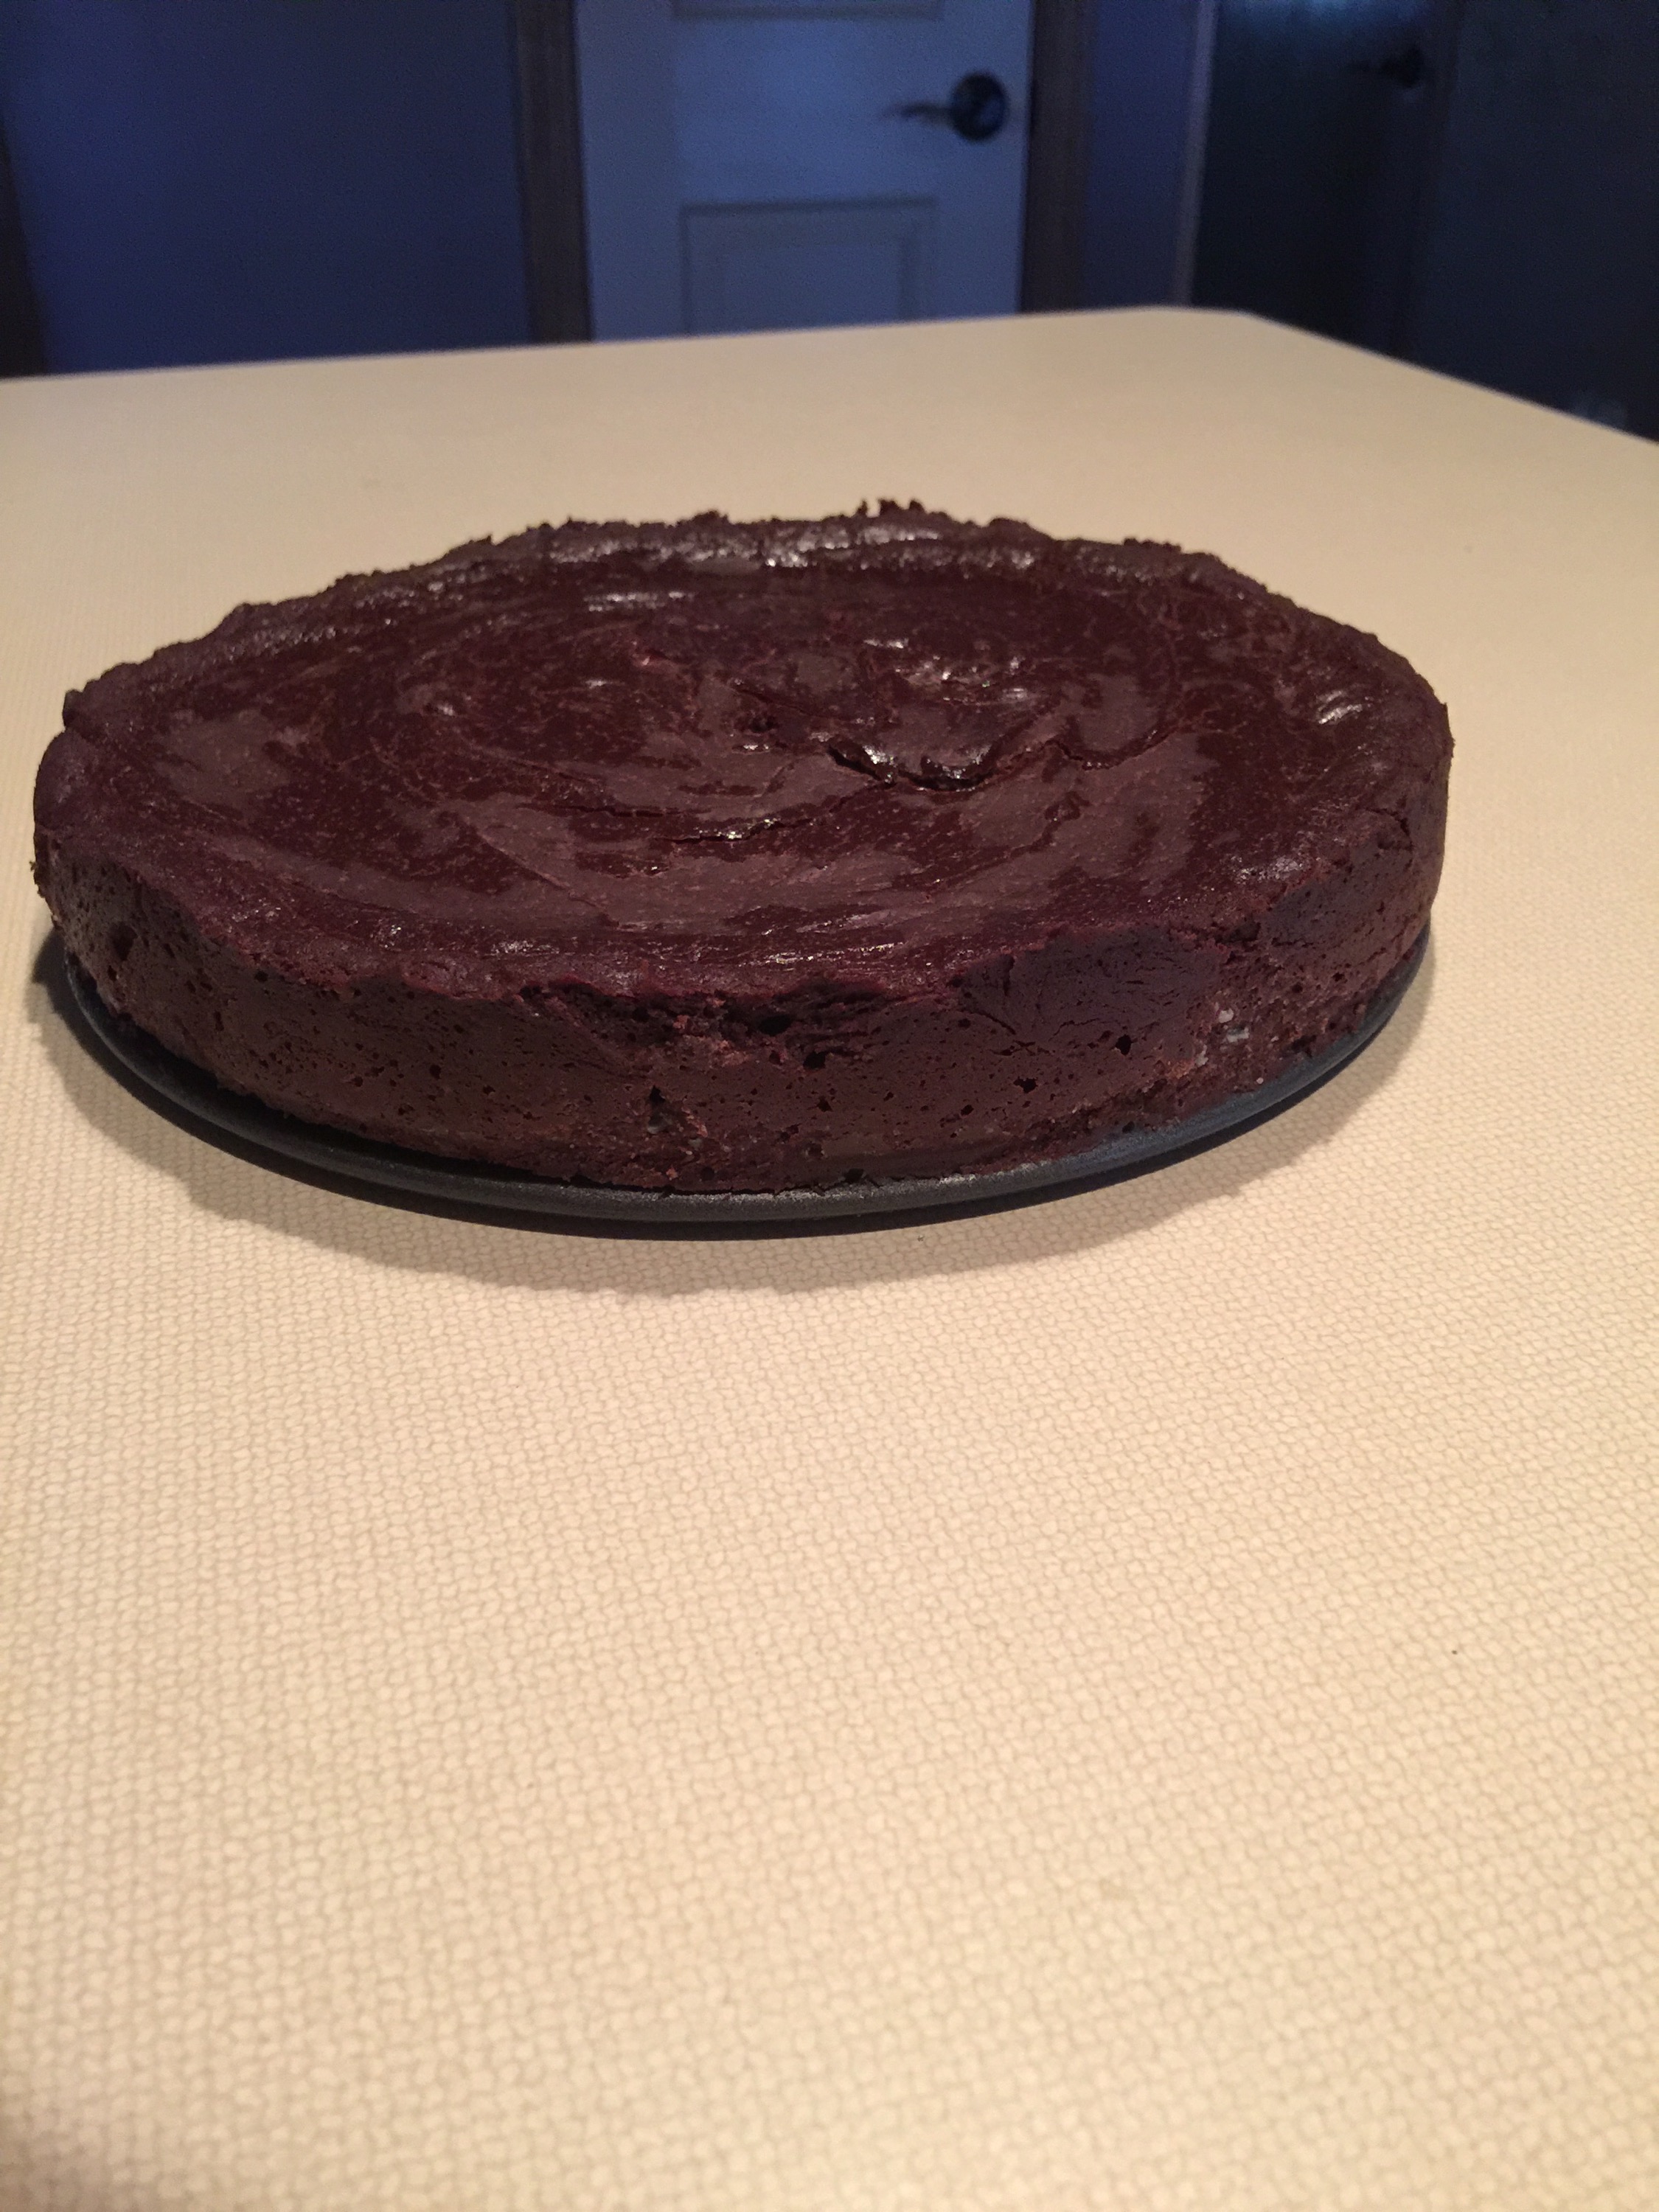
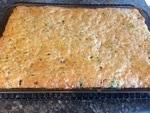
3. Bake until cake has risen, is firm around edges, and center has just set but is still soft and tooth pick comes out clean 15 to 18 minutes. (Mine took 18 minutes)

4. Transfer cake in springform pan to wire rack to cool completely, about 1 hour.  The cake will decrease in size, after all there is no flour or baking soda in the cake the only leaving agent are the eggs.. Do not remove cake from pan.

Middle Layer

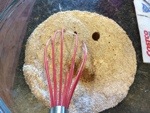
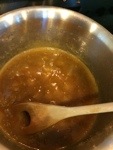
5. Combine cocoa powder and hot coffee in small bowl; set aside. Melt chocolate in medium bowl in microwave. Cool slightly.

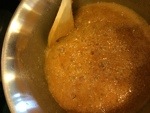
6. In clean bowl of stand mixer fitted with whisk attachment, whip cream, raw sugar, and salt at medium speed until mixture begins to thicken, about 30 seconds. Increase speed to high and whip until soft peaks form when whisk is lifted.

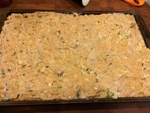
7. Whisk cocoa powder mixture into melted chocolate until smooth. Using a whisk, fold one-third of whipped cream into chocolate mixture to lighten. Using a rubber spatula, fold in remaining whipped cream until no white streaks remain. Pour mousse using a spatula into springform pan over cooled cake and gently tap pan on counter a couple times to remove any large air bubbles; smooth top with cooking sprayed spatula. Carefully clean any drips from the inside edges of the pan. Refrigerate cake at least 15-30 minutes while preparing the final layer.

Final Layer

8. In small bowl, sprinkle gelatin over water; let stand at least 5 minutes. Place white chocolate in medium bowl. Bring ½ cup cream to simmer in small saucepan over medium-high heat. Remove from heat; add gelatin mixture and stir until fully dissolved. Pour cream mixture over white chocolate and whisk until chocolate is melted and mixture is smooth. Cool to room temperature, stirring occasionally, 5 to 8 minutes.

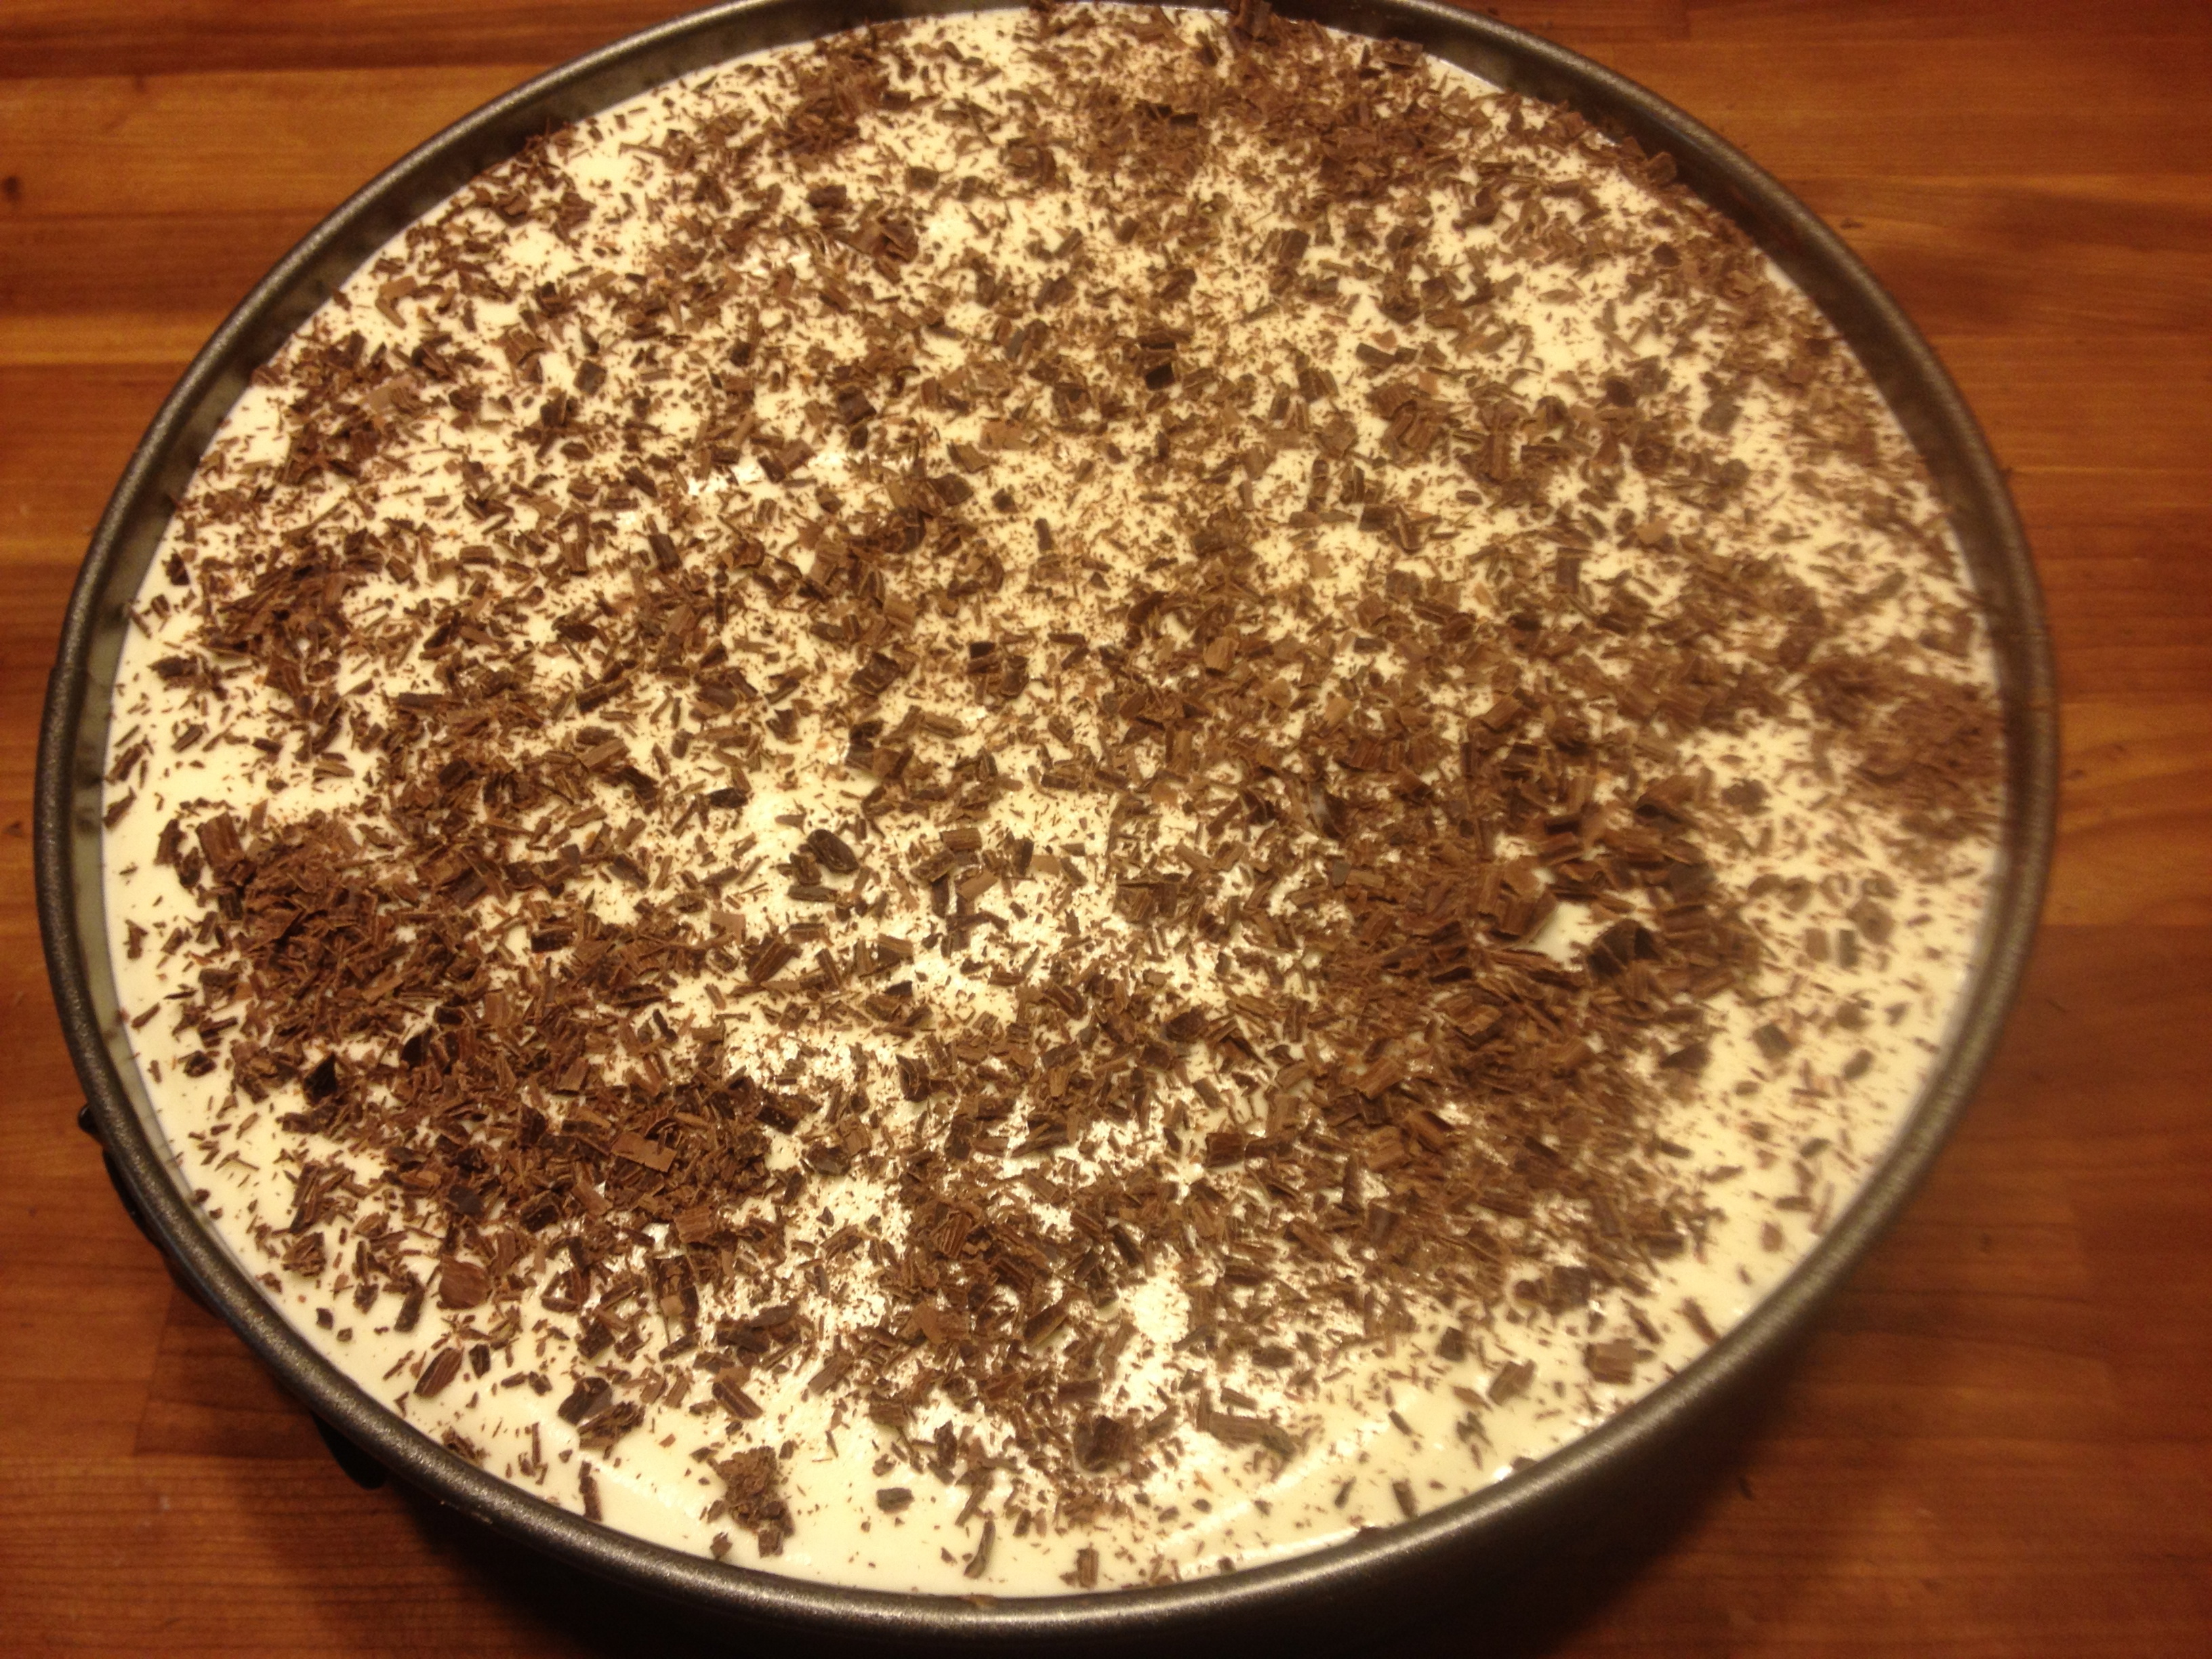
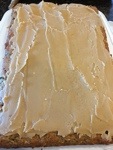
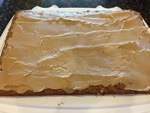
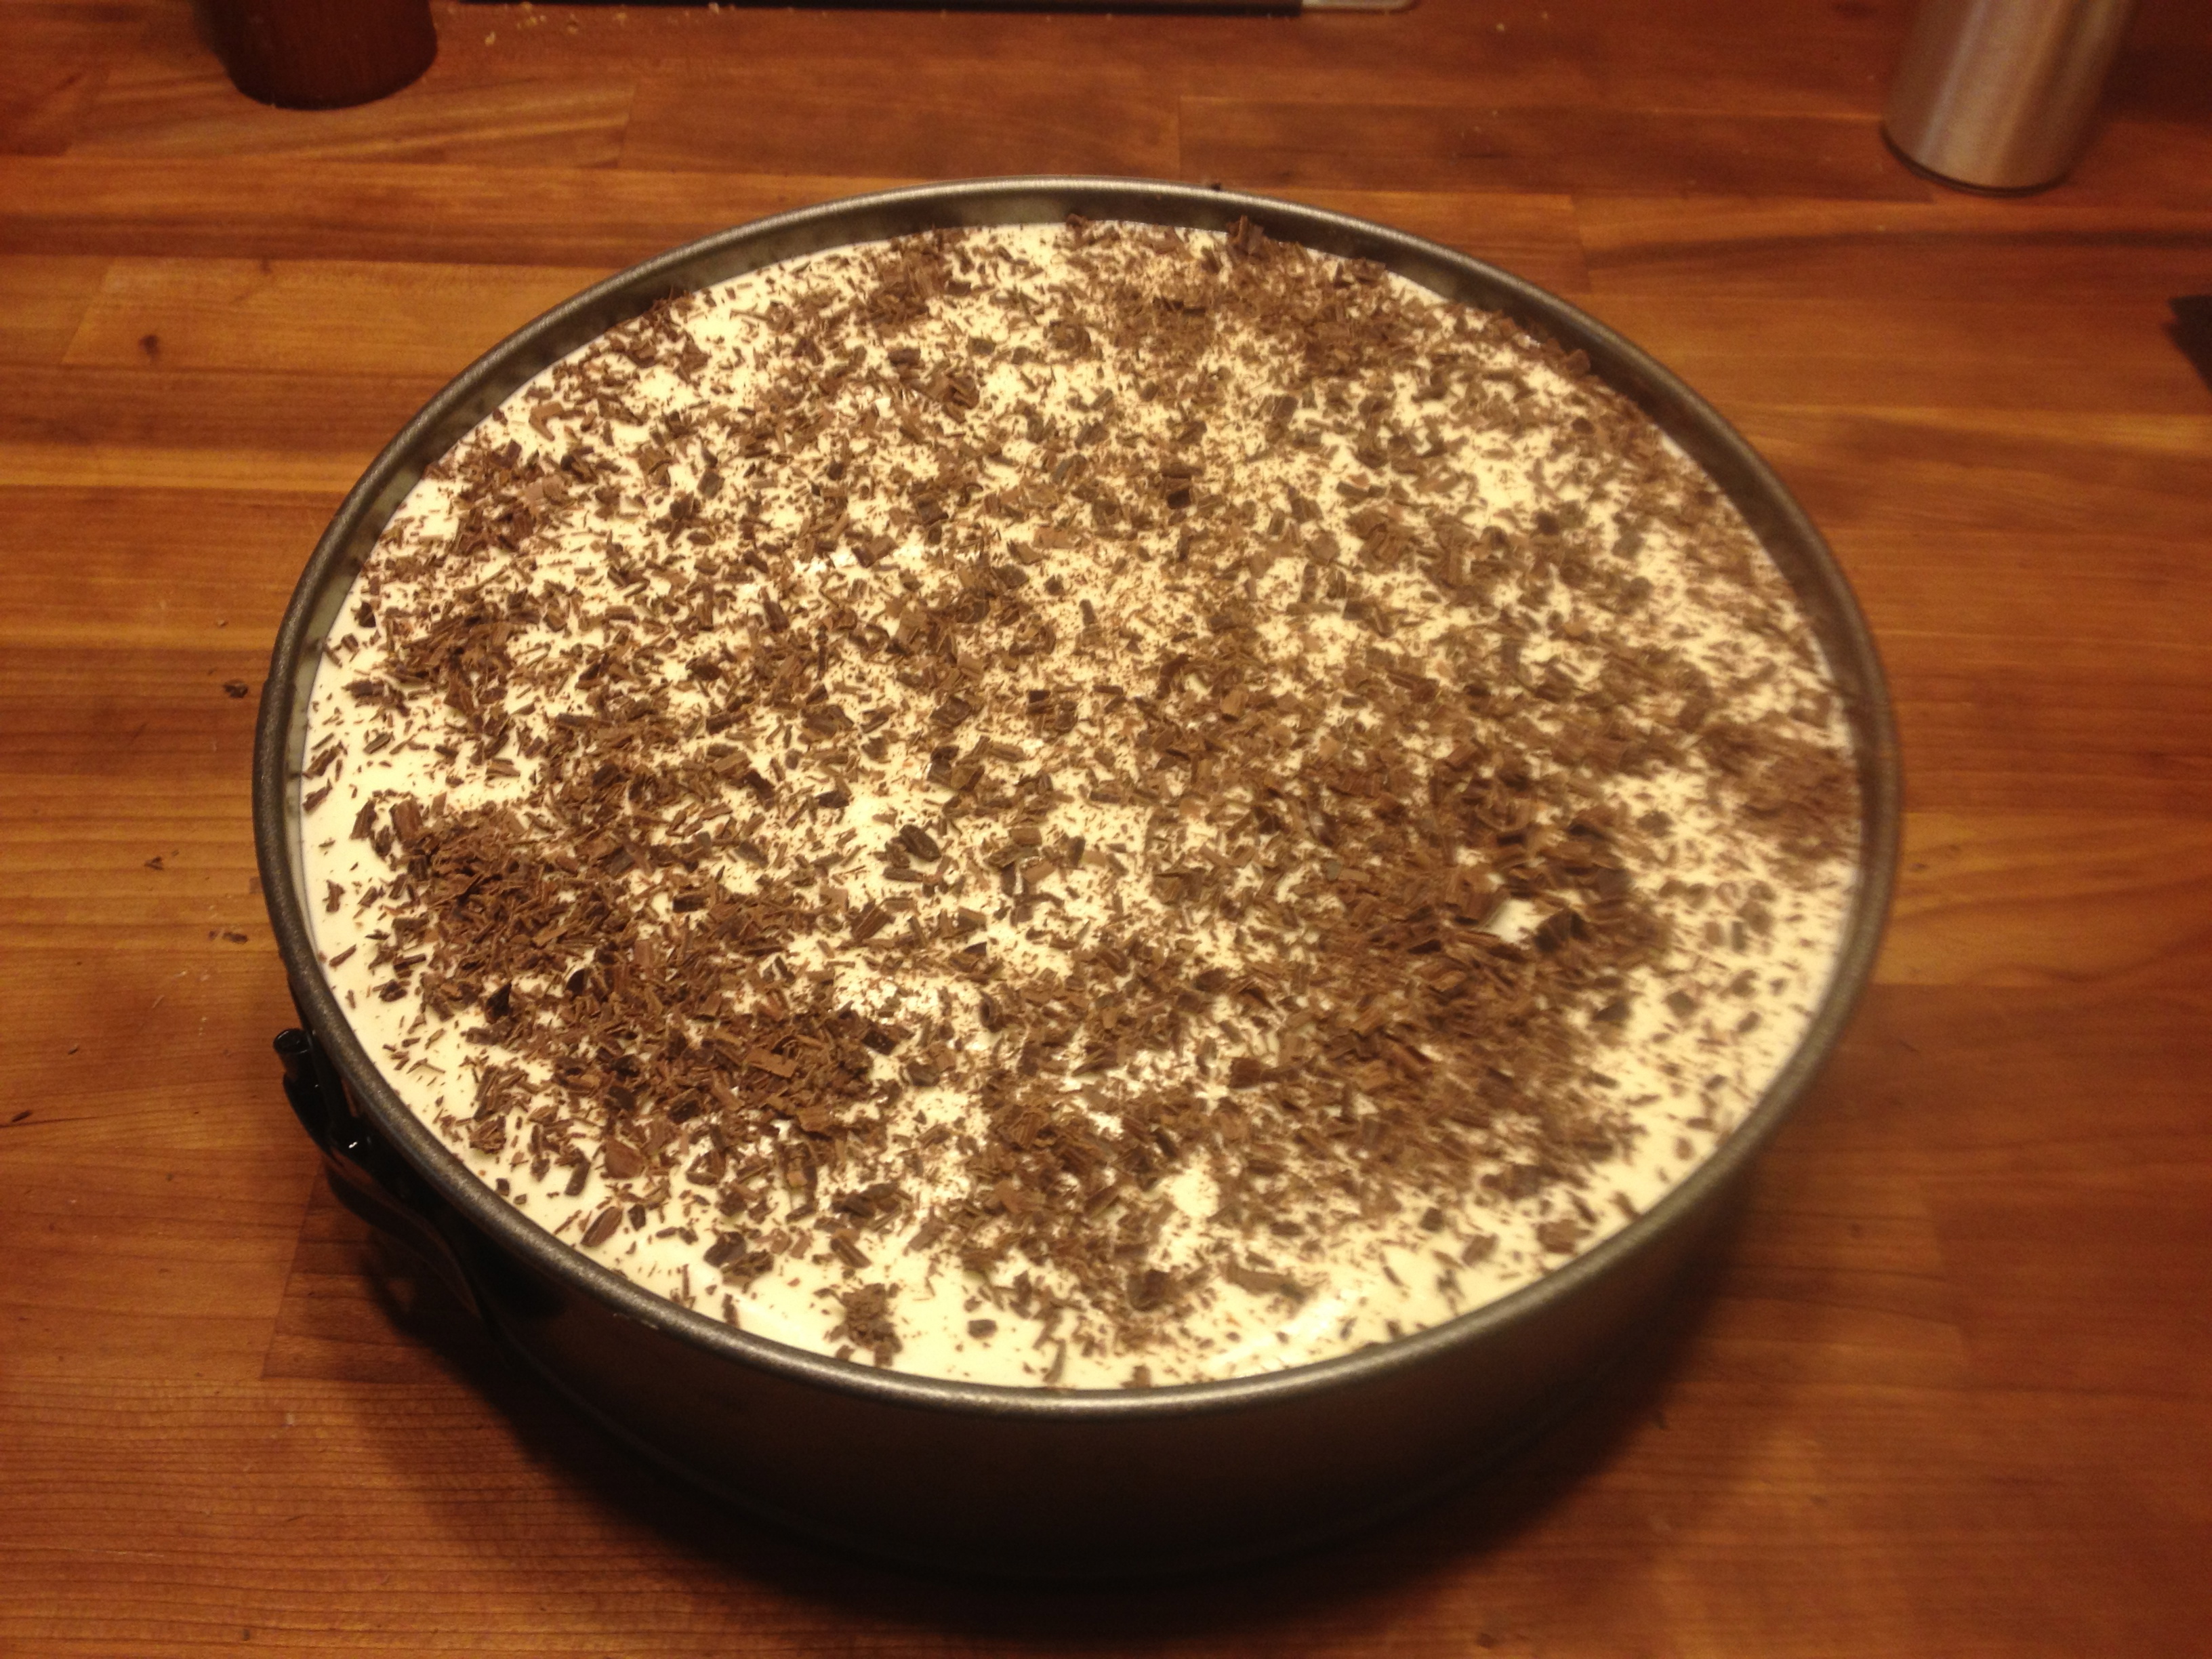
9. In clean bowl of stand mixer fitted with whisk attachment, whip remaining cup cream at medium speed until it begins to thicken, about 30 seconds. Increase speed to high and whip until soft peaks form when whisk is lifted. Using a whisk, fold one-third of whipped cream into white chocolate mixture to lighten. Using a rubber spatula, fold remaining whipped cream into white chocolate mixture until no white streaks remain. Spoon white chocolate mousse into pan over middle layer. Smooth top with cooking sprayed spatula. Return cake to refrigerator and chill until set, I like to have mine set overnight.

To Serve

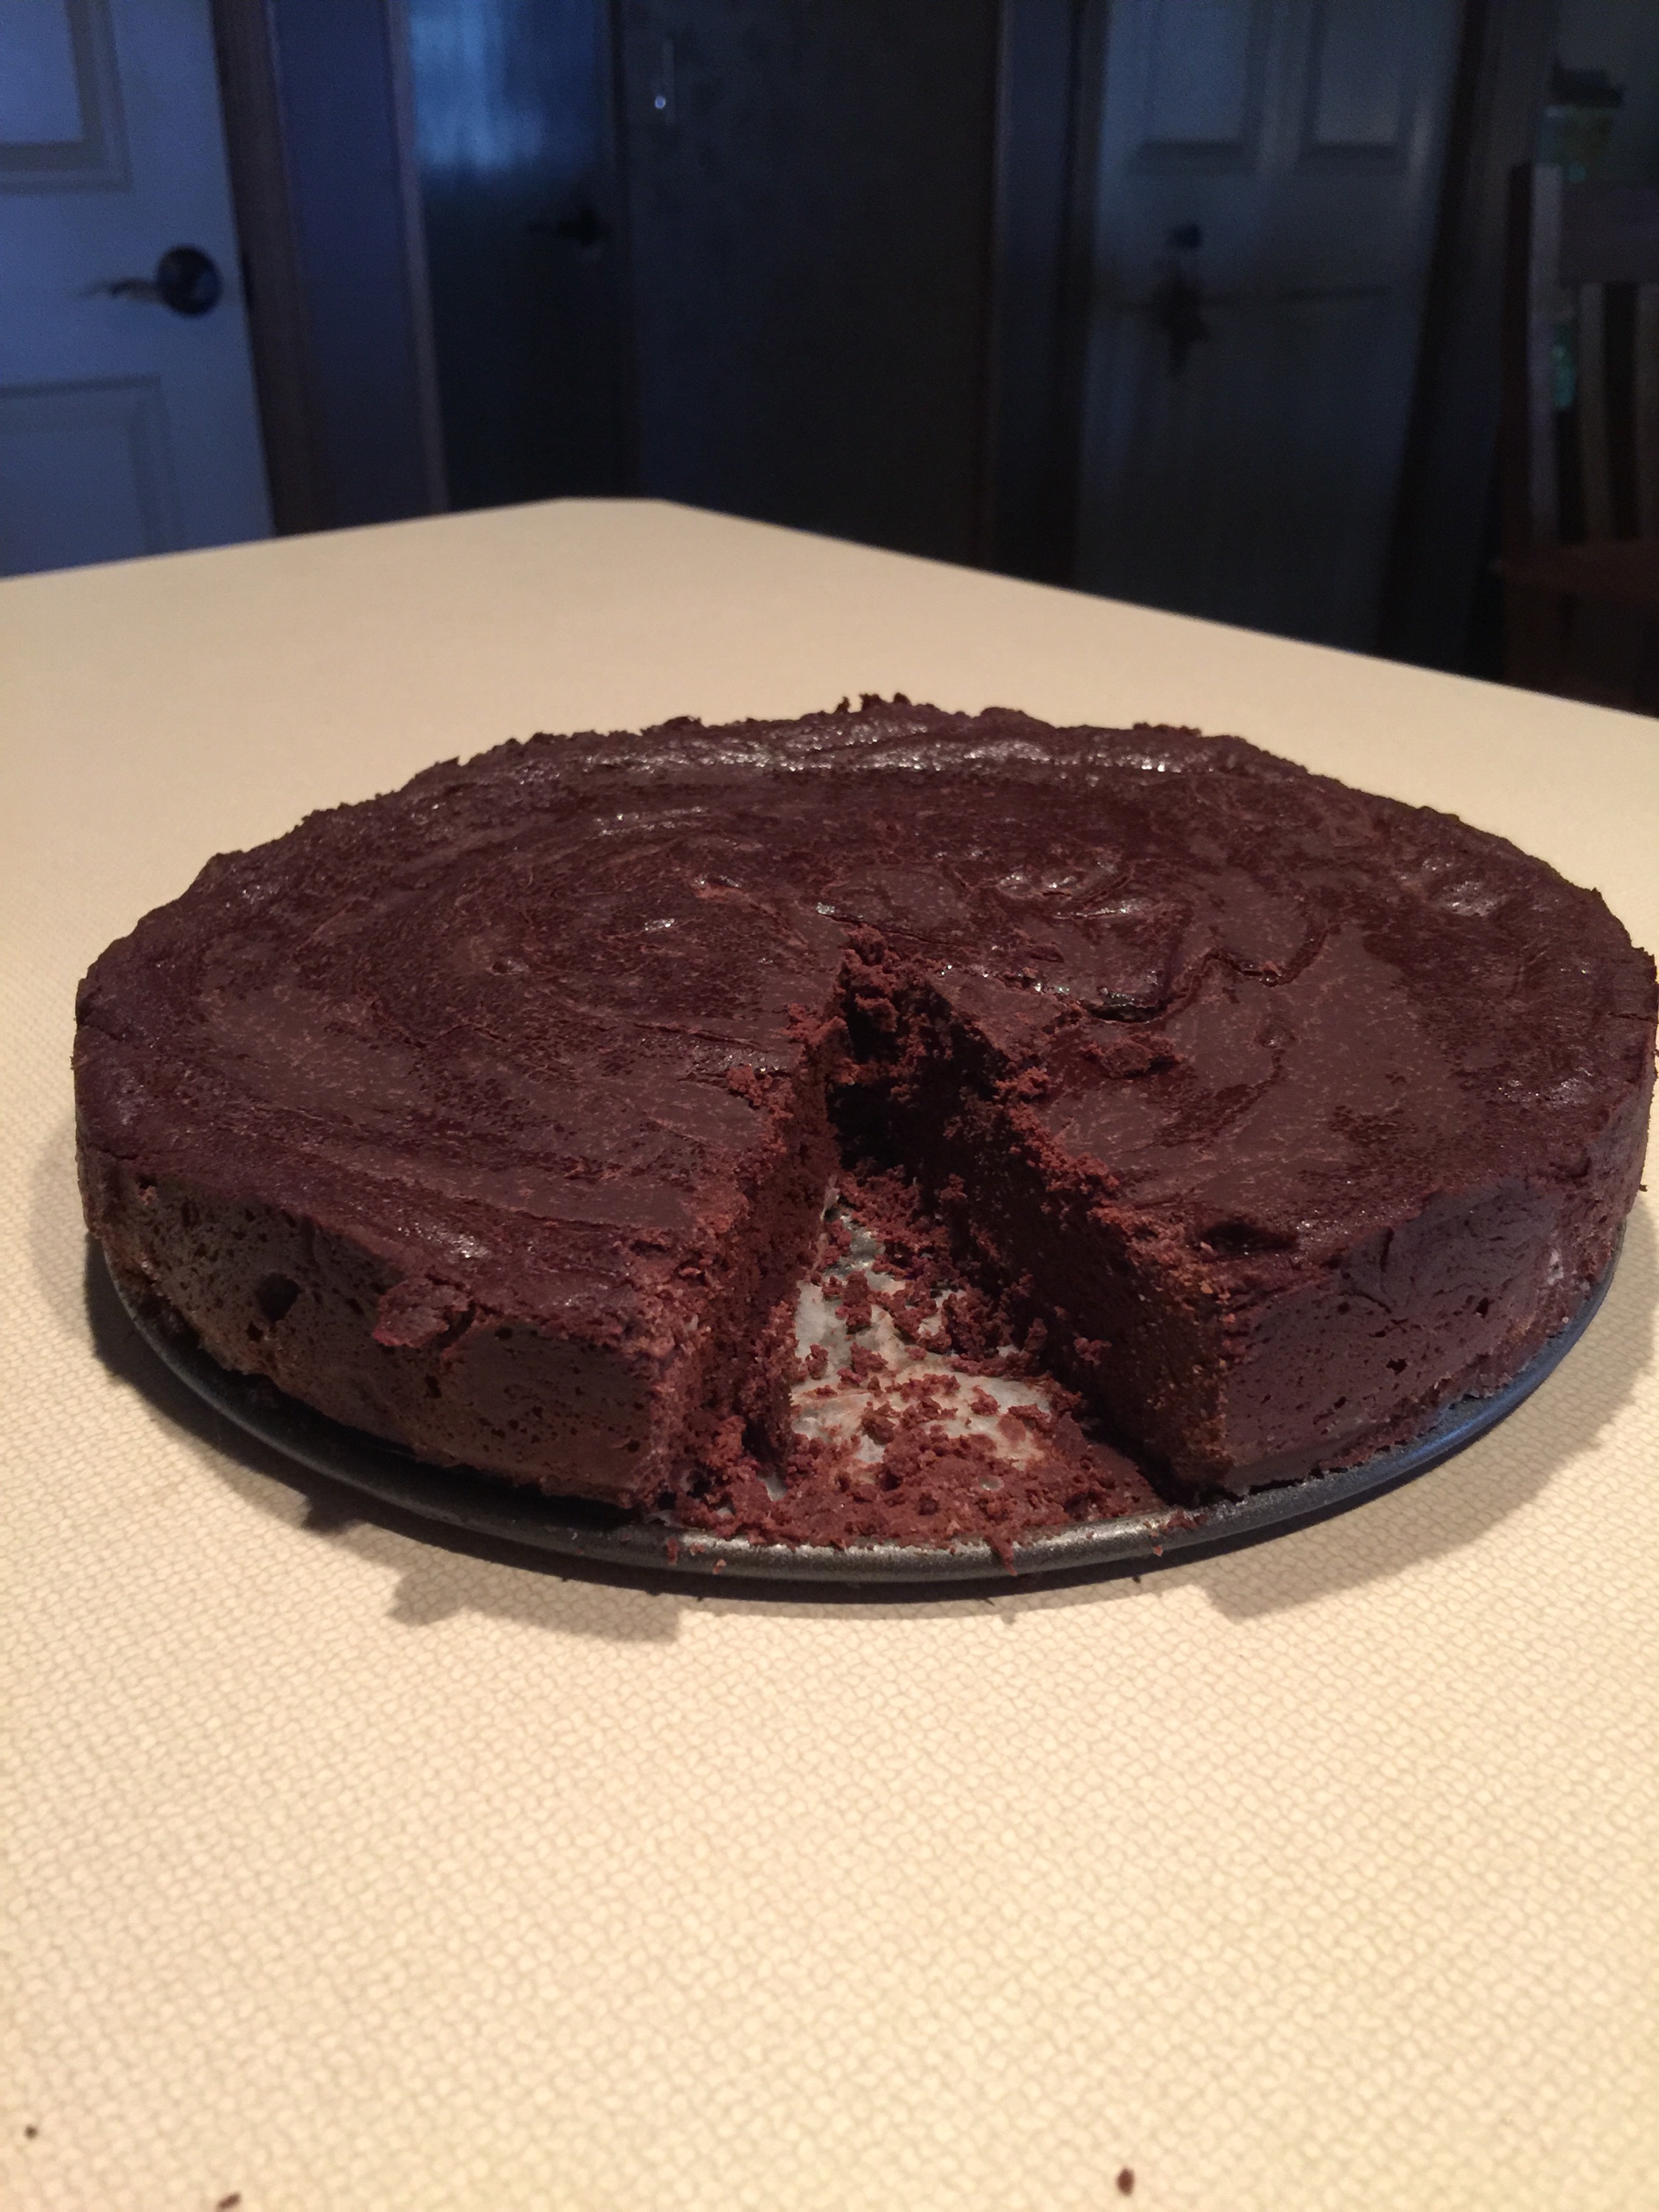
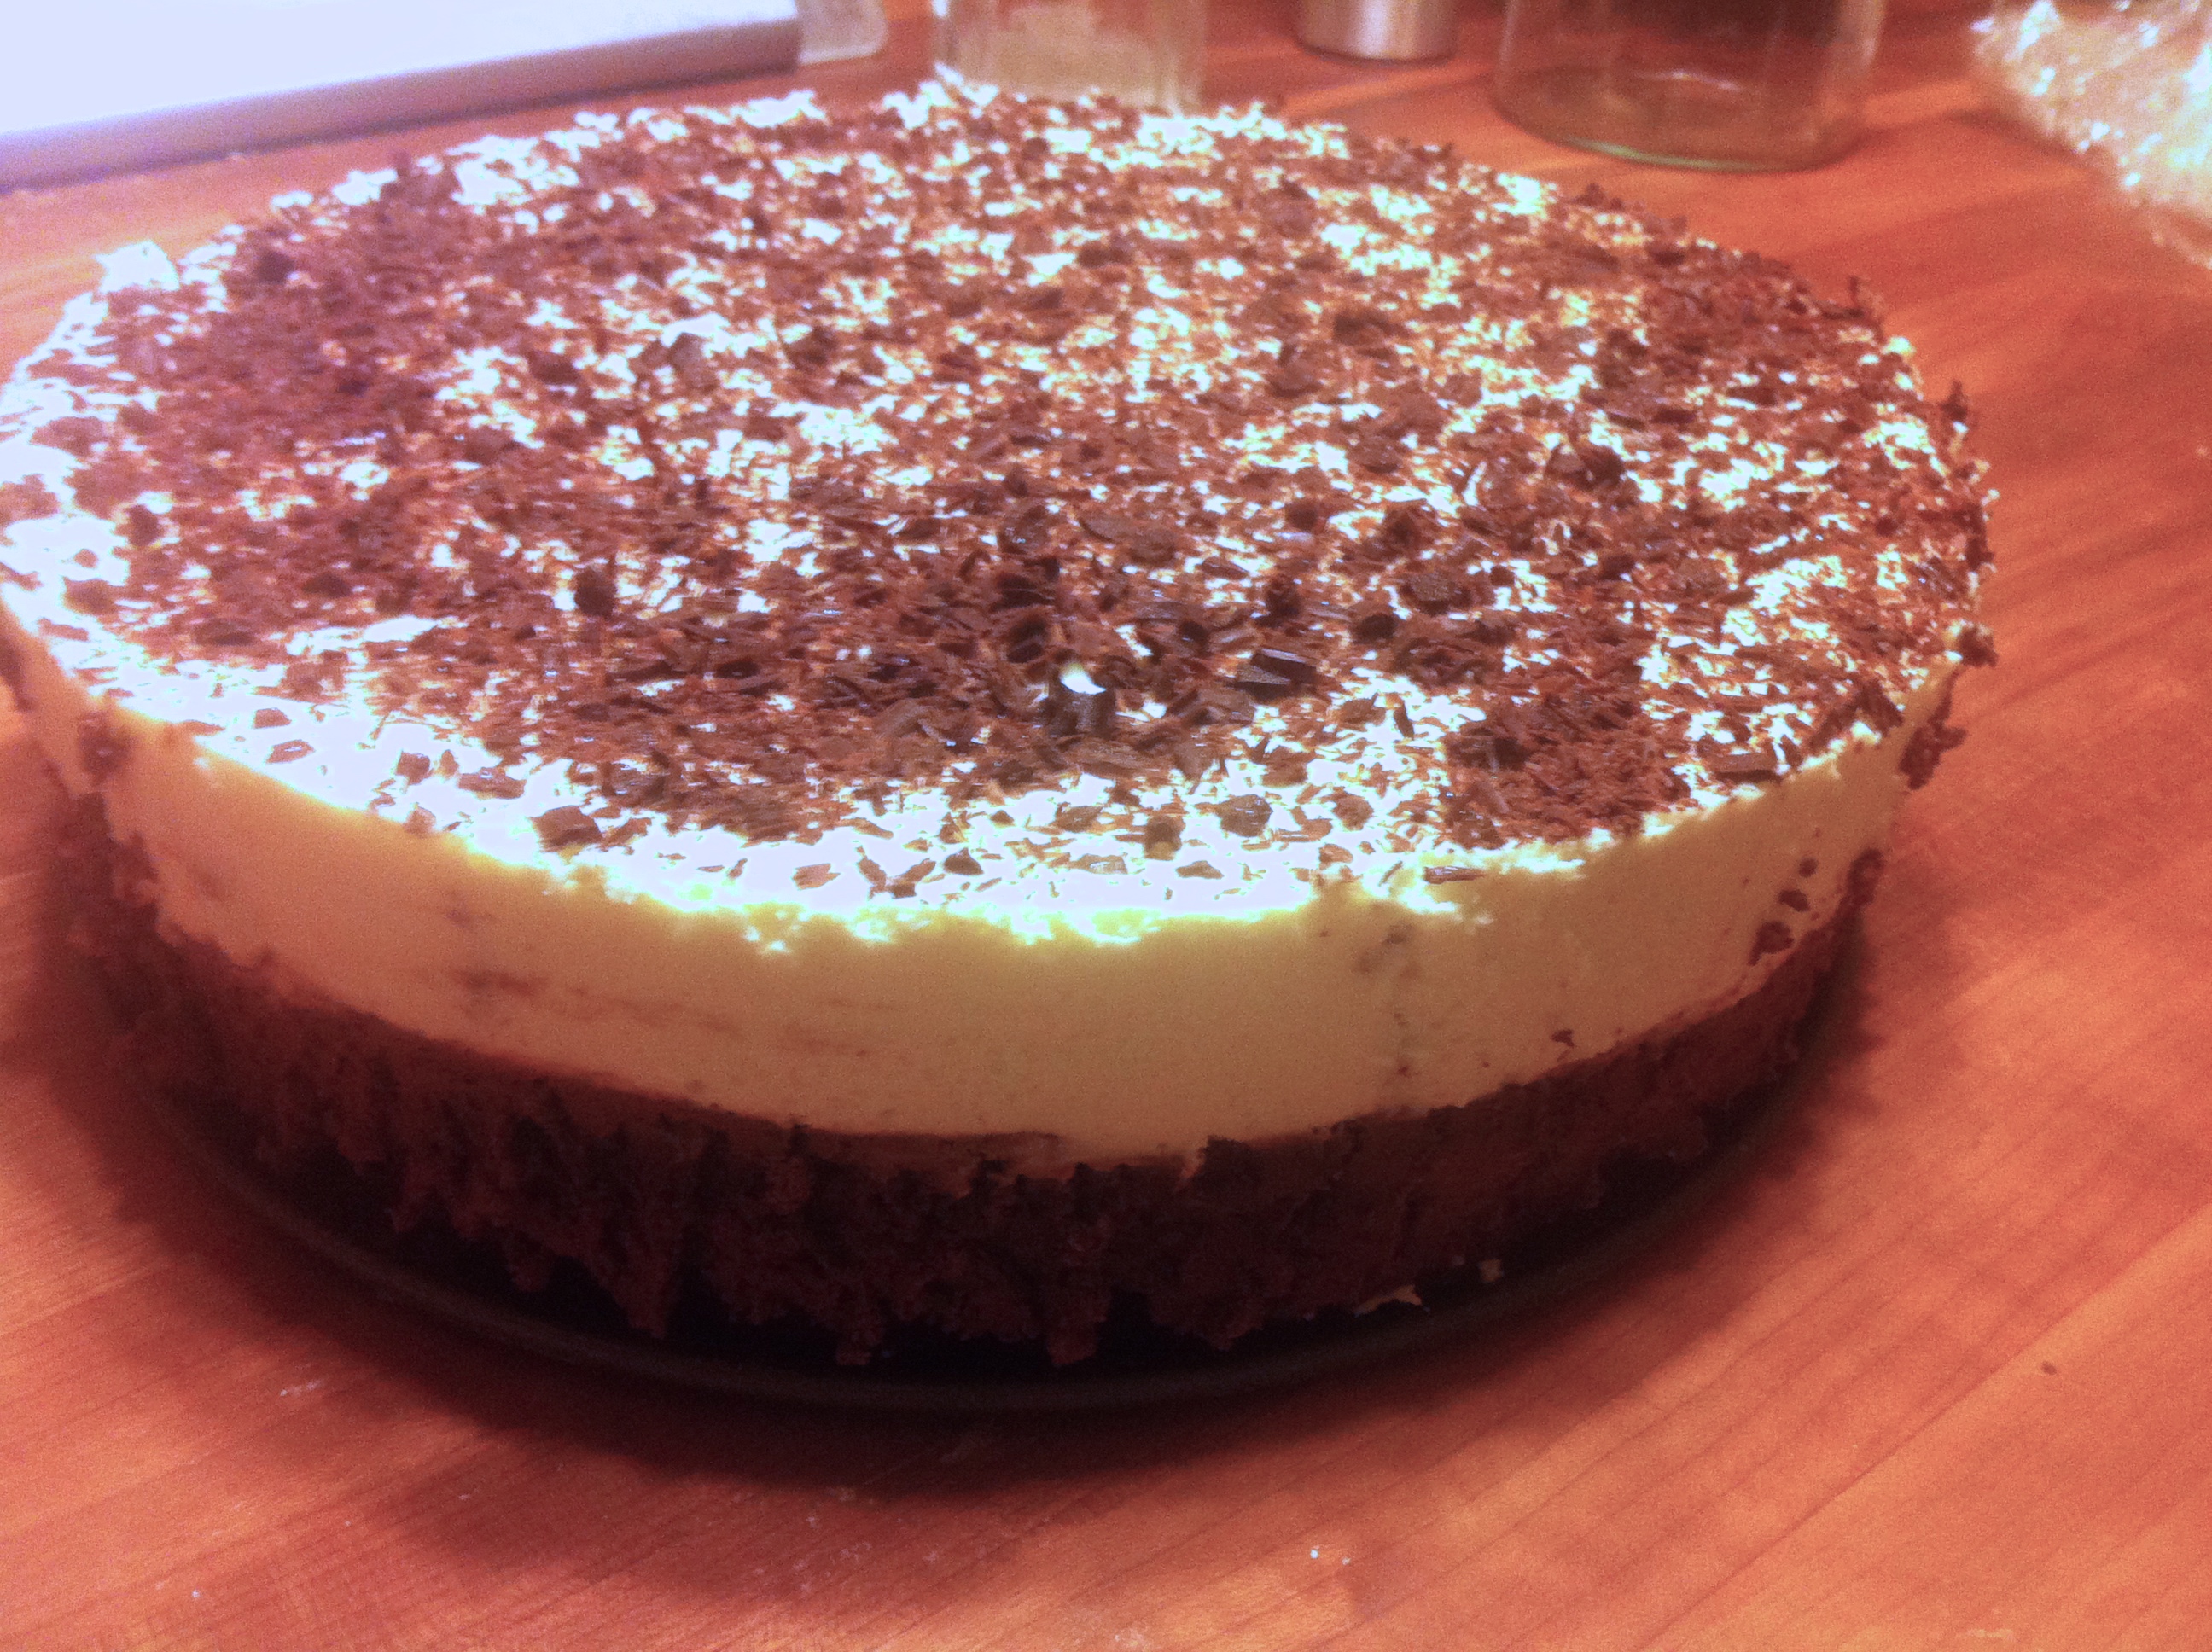
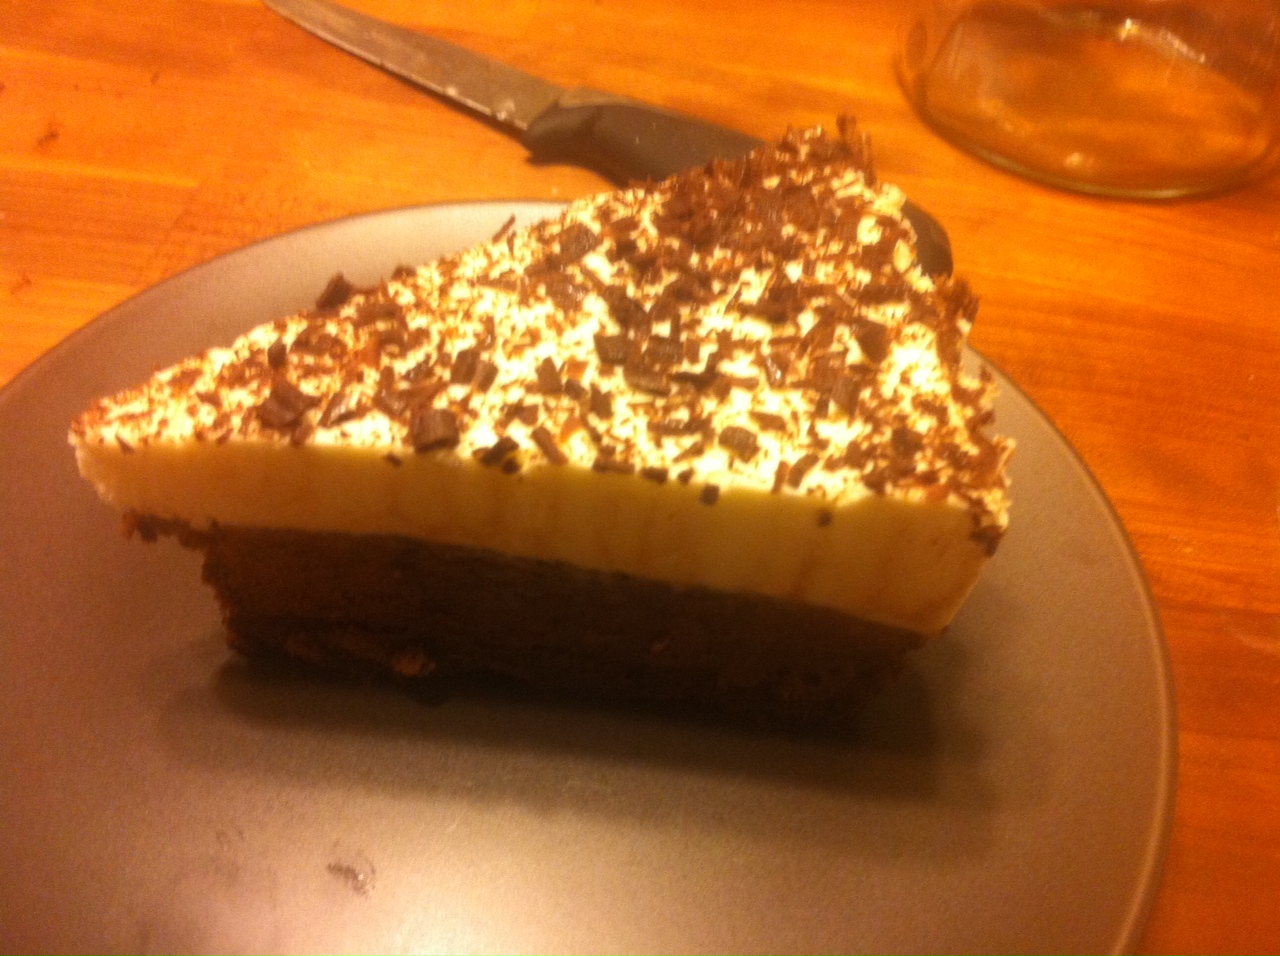
Using the vegetable peeler, scrape along the edge of a block of chocolate to form chocolate shavings or curls. Sprinkle these on top of the cake. Let the cake set out at room temperature for 15 to 30 minutes to make for easier slicing. Run an offset between cake and side of springform pan; remove side of pan. Clean and smooth the edges of the cake by running an offset around the cake.

IMG_1631

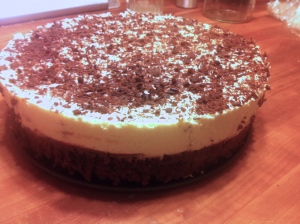
Enjoy with a strong cup of coffee!


IMG_1632


Mom’s Favorite “Copy That Almond Joy” Cookie

IMG_0213.JPG

Growing up the running joke in my family’s house was always around the almond joy mini candy bars. My mom would always try to hide them from my dad, sister and I. Unfortunately for her we always found them (either in the freezer or in the drawer with the electronics). Every year for Christmas there are always almond joys in her stocking. This year I decided to make some from scratch. This recipe is pretty simple and no bake.

This recipe yields: 50 cookies using a #60 scoop.

Ingredients:
3/4 cup mashed potato (the original recipe called for Bob Evan’s Frozen Mashed Potatoes)
16 oz of sweetened coconut flakes
1 tsp of Mexican vanilla extract
4 1/4 cup powdered sugar
50 whole raw almonds
50 slivered almond pieces
12 ounces of your favorite chocolate, chopped finely (almond joys are traditionally milk chocolate) I used half semi sweet for 1/2 the cookies and half dark chocolate 70%)
2-3 tb vegetable shortened

Directions:
1. Mix with paddle attachment the mashed potatoes, coconut, vanilla and powdered sugar.

IMG_0178.JPG

IMG_0179.JPG

Refrigerate for for 30 minutes to an hour in order for the batter to set.

2. Take a # 60 scoop and form cookies into a ball and top with raw almond pressing into ball with a gentle touch.

IMG_0209.JPG

Refrigerate or freeze the cookies for an hour.

3. Once the time has elapsed. Start to prepare chocolate and shorten in double boiler for dipping.

IMG_0208.JPG

4. Place cookie on fork and spoon chocolate overtop the cookie. *Helpful hint it really helps if you have two people doing this my husband is an excellent helper and I enjoy our time in the kitchen together!) Make sure to cover the cookie in it’s entirety. Helpful hint we do this right over the bowl of chocolate so no chocolate goes to waste. Also make sure to allow for the excess chocolate to drip off prior to placing the cookie on parchment paper to cool.

Garnish with 1 to 2 slivered almonds. Allow the chocolate to harden prior to placing in tins or plastic containers. Do not freeze after dipping in chocolate. The chocolate will turn white.

Enjoy!

IMG_0213-0.JPG

Oreo Chocolate Cupcakes with Oreo Buttercream Frosting

Oreo Cupcakes


I made these for my sister’s fiancé’ 30th birthday!  He was home this past weekend and we were finally able to celebrate at our favorite restaurant. I brought these little cakes for our dessert.  My husband and I watched our almost 3 year old nephew as they went out to celebrate the night before, I thought it would be fun to bake with my nephew and to have him help make his dad these mighty tasty cupcakes. My nephew was able to help me add the flour and scoop the batter into the tins which made them so much more special.

This recipe yields 16 standards size cupcakes using a size 16 scoop.

Cupcake Ingredients:

1 Stick (1/2 cup) plus 2 TB unsalted butter

1/2 cup of Dutch process cocoa powder (do not cheat yourself use a high quality) …. I love penzey’s!

1 1/4 cup AP flour

1 Tsp baking soda

1/16 Tsp of kosher salt

1 tsp expresso powder

2 eggs (farm fresh or egg land’s best)

1/2 cup granulated sugar

1/2 cup of raw sugar or brown sugar

3 (1/8 cups) of light sour cream or plain fat free greek yogurt

3/4 cup low fat buttermilk

Cooking spray


Cupcake Instructions:

1. Preheat ove to 350 degrees. Line standard muffin tins with paper liners and spray with canola oil cooking spray. Set aside.

2. In a medium to large bowl whisk together flour, salt, baking soda, expresso powder, and cocoa. Set aside.

3. Place in an electric mixing bowl butter and sugars and beat on medium to medium high speed until creamed (light and fluffy).

4. Add one egg at a time, beating using standing mixer until well incorporated. Make sure if you do not have a beater with  rubber spatula sides that you scrap down sides of bowl often with hand spatula. Once eggs are incorporated add sour cream and decrease the speed to low. Add flour mixture alternating with the buttermilk in thirds (only mix after each addition until everything is incorporated). Be careful not to over mix the batter. 

5. Using number 16 scoop portion perfectly into the prepared muffin tins. Bake for 10 minutes on 350 degrees and rotate the tins and bake for an additional 8 to 10 minutes until toothpick comes out clean. Rotating the tin will allow for even baking. 

6. Remove from oven and allow to set in tin for 1 to 5 minutes, remove from tin and place on wire rack to cool completing before frosting. If you allow the cupcakes to stay in tin they will continue to bake and will dry out. 

7. In the meantime start to work on the frosting.

Oreo Buttercream

Oreo Buttercream
6 cups of Powdered Sugar
1 teaspoon of pure vanilla
9 TB of Heavy Cream
8-10 Oreos (place in food processor and crush)
1 stick of butter ( 1/2 cup ) room temperature 
2 Ounce of 1/3 Fat Reduced Cream cheese  room temperature

16 Mini oreo’s (optional for decoration)

Directions for Oreo Buttercream:
Cream the butter and cream cheese in a stand mixer until fluffy. Add one cup of powdered sugar at a time until incorporated. Mix slowly! Add liquids mix. Lastly add crushed Oreos add more cream as needed to desired consistency.


ENJOY!


Peanut Butter Pumpkin Raisin Cookies

IMG_9759.JPG

I’ve been wanting to make a cookie with pumpkin purée and peanut butter for a while now. These are two of my favorite ingredients. I love peanut butter so much that I actually had a patient one time ask me if I worked for a peanut butter company (yes I recommend it that much). Not to mention pumpkins are in season and bountiful this time of year. This is a perfect fall cookie! Plus an added bonus this recipe is a quick and easy! Not to mention a good idea for a lunch box cookie for children and husbands.

This recipe yields 30 cookies.

Ingredients :
1/2 cup ap flour
1/2 whole wheat flour
2/3 cup old fashion oats (not quick oats)
1 tsp pumpkin pie spice
1/2 kosher salt
1/2 tsp baking soda
1 Tb pure maple syrup
1/2 cup peanut butter or any nut butter
2/3 cup raw sugar
2/3 cup 100% pumpkin purée
1/2 cup raisins or (craisins would work well)
1 tsp pure vanilla

Directions:
1. Preheat oven to 350 degrees. Paper line with parchment paper a 1/2 sheet baking pan, set aside.

IMG_9743.JPG

2. In a large bowl mix pumpkin pie spice, salt, baking soda, oats, both flours.

IMG_9741.JPG

Mix well to blend all ingredients together.

IMG_9742.JPG

3.in a separate medium bowl place peanut butter, pumpkin, vanilla, & maple syrup.

IMG_9744.JPG

Mix to incorporate using spatula or large spoon.

IMG_9745.JPG

Add sugar and mix again until no sugar granules remain.

IMG_9747.JPG

4. Add wet ingredients into dry & mix together evenly.

IMG_9749.JPG

5. Add in raisins and fold in until evenly distributed throughout the batter.

IMG_9750.JPG

Batter should appear as picture displays below.

IMG_9751.JPG

Portion out 1 Tb spoon size cookies onto parchment lined pan.
Place 15 cookies on a pan spread evenly.

IMG_9752.JPG

Press cookies down with fork to flatten slightly.

IMG_9753.JPG

Place in oven at 350 for 14 minutes.

IMG_9759-0.JPG

Remove from pan right away or else the cookies will continue to bake. Place on wire rack to cool.

Enjoy!

Peachy Coconut Popsicle

IMG_9259.JPG

We had a Labor Day Picnic Monday with lots of kidos. I wanted to make a special treat to cool off during the hot September day! I had leftover cantaloupe juice and peaches from the cake I made. So I threw everything in the blender and threw it in the freezer. I don’t think there is anything easier to make than a Homemade Popsicle!

Yields 8 (4 oz Popsicles)

Ingredients:
1 cup cantaloupe juice or your favorite 100% fruit juice
1 large peach (about 2 cups) (pit removed/ skin intact)
1 can of light coconut milk
1/4 cup honey
1 tsp pure vanilla extract

Directions:
1. Place all the ingredients in the food processor.

IMG_9245.JPG

2. Pulse until minimal chunks of peach remain.

IMG_9246.JPG

3. Yields about 4 cups of liquid. Pour evenly into Popsicle molds. Let molds freeze in deep freezer for 8 to 12 hours before serving.

IMG_9257.JPG

Caramel Frosted Zucchini Bars

20140801-191929-69569571.jpg

My grandma gave me a bunch of old recipe cards a few years ago. Most of them were blank but one I stumbled across was a zucchini bar. I did modify the recipe to incorporate more heart healthy options.I am always looking for zucchini recipes because the garden is always producing more zucchini then one person can make. This is a flavorful spice bar with a added bonus fiber from the whole wheat flour and zucchini.


20140801-192243-69763936

I have made zucchini cake before but it’s always been chocolate zucchini cake. This one is more like zucchini bread with frosting!

Ingredients:
1 1/2 cup Whole Wheat Pastry Flour
1 1/2 cup AP Flour
2 cup shredded zucchini (no need to peel!) (not strained)
1/4 cup apple butter or unsweetened applesauce
1/2 cup canola oil
1/4 tsp ground nutmeg
1/4 tsp ground cloves
1/4 tsp cinnamon
1 tsp vanilla extract
1 tsp baking powder
1 1/2 tsp baking soda
1 cup raw sugar
2 eggs
1/2 cup pecans chopped or walnuts
1/2 raisins
10 by 15 inch baking sheet pan (with 3/4 inch depth)

Frosting
1/2 cup butter unsalted
1 cup brown sugar
1/4 cup skim milk
1 to 1 1/2 cup powdered sugar

Directions: preheat oven to 350 degrees. Place parchment paper on baking sheet.

20140802-184437-67477971.jpg

1. Mix well together in medium bowl flours, salt, soda, baking powder, cinnamon, nutmeg, & cloves set aside.


20140802-182953-66593551.jpg

2. In a large bowl mix oil, sugar, vanilla, apple butter together then one egg at a time mixing after each addition.

20140802-183430-66870190.jpg

3. Add dry mix to wet.

20140802-184004-67204892.jpg

4. Fold in zucchini then nuts, and raisins.

20140802-184128-67288777.jpg

Mix until everything is well blended.

20140802-184223-67343081.jpg

Pour batter into baking sheet and evenly spread with spatula.

20140802-184600-67560675.jpg

Bake for 15 to 20 minutes. If your zucchini is very moist you may need to bake 20 to 25 minutes. I strained my zucchini and the bars didn’t come out as moist as I would have hoped. Next time I will not remove the excess water. Use tooth pick method to test cake prior to removing from oven. If tooth pick comes out clean remove from oven.

20140802-184858-67738831.jpg

Let cool in wire rack.

Once cooled start caramel frosting. In 2 qt sauce pan melt butter and brown sugar.

20140802-192145-69705348.jpg

Bring to a boil and stir continuous for 2 minutes.

20140802-192310-69790236.jpg

Add milk and bring to a boil and simmer for 2 additional minutes.

20140802-192504-69904711.jpg

Remove the frosting from the heat. Whisk in powdered sugar 1/2 cup at a time.

20140802-192625-69985781.jpg
Add 1-1/2 1 cups until you reach your desired constancy.

20140802-192709-70029064.jpg

Frost the cake quickly with spatula. The frosting sets quickly.

20140802-192807-70087174.jpg

Enjoy!

Whole Grain Oat Rhubarb Cookies

20140724-200041-72041433.jpg

My husband and I have oodles of rhubarb this time of year. We were in the mood for some cookies. I adapted this recipe from the TOH website to cut down on the saturated fat.

Yields 32 cookies using a size 60 scoop. Preheat oven to 350 and bake for 13 minutes.

Ingredients :
3/4 cup raw sugar
1/2 canola oil
1/2 tsp pure vanilla extract
1 egg or 2 egg whites or 1/4 cup egg substitute
1/2 cup white chocolate chips
1/2 cup dried cranberries
3/4 cup fresh rhubarb (patted dry)
1/4 tsp kosher salt
1/2 tsp baking soda
1/4 tsp ground Vietnamese cinnamon
A pinch of nutmeg
1 1/4 cup 100% old fashioned oats
3/4 cup whole wheat pastry flour

Directions:
Line half sheet pans with parchment paper and preheat oven to 350 degrees.

In a large bowl mix canola oil, and sugar together well. Than add egg and vanilla together whisk to incorporate.

20140725-184903-67743131.jpg

In a medium bowl whisk together flour, oats, salt, baking soda, cinnamon, and a pinch of nutmeg.

20140725-185542-68142635.jpg

Whisk to incorporate all dry ingredients together well. Add the dry ingredients into the wet.

20140725-185738-68258836.jpg

Mix with spatula to incorporate.

20140725-190127-68487312.jpg

Add chopped rhubarb, cranberries and white chips fold into cookie batter.

20140725-190359-68639102.jpg

Use a number 60 scoop to measure out into perfect size cookies. Please keep in mind they are very wet and may want to fall apart but will bake just fine.

20140725-190648-68808746.jpg

Bake for 12 to 13 minutes. The rhubarb makes these pretty moist. I let them sit on the pan for about a minute before letting the cool off on wire rack.

20140725-190858-68938515.jpg

Once the cookies are cooled if you wish drizzle them with some melted white chocolate for a special touch.

Place 2/3 cup white chocolate in microwave keep heating by 30 second sections until melted. Place in a squeeze bottle and make zig zag marking!

20140725-191526-69326714.jpg

20140725-191759-69479388.jpg

Enjoy!